EN16
EN17
Settings and adjustments
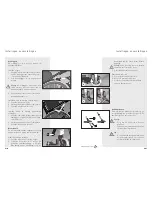
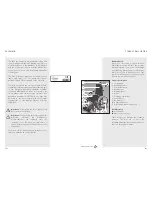
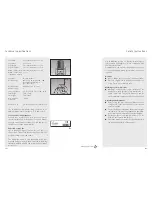
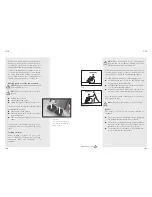
The seat depth can be set more accurately by
shifting the backrest tubes by 4 cm.
1. Remove the seat.
2. Unscrew the 2 socket screws on each side
(A) a few turns.
3. Slide the plate with the push-handles
forward or backward until the desired
seat depth has been reached.
4.
Determine the precise size using the
graduation marks on both sides of the
seat frame. These are indicated using
stickers.
5. If necessary, adjust the ride characteris-
tics.
Note:
Ensure that the depth is the same
at the left and right.
6. Retighten the socket screws (A).
Note:
Ensure that the side socket (B)
connects correctly to the side frame.
A
B
Settings and adjustments
Note:
When changing the seat height,
seat angle and axle plate position of
the front wheel, the brake and the front
wheel telescope must, if required, be
readjusted.
Setting the fork angle
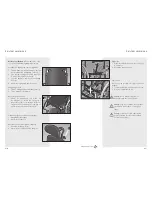
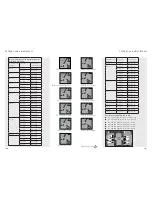
If you do not raise/lower the axle plate
and telescope proportionally, the fork
angle changes with respect to the floor. To
retain the favourable, manoeuvrable ride
characteristics of the Roxx, the swivel castor
axle must be perpendicular to the floor.
You should always set the swivel castor axles
to be vertical with respect to the floor (this
is 90°).
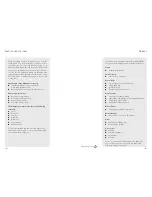
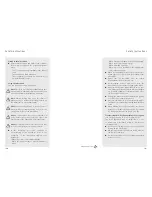
1.
Loosen the socket screws (A) slightly
so that the front wheel block (C) can be
turned by hand.
2.
Then place a spirit level against the
vertical side of the front wheel block.
3. Now use a 24 mm spanner to turn the
eccentric bolt (B) until the front wheel
block is vertical.
4. Retighten the socket screws.
Note:
As this is difficult to see, you can
check it by turning the fork from front to
back. If the swivel castor axle is vertical,
there is no measurable height difference
between the floor and the bottom of the
telescopic tube.
A
C
B
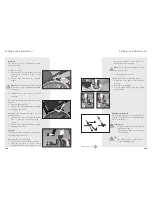
Adjusting the axle plate
1. Remove the wheel.
2. Unscrew the 4 bolts (A).
3. Position the axle plate at the desired
height.
Note:
The thickest part of the axle plate
must be at the bottom.
4. Retighten the bolts.
5. Then adjust the other axle plate.
A

