3
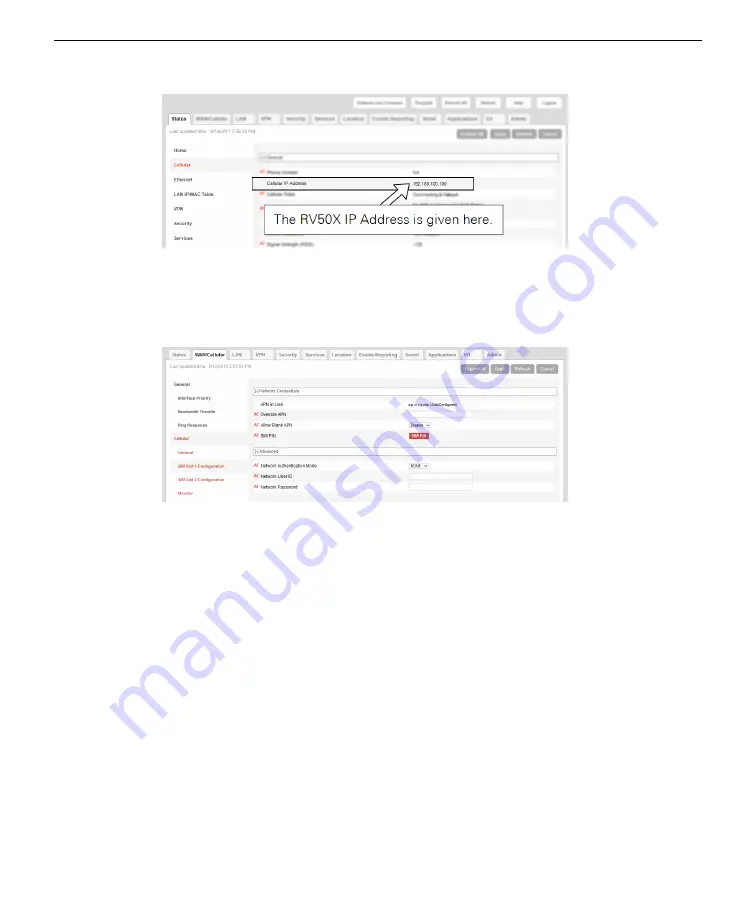
Click the
WAN/Cellular
tab.
If you installed the card in slot 1 (see
on page 2-3), select SIM
Slot 1. The APN assigned by the service provider may already be shown beside
APN
In Use
. If it is not, enter your assigned APN beside
User Entered APN
.
If the service provider also requires network authentication, on the same page,
under
Advanced
, enter information for
Network Authentication Mode
,
Network
user ID
, and
Network Password
.
4
Click
Apply
.
When prompted,
Restart
the device and log in again.
5
Repeat step 2 above and check the IP Address.
Look for your assigned IP address. It will be a numeric string of four octets (groups
of three-digit numbers >0 and <255 like 192.168.13.100). It will take several
minutes for the RV50X to collect all the needed information and establish a con-
nection with the network—patience is a virtue in all things, and especially when
configuring the RV50X.
6
Verify the connection.
If your IP address, APN, and phone number are displayed, the connection is con-
figured properly.
Section 4. Configuring the RV50X
4-3
Configuring the access point name
Summary of Contents for AirLink RV50X
Page 2: ......
Page 6: ...iv ...
Page 10: ...viii ...
Page 14: ...Section 1 Introduction to the communication system 1 4 AirLink Cellular Communication ...
Page 28: ...Section 2 Initial assembly 2 10 AirLink Cellular Communication ...
Page 36: ...Section 3 Configuring instrument IP addresses 3 8 AirLink Cellular Communication ...
Page 52: ...Section 4 Configuring the RV50X 4 16 AirLink Cellular Communication ...
Page 66: ...Section 6 Troubleshooting 6 4 AirLink Cellular Communication ...
Page 68: ...Section 7 Maintenance 7 2 AirLink Cellular Communication ...
Page 89: ......


