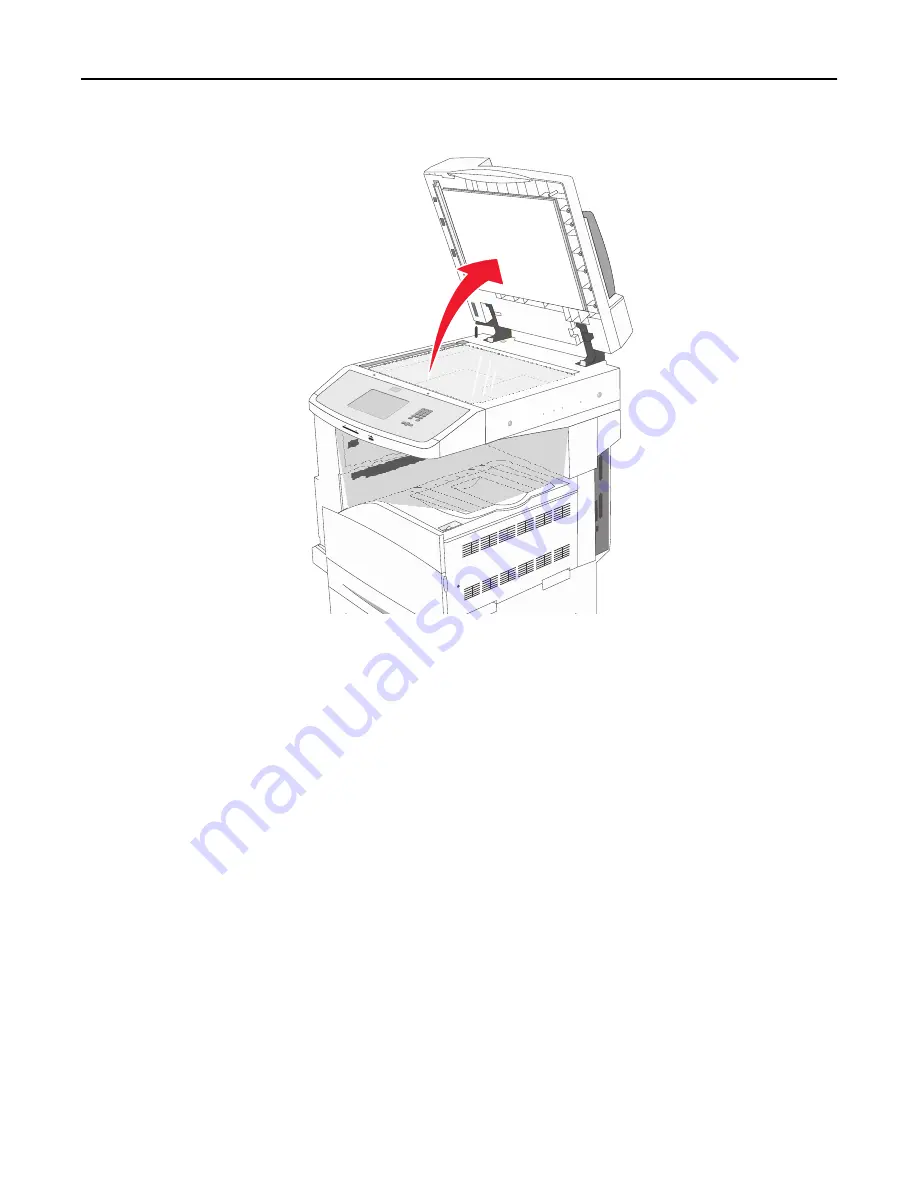
7
Open the scanner cover, and remove any jammed pages.
8
Close the scanner cover.
9
Touch
Continue
.
293 paper jam
The printer was sent a scan job, but found no original document in the ADF. Try one or more of the following:
•
Touch
Continue
if no scan job is active when the message appears. This clears the message.
•
Touch
Cancel Job
if a scan job is processing when the message appears. This cancels the job and clears the message.
•
Touch
Scan from Automatic Document Feeder
if the page jam recovery is active. Scanning resumes from the ADF
immediately after the last successfully scanned page.
•
Touch
Scan from flatbed
if page jam recovery is active. Scanning resumes from the scanner glass immediately after
the last successfully scanned page.
•
Touch
Finish job without further scanning
if page jam recovery is active. The job ends at the last successfully scanned
page, but the job is not canceled. Successfully scanned pages go to their destination: copy, fax, e-mail, or FTP.
•
Touch
Restart job
if job recovery is active and the job is restartable. The message clears. A new scan job containing
the same parameters as the previous job starts.
Troubleshooting
259
Summary of Contents for X860de
Page 6: ...Edition notice 287 Power consumption 291 Index 304 Contents 6 ...
Page 211: ...3 Place the tray into the printer 4 Remove the cable cover Maintaining the printer 211 ...
Page 242: ...231 paper jam 1 Open Door D 2 Remove the jam D D 3 Close Door D Troubleshooting 242 ...
Page 250: ...282 paper jam 1 Open Door F 2 Remove the jam 3 Close Door F Troubleshooting 250 ...
Page 254: ...28x paper jam 284 paper jam 1 Open Door F 2 Remove the jam 3 Close Door F Troubleshooting 254 ...


