Diagnostics information
2-3
4513-420, -430
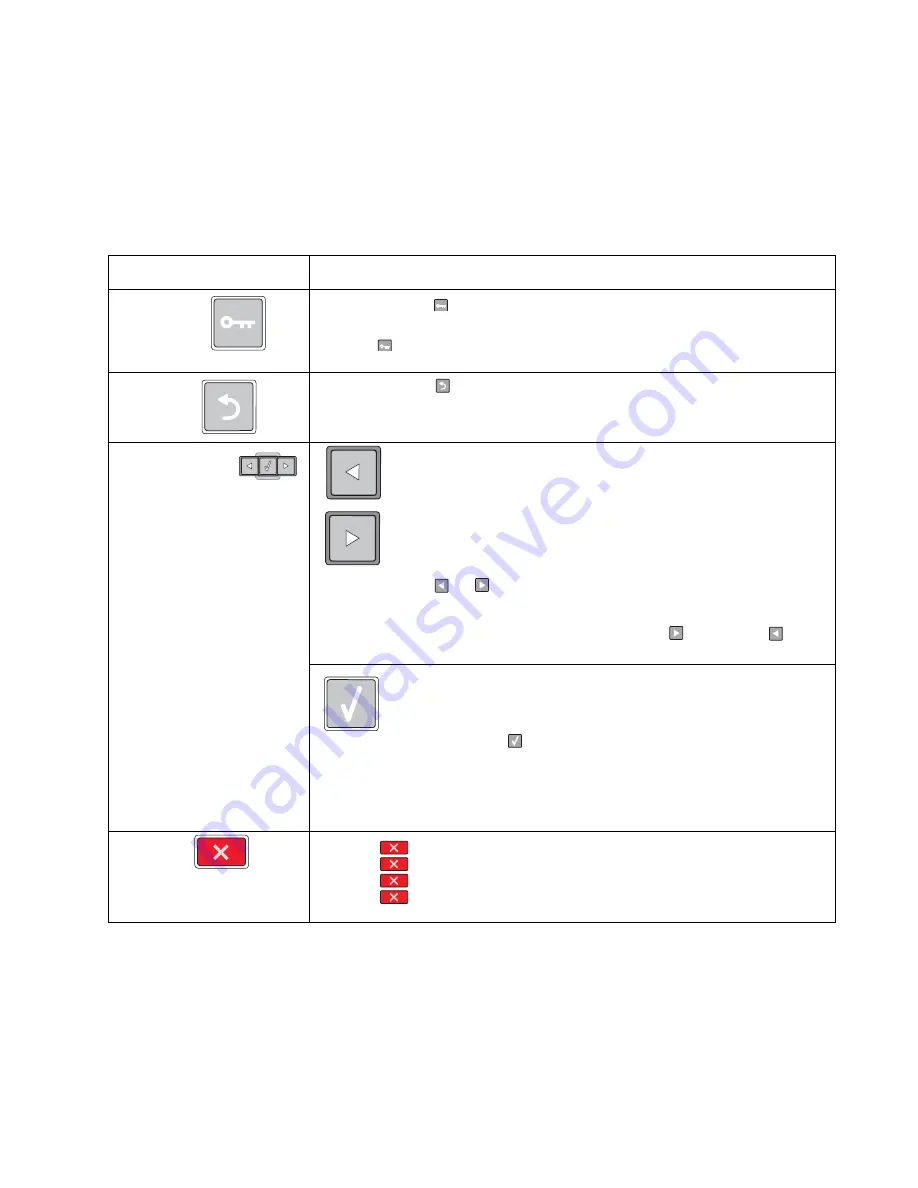
Buttons
Use the six operator panel buttons to open a menu, scroll through a list of values, change printer settings, and
respond to printer messages.
Note:
Buttons act on the information displayed on the second line of the operator panel.
The use of the buttons and the layout of the display are described in the following table:
Button or control panel item
Function
Menus button
Press and release
to open the menus. The menus are available only when the
printer is in the
Ready
state.
Pressing
also returns the operator panel to the top level menu screen if pressed
while in a menu.
Back button
Press and release
to return to the previous screen.
Navigation buttons
Left arrow menu button
Right arrow menu button
Press and release
or
to scroll through menus, menu items, or printer options,
or to move between screens and menu options.
These buttons can also be used to automatically increase
or decrease
the
desired number of copies.
Select button
Press and release
to open a menu, to display the available values or
settings, or to save the displayed value as the new user default setting.
Note:
When a new setting is saved as the default setting, it remains in effect until new
settings are saved or until factory defaults are restored. Settings chosen from a
software program can also change or override the user default settings selected from
the operator panel.
Stop button
• Press
once to return to the previous display screen while in the menus.
• Press
twice to exit the menus and return to the
Ready
state.
• Press
to stop printer activity.
• Press
to cancel a print job.
Stopping
will display momentarily.
Stopped
will then display to offer a list of settings that may be selected.
Summary of Contents for E360D series
Page 6: ...vi Lexmark E360d E360dn 4513 420 430...
Page 11: ...Notices and safety information xi 4513 420 430...
Page 12: ...xii Lexmark E360d E360dn 4513 420 430...
Page 26: ...1 10 Lexmark E360d E360dn 4513 420 430...
Page 60: ...2 34 Lexmark E360d E360dn 4513 420 430...
Page 113: ...Repair information 4 35 4513 420 430 5 Remove the three screws B from the left door mount B...
Page 133: ...Repair information 4 55 4513 420 430 4 Tilt the rear cover and remove...
Page 146: ...5 2 Lexmark E360d E360dn 4513 420 430 Controller board connector pin values...
Page 150: ...6 2 Lexmark E360d E360dn 4513 420 430...
Page 152: ...7 2 Lexmark E360d E360dn 4513 420 430 Assembly 1 Covers 4 3 1 5 2 9 10 6 7 8 11 12 13...
Page 154: ...7 4 Lexmark E360d E360dn 4513 420 430 Assembly 2 Electronics 5 2 6 3 4 10 11 12 7 13 8 9 1...
Page 160: ...7 10 Lexmark E360d E360dn 4513 420 430...
Page 166: ...52 4 48 3 38 8 98 3 80 0...


