Diagnostic aids
3-45
5026
5.
Reinsert tray 1.
6.
Press
Select
(
).
240 paper jam
If paper is jammed in Tray 1,
241.xx Paper jam
appears. If paper is jammed in any of the optional trays,
24x.xx
Paper jam
appears.
•
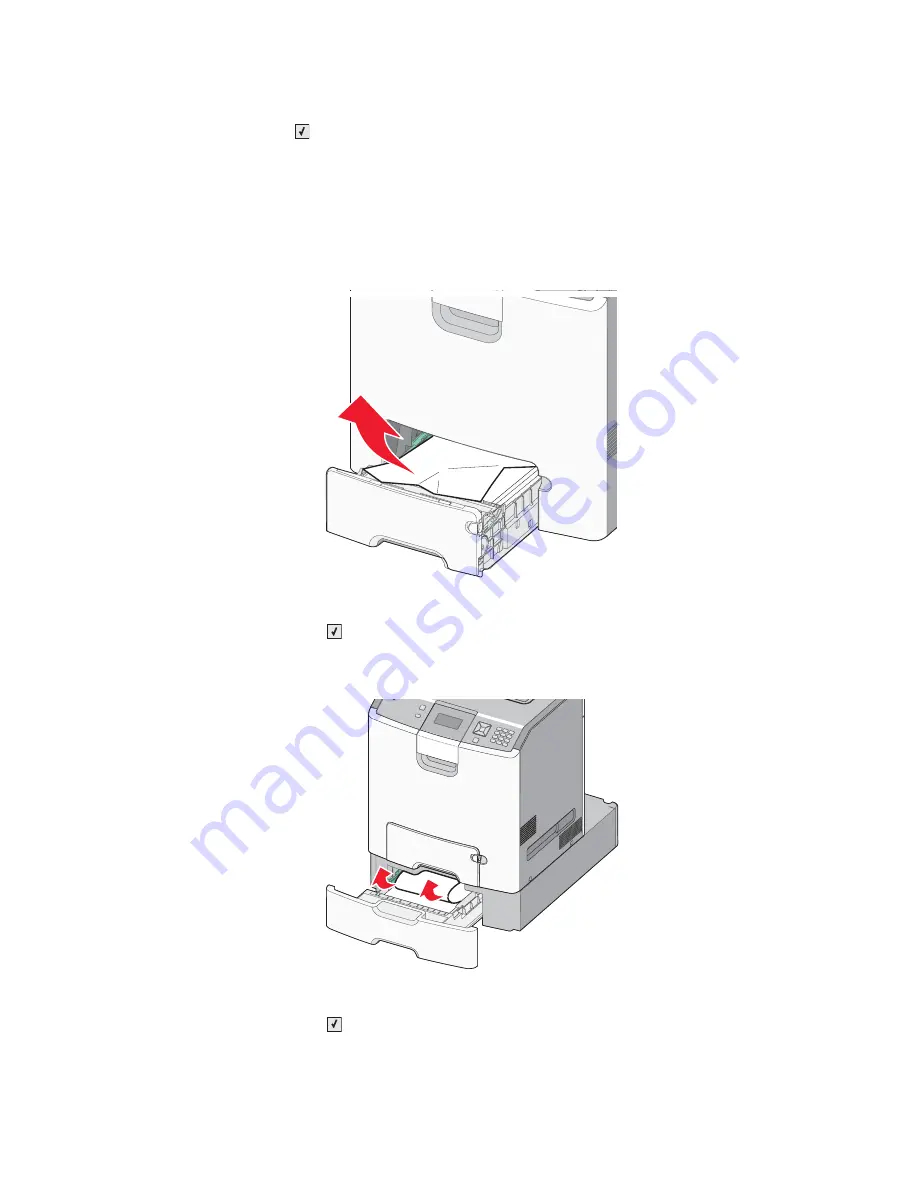
If the jammed paper is located in tray 1, follow these steps to remove the paper from tray 1.
1.
Open tray 1, and pull the jammed pages straight up and out.
2.
If the jam is located in front of the tray, pull the jammed pages up and out.
3.
After removing the tray, the front door may need to be opened to access the jam.
4.
Close tray 1.
5.
Press
Select
(
).
•
If the jammed pages are located in one of the optional trays, follow the appropriate steps below to remove
the pages from an optional tray.
1.
Open the specified optional tray, and pull the jammed pages out as illustrated.
2.
After removing the tray, the tray above may need to be opened to access the jam.
3.
Close the specified optional tray.
4.
Press
Select
(
).
Summary of Contents for C734 series
Page 13: ...Notices and safety information xiii 5026 ...
Page 14: ...xiv Service Manual 5026 ...
Page 170: ...2 136 Service Manual 5026 ...
Page 288: ...4 72 Service Manual 5026 12 Remove the seven screws M securing the EP drive ...
Page 339: ...Repair information 4 123 5026 13 Remove the three printhead mounting screws D ...
Page 395: ...Connector locations 5 1 5026 5 Connector locations Locations ...
Page 408: ...7 2 Service Manual 5026 Assembly 1 Covers ...
Page 410: ...7 4 Service Manual 5026 Assembly 2 Front ...
Page 412: ...7 6 Service Manual 5026 Assembly 3 Right 1 2 3 4 5 6 ...
Page 414: ...7 8 Service Manual 5026 Assembly 4 Rear ...
Page 424: ...7 18 Service Manual 5026 Assembly 11 Options and features ...
Page 426: ...7 20 Service Manual 5026 ...
Page 436: ...I 10 Service Manual 5026 ...


