Media Configuration
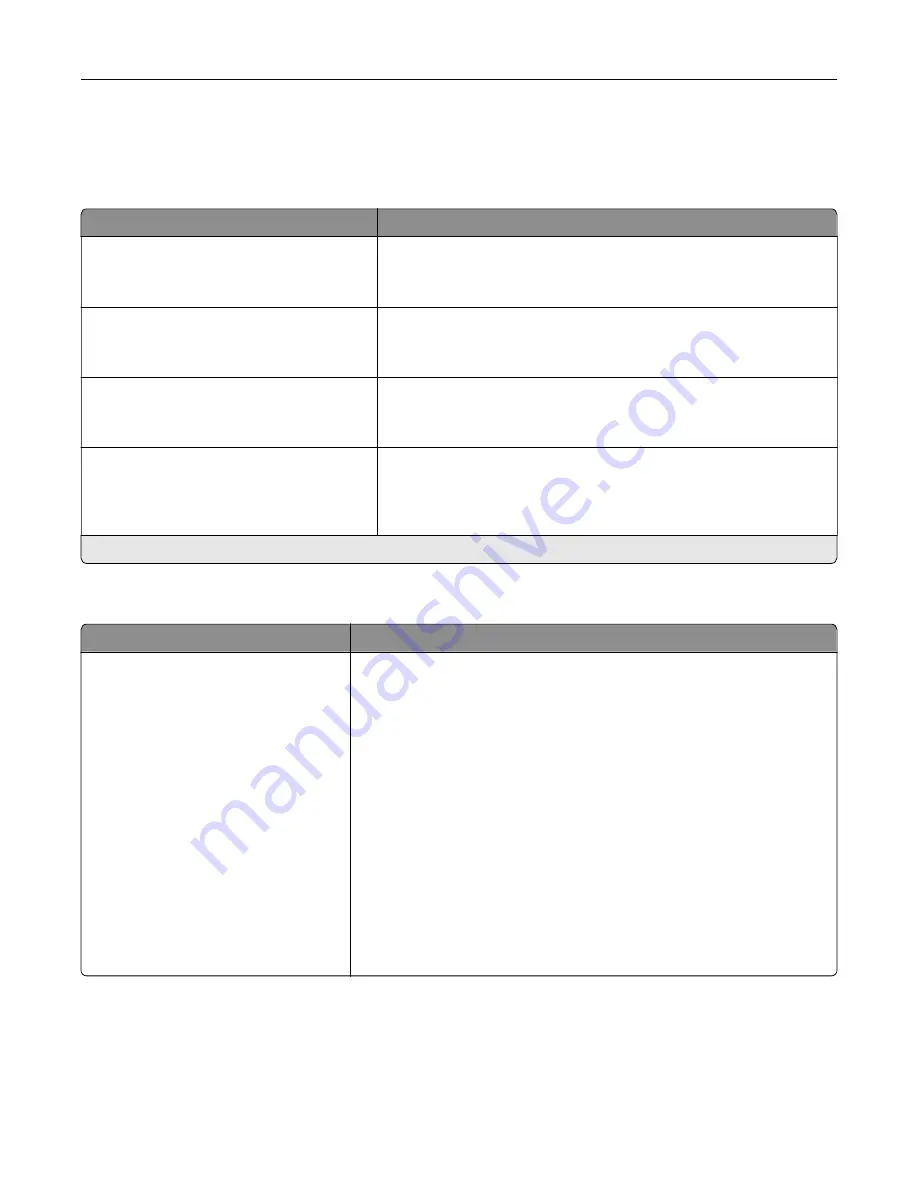
Universal Setup
Menu item
Description
Units of Measure
Inches
Millimeters
Specify the unit of measurement for the universal paper.
Note:
Inches is the U.S. factory default setting. Millimeters is the
international factory default setting.
Portrait Width
3–52 inches (8.5*)
76–1321 mm (216*)
Set the portrait width of the universal paper.
Portrait Height
3–52 inches (14*)
76.2–1321 mm (356*)
Set the portrait height of the universal paper.
Feed Direction
Short Edge*
Long Edge
Set the printer to pick paper from the short edge or long edge
direction.
Note:
Long Edge appears only when the longest edge is shorter
than the maximum width supported.
Note:
An asterisk (*) next to a value indicates the factory default setting.
Media Types
Menu item
Description
Plain
Card Stock
Recycled
Glossy
Labels
Vinyl Labels
Bond
Envelope
Letterhead
Preprinted
Colored Paper
Light
Heavy
Rough/Cotton
Custom Type [X]
Specify the texture, weight, and orientation of the paper.
Use printer menus
94
Summary of Contents for C4342
Page 46: ...4 Install the ISP into its housing Set up install and configure 46 ...
Page 47: ...5 Attach the housing to the controller board shield Set up install and configure 47 ...
Page 52: ...Set up install and configure 52 ...
Page 55: ...Set up install and configure 55 ...
Page 56: ...3 Install the wireless module into its housing Set up install and configure 56 ...
Page 57: ...4 Attach the wireless module to the controller board shield Set up install and configure 57 ...
Page 123: ...2 Remove the used toner cartridge 3 Unpack the new toner cartridge Maintain the printer 123 ...
Page 124: ...4 Insert the new toner cartridge 5 Close door B Maintain the printer 124 ...
Page 125: ...Replacing the black imaging unit 1 Open door B Maintain the printer 125 ...
Page 127: ...3 Remove the toner cartridges Maintain the printer 127 ...
Page 128: ...4 Disconnect the imaging kit cable Maintain the printer 128 ...
Page 132: ...9 Insert the imaging kit Maintain the printer 132 ...
Page 134: ...Replacing the color imaging kit 1 Open door B Maintain the printer 134 ...
Page 136: ...3 Remove the toner cartridges Maintain the printer 136 ...
Page 137: ...4 Disconnect the imaging kit cable Maintain the printer 137 ...
Page 138: ...5 Remove the used imaging kit Maintain the printer 138 ...
Page 141: ...8 Insert the black imaging unit into the new imaging kit Maintain the printer 141 ...
Page 142: ...9 Insert the new imaging kit Maintain the printer 142 ...
Page 144: ...Replacing the waste toner bottle 1 Open door B Maintain the printer 144 ...


