Action
Yes
No
Step 1
a
Adjust the paper guides in the tray to the correct position for
the paper loaded.
b
Print the document.
Is the text or image clipped?
Go to step 2.
The problem is
solved.
Step 2
a
Depending on your operating system, specify the paper size
from the Printing Preferences or Print dialog.
Notes:
•
Make sure that the setting matches the paper loaded in
the tray.
•
You can also change the setting on the printer control
panel. From the home screen, touch
Settings
>
Paper
>
Tray Configuration
>
Paper Size/Type
.
b
Print the document.
Is the text or image clipped?
Go to step 3.
The problem is
solved.
Step 3
a
Remove the color imaging kit, and then remove the black
imaging unit.
Warning—Potential Damage:
Do not expose the color
imaging kit and black imaging unit to direct light for more
than 10 minutes. Extended exposure to light may cause print
quality problems.
Warning—Potential Damage:
Do not touch the
photoconductor drum under the color imaging kit and black
imaging unit. Doing so may affect the quality of future print
jobs.
b
Insert the black imaging unit, and then insert the color imaging
kit.
c
Print the document.
Is the text or image clipped?
Contact
The problem is
solved.
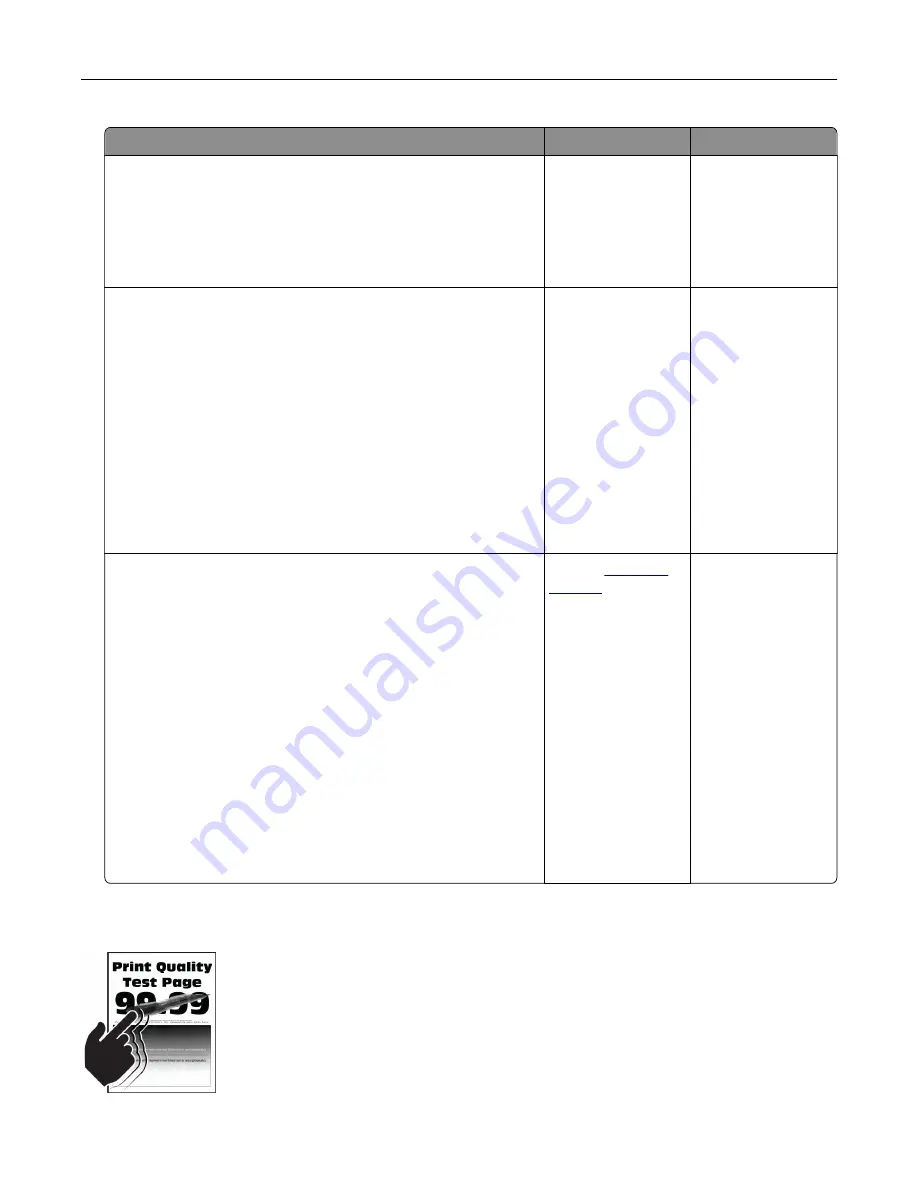
Toner easily rubs off
Troubleshoot a problem
183
Summary of Contents for C4342
Page 46: ...4 Install the ISP into its housing Set up install and configure 46 ...
Page 47: ...5 Attach the housing to the controller board shield Set up install and configure 47 ...
Page 52: ...Set up install and configure 52 ...
Page 55: ...Set up install and configure 55 ...
Page 56: ...3 Install the wireless module into its housing Set up install and configure 56 ...
Page 57: ...4 Attach the wireless module to the controller board shield Set up install and configure 57 ...
Page 123: ...2 Remove the used toner cartridge 3 Unpack the new toner cartridge Maintain the printer 123 ...
Page 124: ...4 Insert the new toner cartridge 5 Close door B Maintain the printer 124 ...
Page 125: ...Replacing the black imaging unit 1 Open door B Maintain the printer 125 ...
Page 127: ...3 Remove the toner cartridges Maintain the printer 127 ...
Page 128: ...4 Disconnect the imaging kit cable Maintain the printer 128 ...
Page 132: ...9 Insert the imaging kit Maintain the printer 132 ...
Page 134: ...Replacing the color imaging kit 1 Open door B Maintain the printer 134 ...
Page 136: ...3 Remove the toner cartridges Maintain the printer 136 ...
Page 137: ...4 Disconnect the imaging kit cable Maintain the printer 137 ...
Page 138: ...5 Remove the used imaging kit Maintain the printer 138 ...
Page 141: ...8 Insert the black imaging unit into the new imaging kit Maintain the printer 141 ...
Page 142: ...9 Insert the new imaging kit Maintain the printer 142 ...
Page 144: ...Replacing the waste toner bottle 1 Open door B Maintain the printer 144 ...


