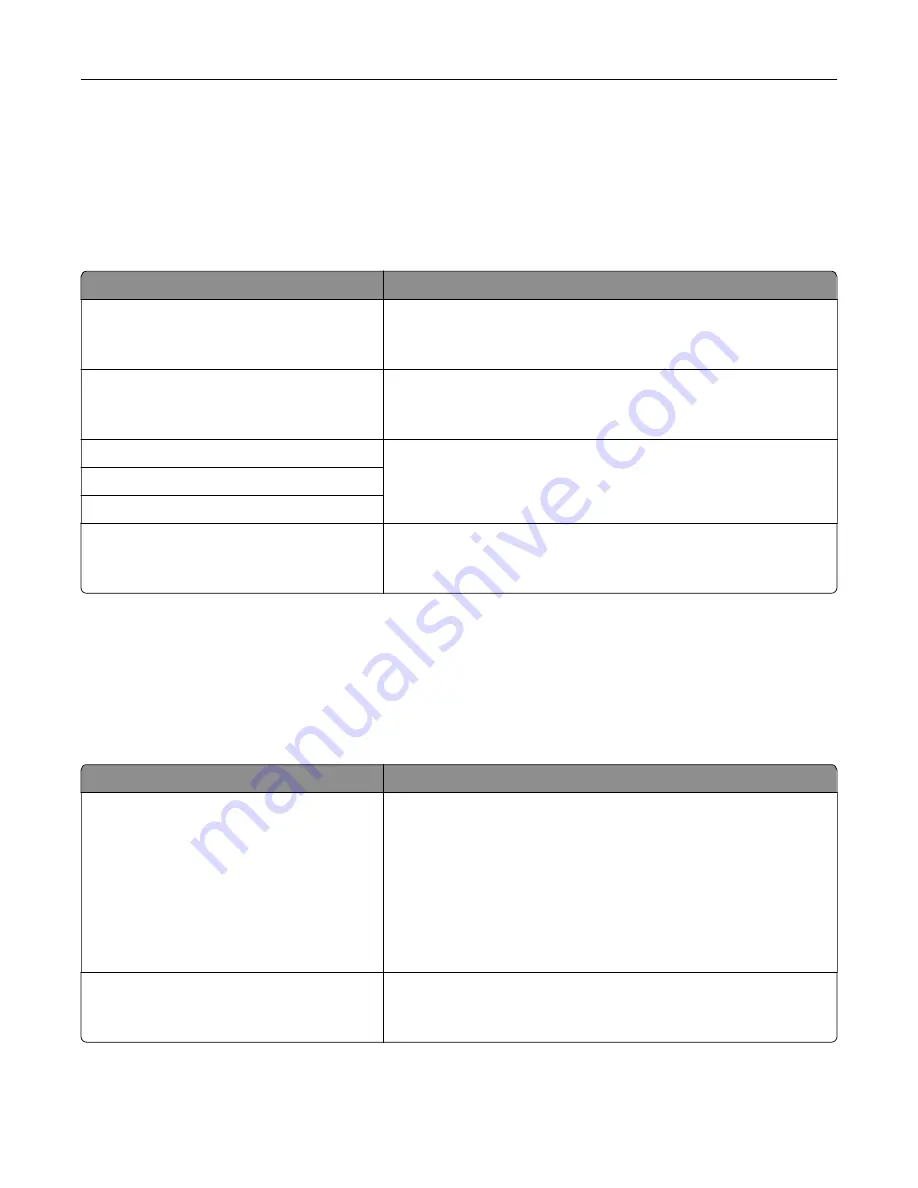
IPv6 menu
To access the menu, navigate to either of the following:
•
Network/Ports
>
Standard Network
>
Standard Network Setup
>
IPv6
•
Network/Ports
>
Network [x]
>
Network [x] Setup
>
IPv6
Note:
This menu is available only in network printers or printers that are attached to print servers.
Use
To
Enable IPv6
On
Off
Enable IPv6 in the printer.
Note:
On is the factory default setting.
Auto Configuration
On
Off
Specify whether or not the wireless network adapter accepts the
automatic IPv6 address configuration entries provided by a router.
Note:
On is the factory default setting.
View Hostname
Set the host name.
Note:
These settings can be changed only from the Embedded
Web Server.
View Address
View Router Address
Enable DHCPv6
On
Off
Enable DHCPv6 in the printer.
Note:
On is the factory default setting.
Wireless menu
Note:
This menu is available only in printers connected to a wireless network or printer models that have a
wireless network adapter.
To access the menu, navigate to:
Network/Ports
>
Network [x]
>
Network [x] Setup
>
Wireless
Use
To
Wi
‑
Fi Protected Setup
Start Push Button Method
Start PIN Method
Establish a wireless network and enable network security.
Notes:
•
Start Push Button Method connects the printer to a wireless
network when buttons on both the printer and the access point
(wireless router) are pressed within a given period of time.
•
Start PIN Method connects the printer to a wireless network
when a PIN on the printer is entered into the wireless settings
of the access point.
Enable/Disable WPS Auto
‑
detection
Enable
Disable
Automatically detect the connection method that an access point
with WPS uses—Start Push Button Method or Start PIN Method.
Note:
Disable is the factory default setting.
Understanding the printer menus
84
Summary of Contents for C2132
Page 1: ...C2132 User s Guide June 2017 www lexmark com Machine type s 5027 Model s 639...
Page 133: ...2 Open the top door 1 2 3 Remove the toner cartridges 1 2 Maintaining the printer 133...
Page 138: ...16 Insert the waste toner bottle 17 Insert the right side cover Maintaining the printer 138...
Page 142: ...2 Open the top door 1 2 3 Remove the toner cartridges 1 2 Maintaining the printer 142...
Page 152: ...Settings General Settings Factory Defaults Restore Now Managing the printer 152...
Page 156: ...Below the fuser In the fuser access door 3 Close the front door Clearing jams 156...


