


Leviton Piccolo Scan
56
22. Using Ethernet
The console offers Ethernet capabilities for distribution of DMX data over an Ethernet network and for
connection to the OLE and 3D visualizers such as Capture. Ethernet protocols include IPX, ArtNet and CIPT.
22.1. Ethernet Configuration
Proper Ethernet cables (RJ45) must be used: cross-over type for direct connection between units
or straight type for connection to an Ethernet hub or switch.
To configure DMX output to Ethernet, select [MENU][40] and edit the following:
Ethernet
(On, Off): Set this option to ON to activate the console’s Ethernet capabilities.
Net Number
(0-15): Set the communication net number. Only units connected to the same net can
communicate with each other. For ArtNet, this number represents the Subnet number. Note that to
communicate by IPX with Capture, the Net Number must be between 0 – 9.
Universe
protocol (IPX, ArtNet) & DMX universe number (0-15): Each net has 16 DMX universes. Set
desired protocol and universe #.
Capture: Set to allow bidirectional communication with Capture simulator. See
section 22.3
below.
Local IP: Set IP address for ArtNet. Note that when using the OLE, the IP address is from the computer on
which the OLE is running.
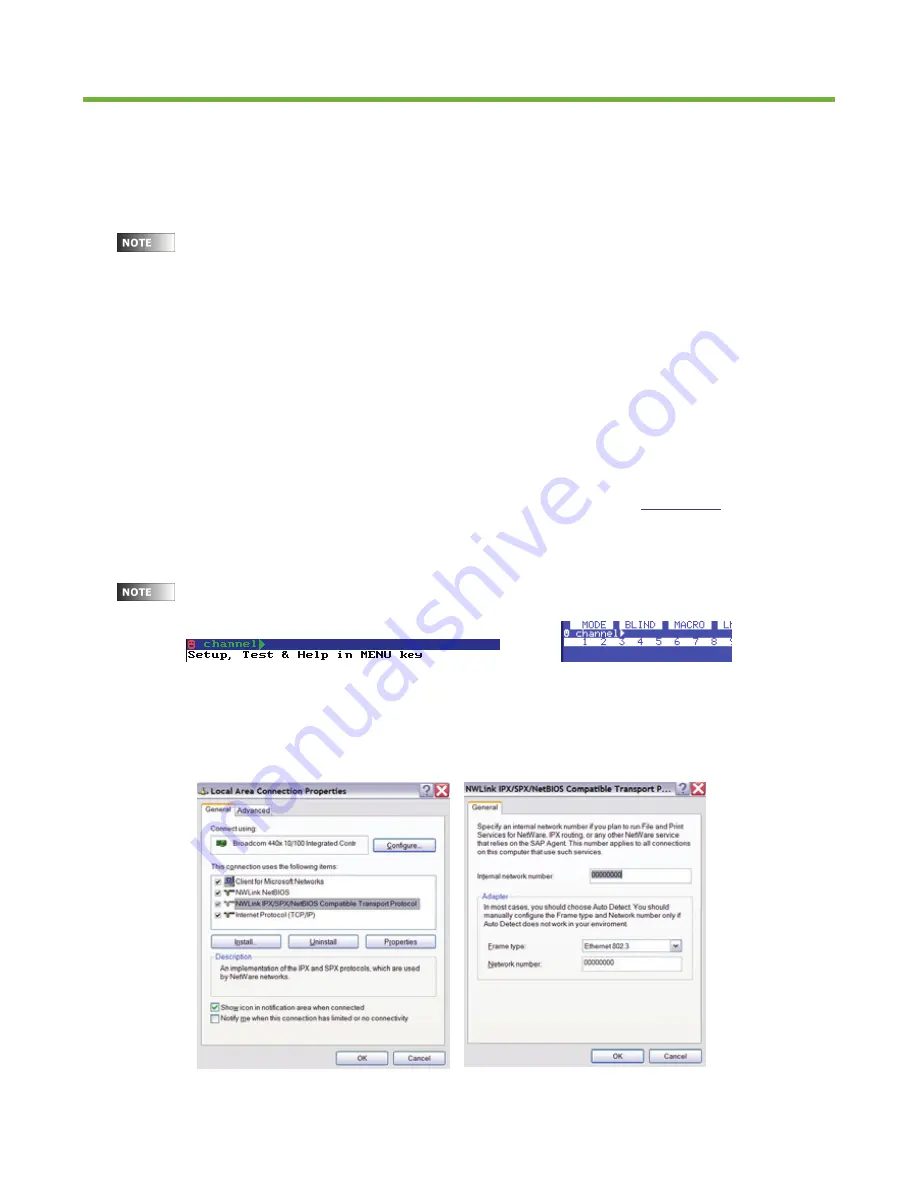
When the console is transmitting DMX by Ethernet, a
☺
symbol, will appear in the command line
of the monitor and display:
22.2. IPX Configuration
If using IPX it is necessary to install the NWLink IPX Compatible protocol and set the frame type as
Ethernet 802.3 in your PC as shown below:
Summary of Contents for PICCOLO SCAN
Page 72: ...Leviton Piccolo Scan 66...
Page 73: ...67...