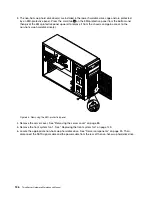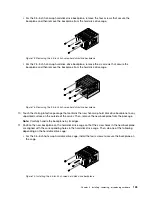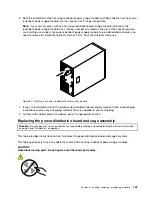
• For the 3.5-inch hot-swap hard disk drive backplane, remove the four screws that secure the
backplane and then remove the backplane from the hard disk drive cage.
Figure 72. Removing the 3.5-inch hot-swap hard disk drive backplane
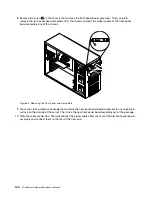
• For the 2.5-inch hot-swap hard disk drive backplane, remove the six screws that secure the
backplane and then remove the backplane from the hard disk drive cage.
Figure 73. Removing the 2.5-inch hot-swap hard disk drive backplane
10. Touch the static-protective package that contains the new hot-swap hard disk drive backplane to any
unpainted surface on the outside of the server. Then, remove the new backplane from the package.
Note:
Carefully handle the backplane by its edges.
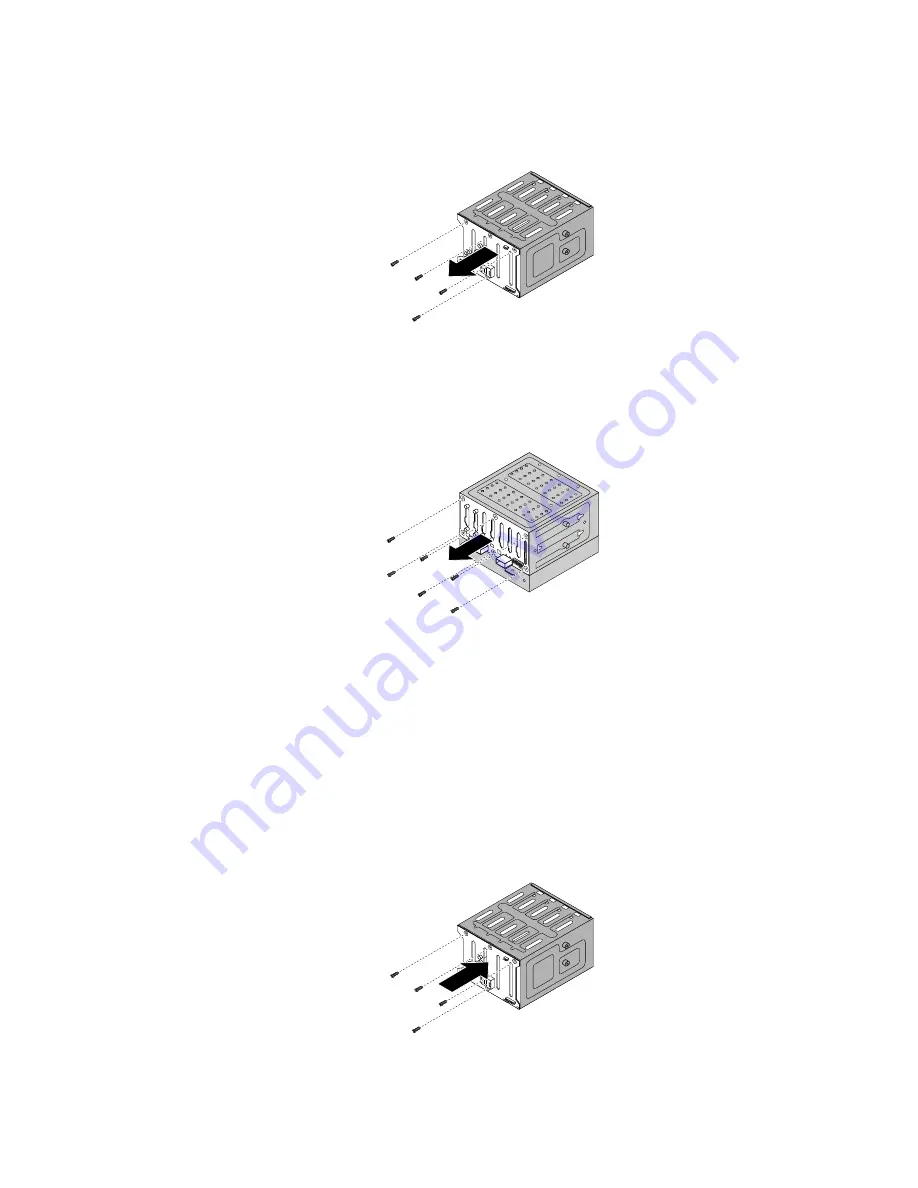
11. Position the new backplane on the hard disk drive cage so that the screw holes in the new backplane
are aligned with the corresponding holes in the hard disk drive cage. Then, do one of the following
depending on the hard disk drive cage:
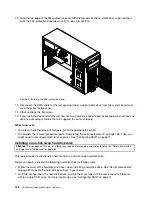
• For the 3.5-inch hot-swap hard disk drive cage, install the four screws to secure the backplane on
the cage.
Figure 74. Installing the 3.5-inch hot-swap hard disk drive backplane
Chapter 6
.
Installing, removing, or replacing hardware
135
Summary of Contents for THINKSERVER 387
Page 16: ...4 ThinkServer Hardware Maintenance Manual ...
Page 18: ...6 ThinkServer Hardware Maintenance Manual ...
Page 94: ...82 ThinkServer Hardware Maintenance Manual ...
Page 190: ...178 ThinkServer Hardware Maintenance Manual ...
Page 228: ...216 ThinkServer Hardware Maintenance Manual ...
Page 246: ...234 ThinkServer Hardware Maintenance Manual ...
Page 247: ......
Page 248: ......


