© Copyright Lenovo 2015
Chapter 4: Removing and Replacing G8264CS Components
63
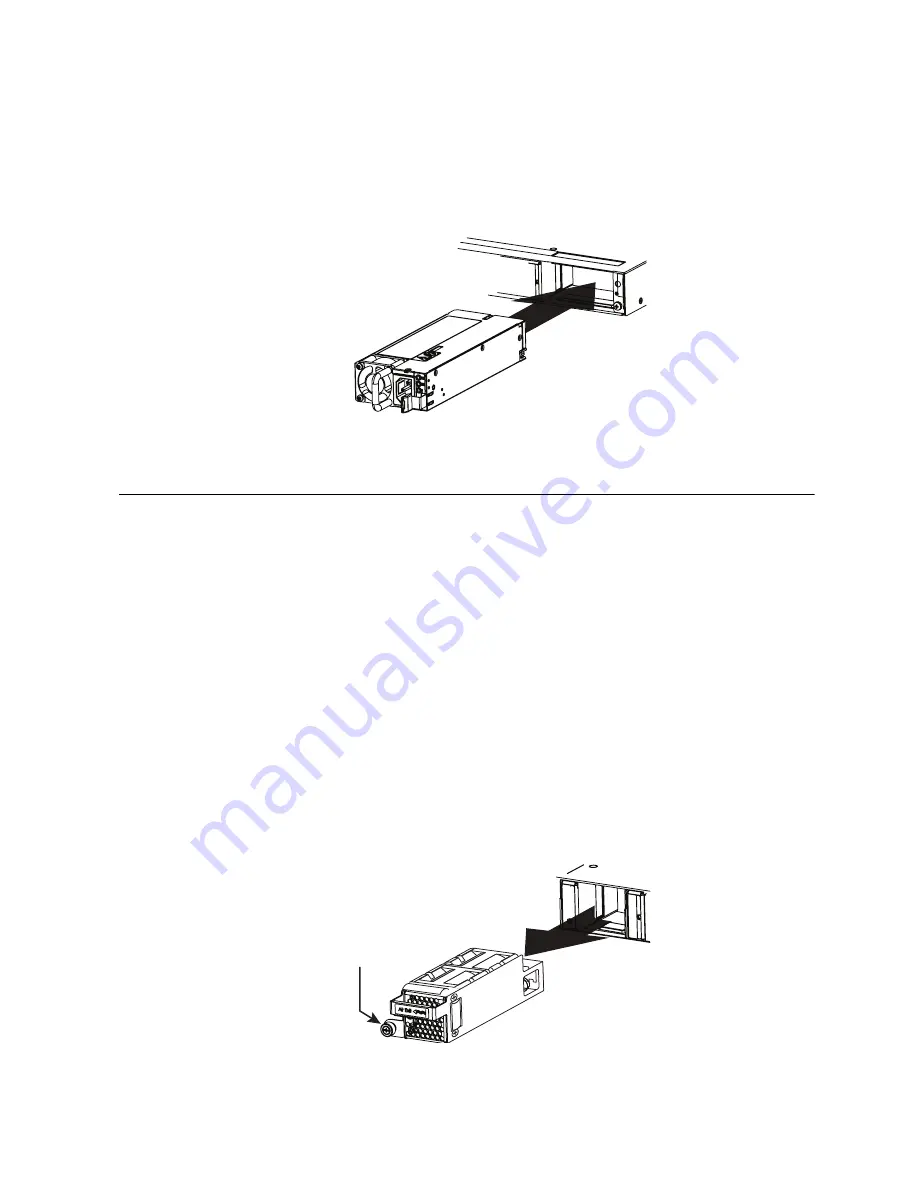
To replace a hot-swap power supply module, complete the following steps:
1. Select an empty power supply module bay on the rear of the switch. If the
target bay is protected by a blank power filler plate, remove the blank.
2. Insert the power supply module into the selected power-supply bay and gently
push it into the slot until it latches. Each power supply module has a
mechanical guide key to prevent you from inserting the module incorrectly.
3. Connect the power cord to the power supply module and to an appropriate
universal grounded AC power source.
4. Make sure that the power supply module’s DC and ~AC LEDs are green.
Removing and Replacing a Fan Module
The rear panel of the G8264CS has four bays for hot-swap fan modules. Four active
fan modules are required for redundancy.
With active fan modules in all fan bays, if one fan fails, the switch will send an error
message and continue operation. You can then replace the failed fan without
powering off the switch or disrupting switch functions. If a second fan fails, the
switch will send another error message, write a log message to flash memory, and
shut down to prevent overheating.
For proper airflow when operating the switch with one empty fan bay (a
non-redundant configuration), the empty fan bay must be closed with a blank fan
filler plate.
Removing the Fan Module
To remove a hot-swap fan module, complete the following steps:
1. Loosen the retainer screw.
2. Grasp the extractor handle and gently pull the fan module from the slot.
Retainer Screw
Summary of Contents for RackSwitch G8264CS
Page 1: ...Lenovo RackSwitch G8264CS Installation Guide ...
Page 10: ...10 G8264CS Installation Guide ...
Page 14: ...14 G8264CS Installation Guide ...
Page 18: ...18 G8264CS Installation Guide ...
Page 32: ...32 G8264CS Installation Guide ...
Page 58: ...58 G8264CS Installation Guide ...
Page 78: ...78 G8264CS Installation Guide ...
Page 92: ...92 G8264CS Installation Guide ...
Page 96: ...96 G8264CS Installation Guide ...


