25
Setting up a Tile Scan
The approach to setting up a tile scan is different from that in Zeiss LSM.
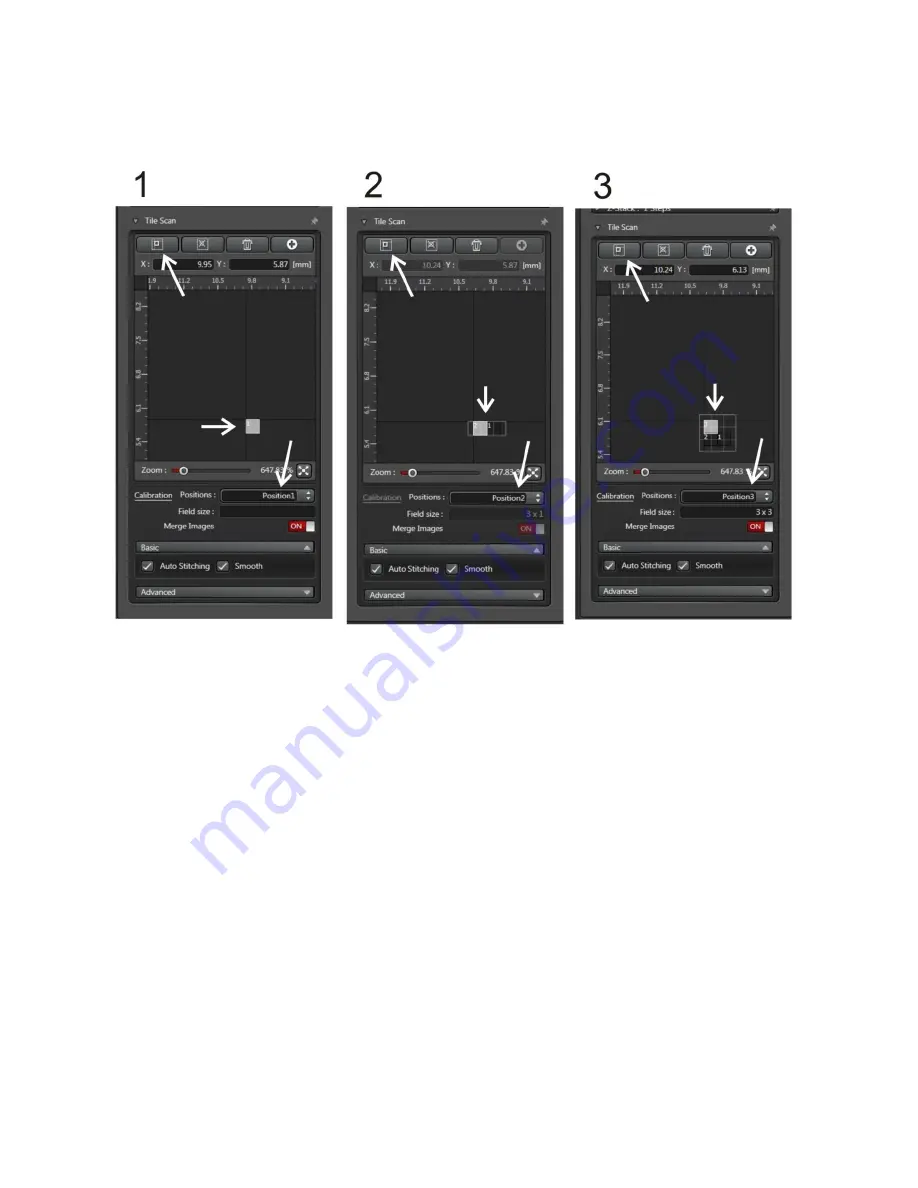
Step 1: Click on the Select Position button to select the current position as Position 1.
Step 2: Move the stage to a position at one extreme of the area to be tiled. Use the microscope
controller X-Y controls to move to the new position, while observing through the eyepieces or
observing the display in
Live
mode. Click on the Select Position button to select the current position
as Position 2. The map will display a map indicating the number of tiles to be scanned. In this
example, a 2 x 1 tile map is to be acquired.
Stage 3: To expand the tiled area, move the stage to a new position at an orthogonal extreme, as
before. Click on the Select Position button to select the current position as Position 3. The map will
display a revised map indicating the expanded number of tiles to be scanned. In this example, a 3 x
3 tile map is now to be acquired.
Click on ‘Start’ to begin acquisition of the tiled scan. If ‘Auto Stitching’ is selected, after
acquisition is completed, the images will be automatically stitched together to form a composite image.
Combining Tiling with Stacks
Stacks may be combined with tiles and with averaging. Be sure to check that the stack dimensions are
appropriate at all locations of the tile scan.


