48
7. Startup
7.6.2 Incident Light
For each objective there are reasonable values
assigned to aperture and field diaphragm. The
incident light module is also pre-centered at the
factory.
Due to transportation and setup of the stand,
however, you might have to re-center the
incident light module. Please check the aperture
and field diaphragm centering.
The following procedure refers to the incident
light bright field illumination.
• Select an objective with moderate
magnification (10x-20x)
• If necessary, activate the incident light axis
by pressing the TL/IL key (43.1).
• Activate the bright field contrasting method
by pressing IL-BF/Fluo (one of the variable
function keys at the stand or at the
LeicaScreen).
• Insert the specimen in the stage’s specimen
holder (45.1).
• Focus on the specimen with the SmartMove
or focus wheel.
• Adjust the light intensity with the
INT
keys
(43.3).
Adjusting the field diaphragm
• Close the field diaphragm with the
FD
keys
(43.4) until the edge of the diaphragm (round
or rectangular) appears on the specimen pla-
ne.
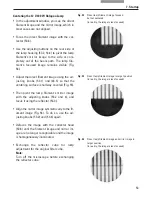
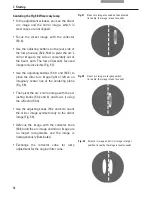
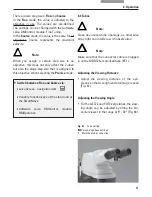
• If the boundaries of the field diaphragm are
not in the center of the field of view, the
diaphragm has to be moved with the two
centering bolts (48a.1) on the right side of the
stand.
• With the function keys
FD
(43.4) on the left
side of the stand, open the field diaphragm
until it just disappears from the field of view.
• When using a digital camera, rectangular
field diaphragms are recommended. Adjust
the size of the diaphragm to the chip size of
your camera.
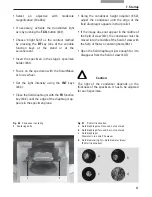
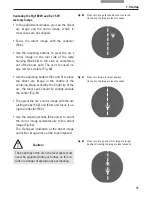
Fig. 48a
Adjusting the field diaphragm in the incident light
axis
1
Centering bolts for moving the field diaphragm
1
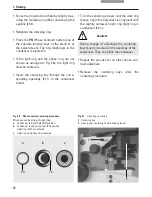
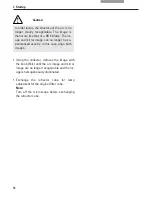
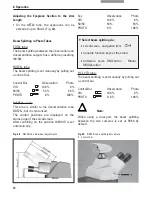
Fig. 48b
Adjusting the aperture diaphragm in the incident
light axis
1
Centering bolts for moving the aperture diaphragm
1

