43
7. Startup
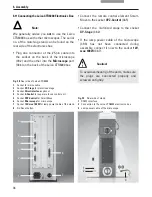
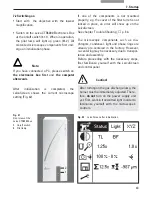
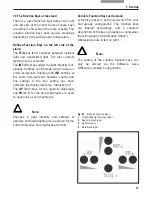
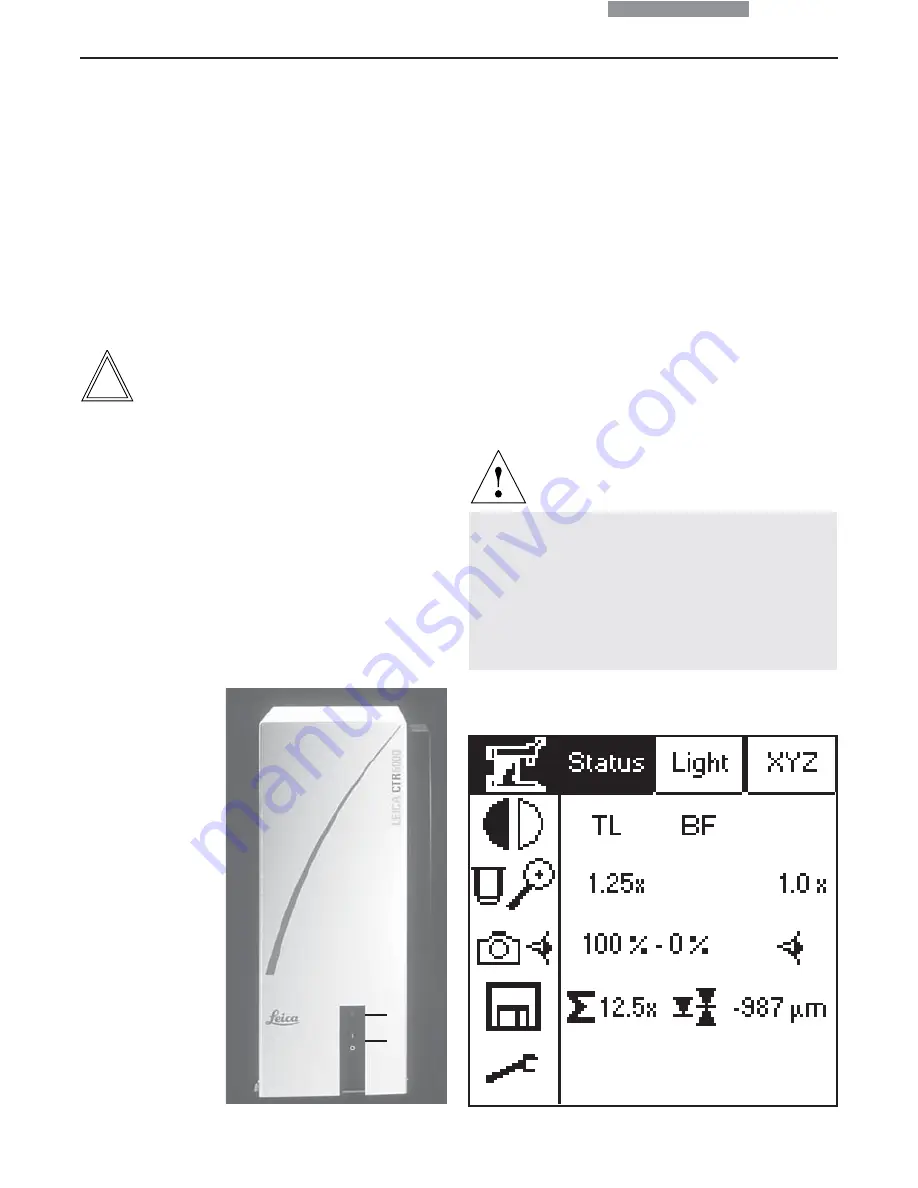
Fig. 42
LeicaScreen after initialization
7.2 Switching on
• Start with the objective with the lowest
magnification.
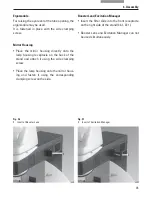
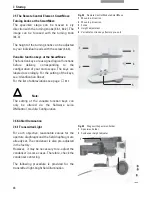
• Switch on the Leica CTR6000 Electronics Box
at the on/off switch (41.1). When in operation,
the pilot lamp will light up green (41.2). All
motorized microscope components first und-
ergo an initialization phase.
Note:
If you have connected a PC, please switch on
the electronics box first
and
the computer
afterwards
.
After initialization is completed, the
LeicaScreen shows the current microscope
setting (Fig. 42).
If one of the components is not mounted
properly, e.g. the cover of the filter turret is not
locked in place, an error will show up on the
LeicaScreen.
See chapter ‘Trouble Shooting’,
→
p. 80.
The microscopic components such as dia-
phragms, condenser, light and phase rings are
already pre-centered in the factory. However,
re-centering may be necessary due to transpor-
tation and assembly.
Before proceeding with the necessary steps,
first familiarize yourself with the LeicaScreen
and control panel.
Caution!
After turning on the gas discharge lamp, the
burner must be immediately adjusted. There-
fore,
do not
turn on the power supply unit
yet. First, work in transmitted light in order to
familiarize yourself with the microscope’s
controls.
Fig. 41
Front view of the
Leica CTR6000 box
1
On/off switch
2
Pilot lamp
1
2


