As soon as you click one of the tools
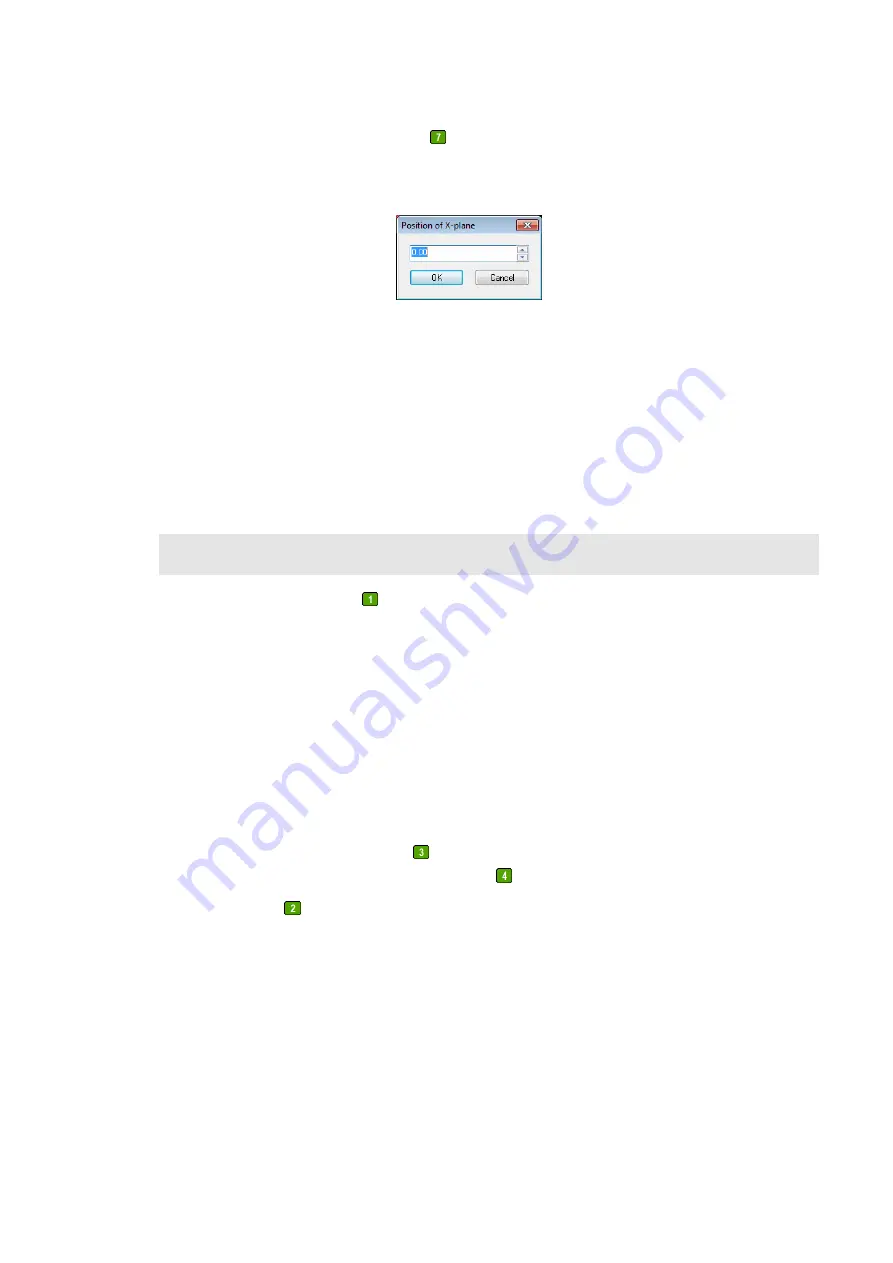
, you need to define the position of the plane in the
following dialog:
When you click
OK
, a plane fit is calculated based on the selected points, and plausibility
checks are performed for planarity of data, angles to already created planes, etc. After
successful completion of the best fit, the plane object is added to the list of reference objects.
The masked points of the object are displayed in green.
As soon as at least one object has been assigned to each main plane, the
Transform data
button is available. When you click the button, the data is transformed and the alignment is
completed.
Note
When using one of the tools
, you can add areas in the following way:
1.
Move the cursor to the top left corner of the area to be drawn.
2.
Press and hold the left mouse button.
3.
Move the cursor to the bottom right until the object has the required size.
4.
When you release the left mouse button, the object is surrounded by a border that allows
manipulating the object: When the cursor is inside the object, you can move the whole
object; when the cursor is above one of the small squares, you can move the corresponding
border(s). To do so, press and hold the left mouse button, move the element to the required
position and release the mouse button.
5.
To accept the object, use tool
or double-click outside the drawn object with the left
mouse button. To delete the object, use tool
.
When using tool
, proceed as follows:
1.
Move the cursor to the starting point of the polygonal chain and click the left mouse
button.
2.
When you move the cursor, you can see a line between the last point and the cursor. Each
time you click the left mouse button, you add a new point to the polygonal chain. Repeat
this step until all points have been added.
3.
To end the polygonal chain, double-click the left mouse button. Please keep in mind that
the point that is double-clicked is also added to the polygonal chain.


