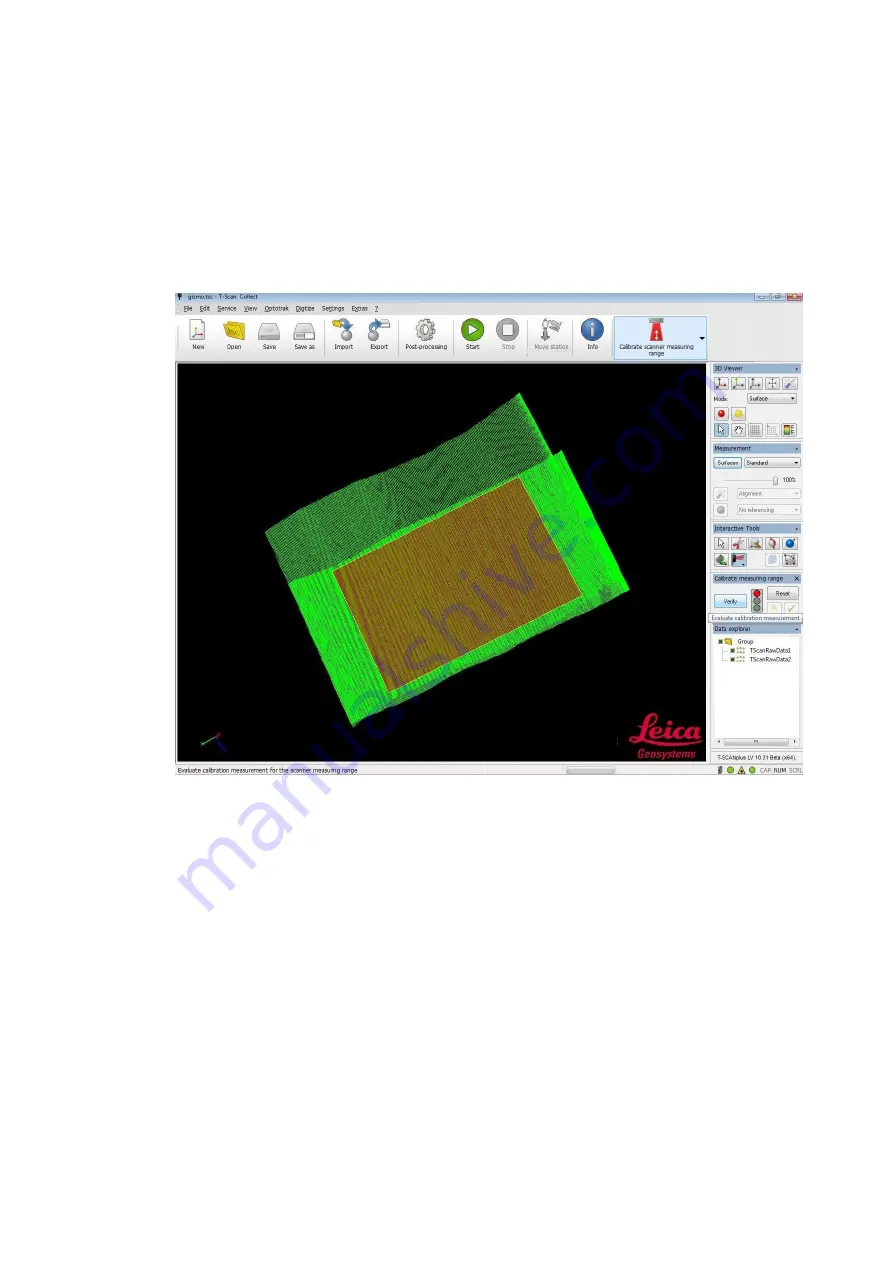
Now measure the plane one time using the Close End of the scanner and another time using
the Far End of the scanner (“Calibration measurement”).
In the 3D viewer, select the two data sets using the lasso. Take care not to select points which
do not lie on the plane. If other data (e. g. from previous measurements) is located at the same
area, hide or delete it in the Data Explorer toolbox prior to using the lasso.
Press
Verify
. If the data does not suffice the requirements an adequate message box will open.
In this case, repeat the measurement. Otherwise the status indicator will show you the status
of the measurement range calibration:
Green state: The scanner is calibrated optimally. No further steps are necessary and
you may close the toolbox.
Yellow state: The scanner calibration has been optimized using the measured data. To
make sure that the optimization improved the calibration it is necessary to measure
the plane again (in the same way as described above) one time using the Close End of
the scanner and another time
Red state: The scanner calibration has not been started yet or the
Undo
button was
pressed.


