


• If the machine remains turned off for a certain period of time (for example, when the power switch
is turned off or when there is a power failure), all documents stored in memory will be lost. If the
Fax Received indicator is lit or flashing, make sure to print out the stored documents before turning
off the power (for example, prior to relocating the machine).
When the Fax Received indicator is lit, there is a fax stored in machine’s memory. Follow the procedure
below to print the fax.
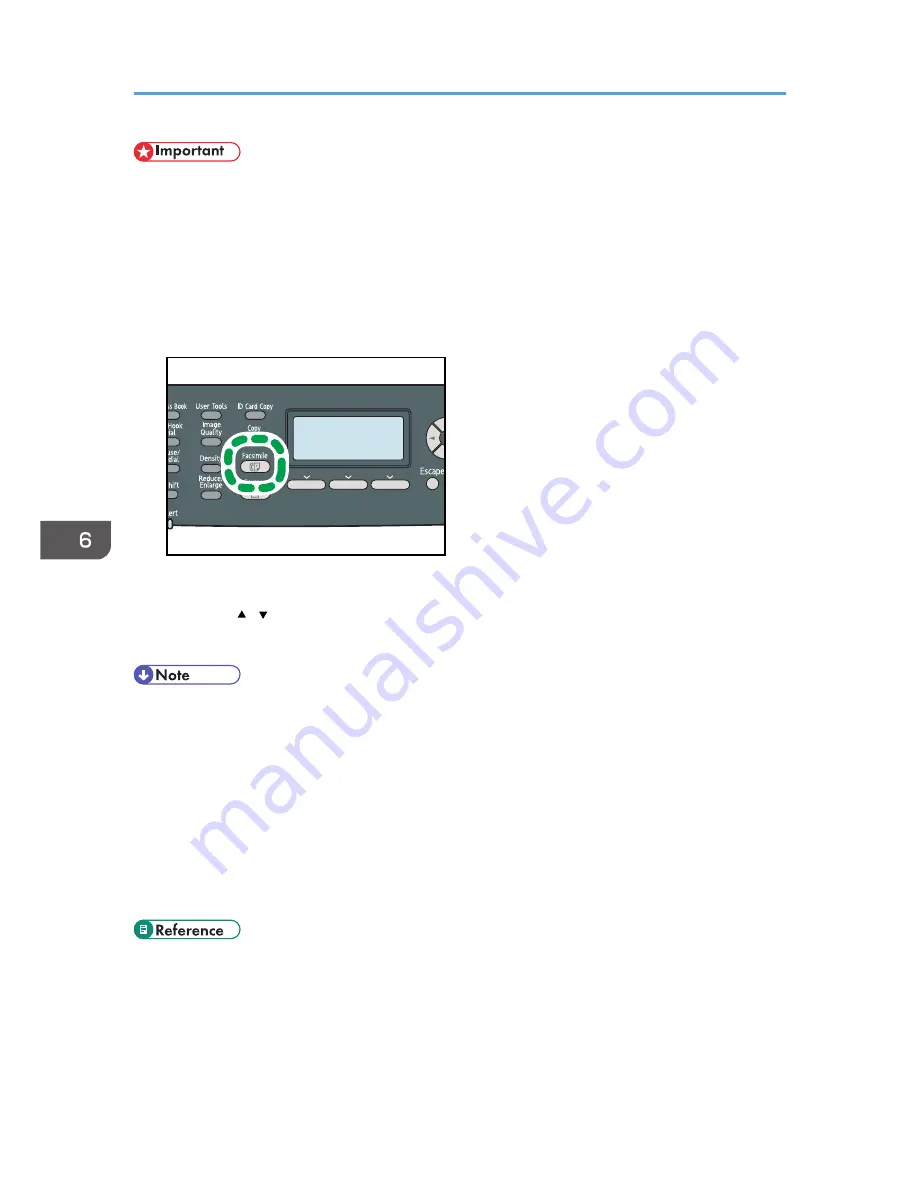
1.
Press the [Facsimile] key.
CES176
2.
Press [RX File].
3.
Press the [ ][ ] keys to select [On], and then press the [OK] key.
The machine prints out the stored fax and deletes it from memory.
• You can press the [Escape] key to exit to the previous level of the menu tree.
• Selecting [On] here will enable [Print Received File] under fax feature settings. If you do not want to
print out subsequent faxes automatically, set it back to [Off].
• If tray 2 is installed, you can select which tray to feed paper from in [Select Paper Tray] under fax
feature settings. If you set the machine to switch between tray 1 and 2 automatically in this setting,
you can also specify the tray the machine uses first in [Paper Tray Priority] under system settings.
• If the Fax Received indicator is flashing, there is a received fax in the machine's memory that could
not be printed out due to machine errors such as an empty paper tray or a paper jam. The printing
will start as soon as the problem is resolved.
• For details about [Print Received File], see p.257 "Fax Feature Settings".
• For details about [Select Paper Tray], see p.257 "Fax Feature Settings".
• For details about [Paper Tray Priority], see p.266 "System Settings"
6. Using the Fax Function
236
Summary of Contents for FS-C1020MFP+
Page 1: ...FS C1020MFP OPERATION GUIDE ...
Page 10: ...INDEX 435 9 ...
Page 11: ...10 ...
Page 39: ...1 Guide to the Machine 38 ...
Page 131: ...2 Getting Started 130 ...
Page 149: ...3 Using the Printer Function 148 ...
Page 191: ...5 Using the Scanner Function 190 ...
Page 345: ...8 Configuring the Machine Using COMMAND CENTER 344 ...
Page 417: ...10 Maintenance 416 ...
Page 441: ...MEMO 440 M100 7500 ...
Page 442: ... 2011 ...
Page 443: ......
Page 444: ...5J3KMEN000 M100 7500 ...


