User's Guide
- 202 -
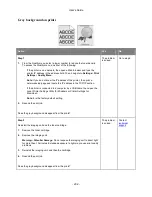
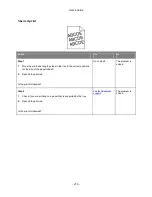
Gray background on prints
Action
Yes
No
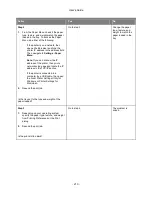
Step 1
1.
From the Quality menu, select a lower number to reduce the toner density.
To access the Quality menu, do either of the following:
-
If the printer is on a network, then open a Web browser and type the
printer IP address in the address field. Then, navigate to
Settings
>
Settings
>
Quality Menu
.
Note:
If you do not know the IP address of the printer, then print a
network setup page and locate the IP address in the TCP/IP section.
-
If the printer is connected to a computer by a USB cable, then open the
Local Printer Settings Utility for Windows or Printer Settings for
Macintosh.
Note:
8 is the factory default setting.
2.
Resend the print job.
Does the gray background disappear from the prints?
The problem
is solved.
Go to step 2.
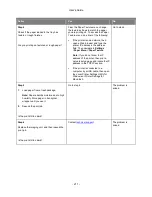
Step 2
Reinstall the imaging unit and the toner cartridge.
1.
Remove the toner cartridge.
2.
Remove the imaging unit.
Warning—Potential Damage:
Do not expose the imaging unit to direct light
for more than 10 minutes. Extended exposure to light may cause print quality
problems.
3.
Reinstall the imaging unit, and then the cartridge.
4.
Resend the print job.
Does the gray background disappear from the prints?
The problem
is solved.
Contact
technical
support
.


