


4-3
Controller Troubleshooting
TP-5672 11/95
Keypad And Status Panel
For location of pushbuttons, switches, LEDs, and keys
referred to in this section, see Figure 2-1.
1. Test the keypad by pressing a key and checking the
response. If the response is correct, repeat this step
until satisfied that there is not a problem with the
keypad. If the response is ever incorrect, the
keypad is defective. Replace the logic board
assembly.
2. Press the LAMP TEST key on the keypad.
3. If after pressing the LAMP TEST key some LEDs on
the display panel are on, but at least one LED is not
on, the status panel is defective. Replace the logic
board assembly.
4. If after pressing the LAMP TEST key some of the
character blocks on the LCD appear black, but at
least one character block is not black, the status
panel is defective.
Replace the logic board
assembly.
560442
Figure 4-2. The M340+ LCD display during a lamp
test
5. If after pressing the LAMP TEST key no LEDs are
on, and the character blocks in the LCD are black,
verify that there is power to the system by
performing the steps outlined in Section 4— Power
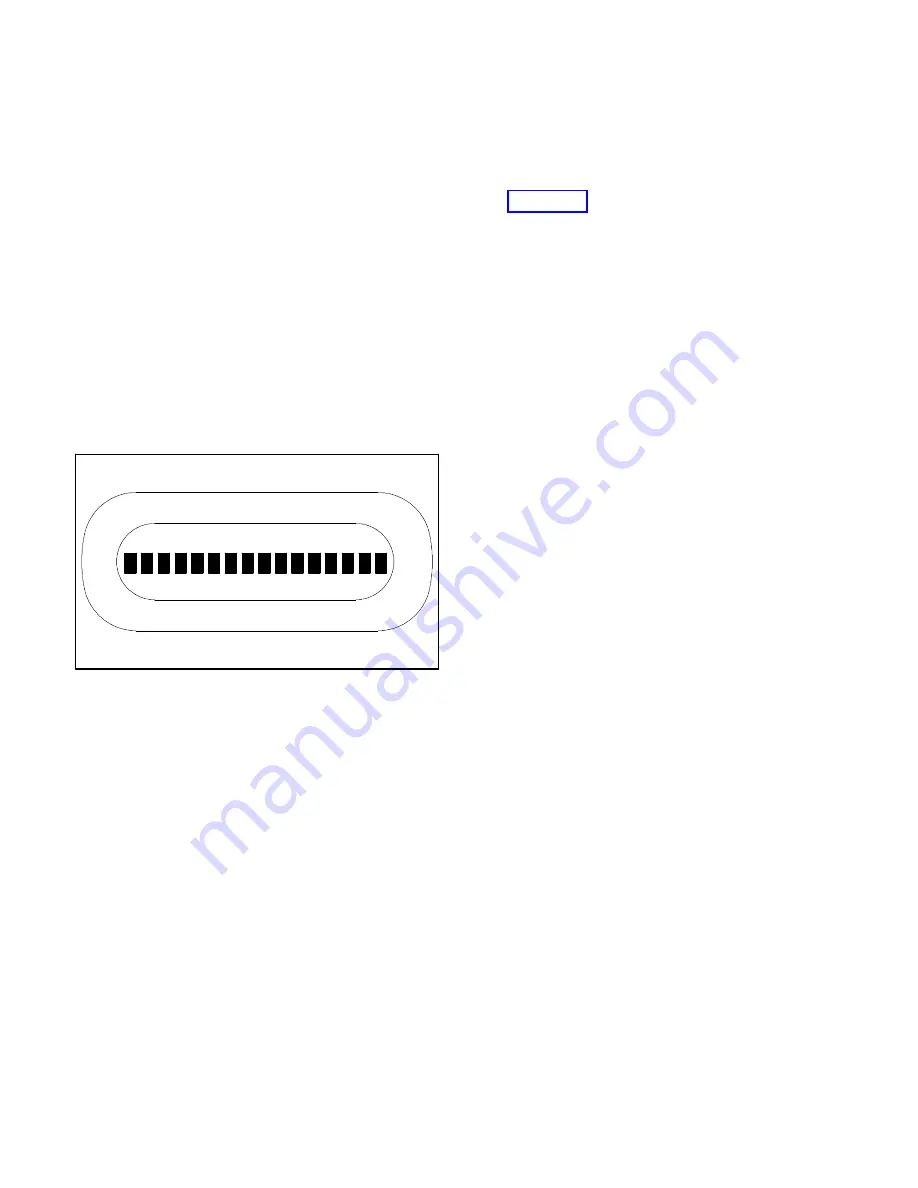
To The System. Check the P2 and P4 ribbon cable
connections by performing the following steps. See
Appendix B Figure B-9 for location of ribbon cables
and other power supply board components referred
to in this section.
a. Disconnect all power sources.
b. Wait 30 seconds.
c. Being careful not to bend or break any of the
pins, remove both P2 and P4 ribbon cable
connectors.
d. Inspect the pins on the P2 and P4 ribbon cable
connectors.
e. If pins are bent, carefully bend them back. If pins
are broken, replace the ribbon cable connector.
f. Carefully reconnect P2 and P4 ribbon cable
connector.
g. If the problem still exists, replace the logic board
assembly.


