Page
96
6
Concer
t Magic
Step 5
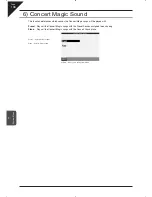
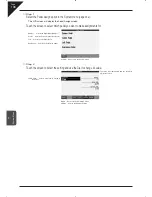
If you have selected a song that has lyrics, you may view them by touching the LYRICS button.
Step 6
If you would like to play any song by steady tapping (instead of following the original rhythm), touch the
STEADY BEAT button.
Step 7
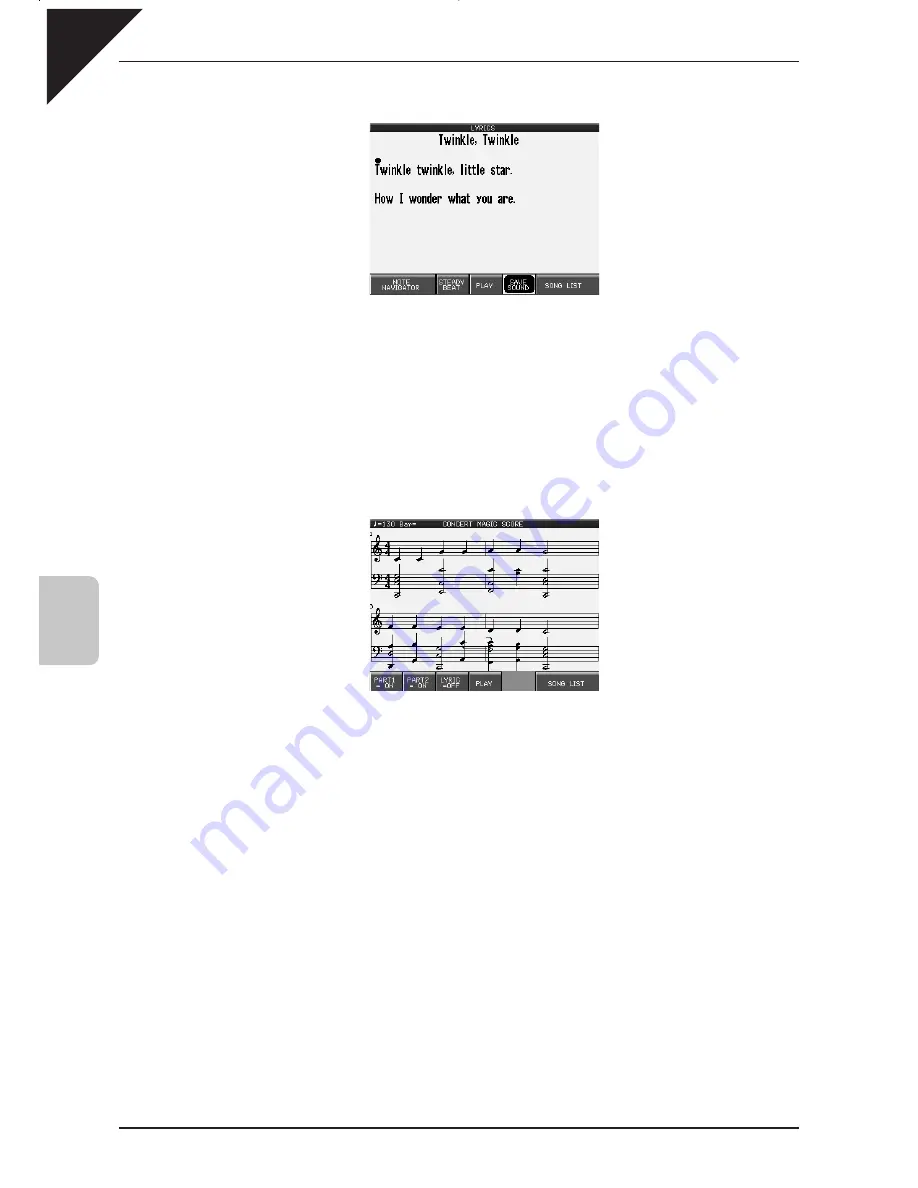
Touch the SCORE button to display the selected song as a musical score.
Score Display
PART1 : Turns the score display for part 1 ON/OFF.
PART2 : Turns the score display for part 2 ON/OFF.
LYRIC : Turns the selected song’s lyric ON/OFF.
PLAY : Starts and stops the song. Also used to reset the song
when performing.
SONG LIST : Returns to the song list to select another song.
Step 8
To exit Concert Magic, simply press the CONCERT MAGIC button again.
When you reach the end of the song, press any key one more time. This will not produce sound, but instead resets the
song to the beginning for another performance.
The Bouncing Ball only works with song files that are specifically designed for Concert Magic to take advantage of this
feature.
A Concert Magic song is made of two parts - a melody part and accompaniment part. Many of the songs have different
instrument sounds assigned each part to make the music more interesting. You can select different sounds for each
part separately. The RIGHT1 Part plays the melody. To change its sound, press any Sound category button and select
a new sound. The LEFT Part handles the accompaniment. To change its sound, first turn off the RIGHT1 Part and then
press any Sound category button to select a new sound. Don’t forget to turn the RIGHT1 Part back on before you begin
to play.
You can use the PIANO ONLY button to quickly change the sound for both parts to the Concert Grand piano.
You can also activate the RIGHT2 Part to use as a layer (additional sound) for the melody. In addition, if you know the
melody to a Concert Magic song you can play along by activating the SOLO Part. Remember, you must play the notes
of the melody when the SOLO sound is active. You can also select any new sound for the RIGHT2 and SOLO parts.
Turn off all Parts except the one you wish to change, and then select the new sound. Don’t forget to turn all necessary
Parts back on before you begin to play.
Summary of Contents for Concert Performer CP139
Page 1: ...1 OVERVIEW OF CONTROLS 2 SOUNDS 3 STYLES 4 RECORDER 5 USB USAGE Quick Start Guide ...
Page 2: ......
Page 38: ...Page 38 USER NOTES ...
Page 39: ...Page 39 ...
Page 42: ...All descriptions and specifications in this manual are subject to change without notice ...
Page 217: ...Page 177 11 Appendices User Notes ...
Page 218: ......
Page 219: ......


