Configuring Date, Time, and NTP (Web Interface)
131
Media Flow Controller Administrator’s Guide
Media Flow Controller Configuration Tasks (Web Interface)
2.
Click Remove Selected to delete an entry.
3.
Click Save at the top of the page to make changes persistent.
Add Static Entry
Add entries to the ARP cache as a static entry. See
Figure 19
.
To add a static ARP entry:
1.
Enter the IP address and MAC address of the system you want for ARP.
2.
Click Add Entry to immediately apply changes; Cancel to revert to existing configuration.
3.
Click Save at the top of the page to make changes persistent.
Clear Dynamic ARP Cache
Click Clear to empty the ARP cache. See
Figure 19
.
Configuring Date, Time, and NTP (Web Interface)
Before you configure Media Flow Controller date, time, and NTP, see
“Before You Configure
Media Flow Controller” on page 58
.
Configuring the System Date and Time (Web Interface)
Proper time configuration is required for correct caching (validating content, and so forth).
To configure the system date and time:
•
From the left navigation pane in the System Config tab, select Date and time.
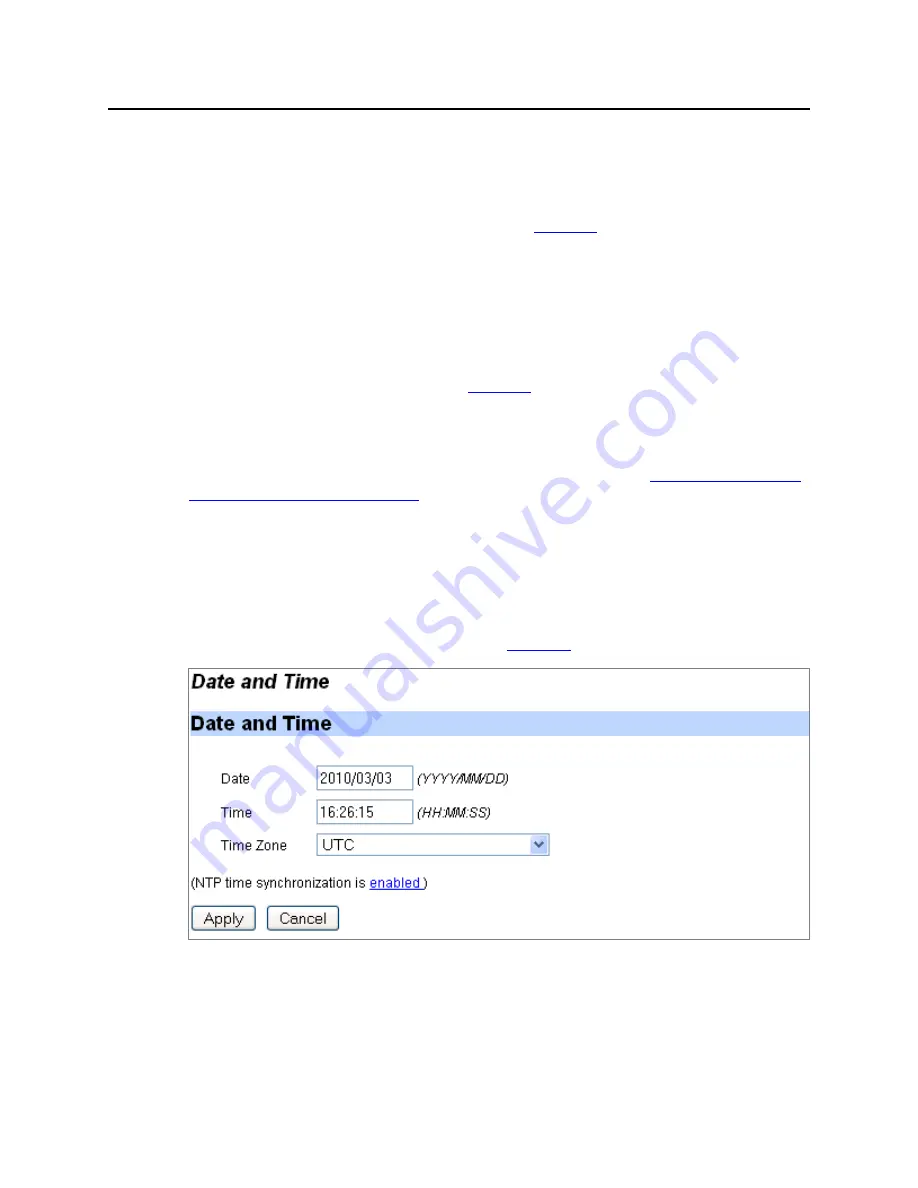
The Date and Time page is displayed. See
Figure 20
.
Figure 20
System Config > Date and Time Page Detail (Date and Time)
To configure the system date, time, and timezone:
1.
Enter a this information:
•
Date
•
Time
Summary of Contents for MEDIA FLOW CONTROLLER 2.0.4 -
Page 6: ...Media Flow Controller Administrator s Guide VI Copyright 2010 Juniper Networks Inc...
Page 24: ...LIST OF FIGURES XXIV Copyright 2010 Juniper Networks Inc...
Page 37: ...Copyright 2010 Juniper Networks Inc 37 PART 1 Media Flow Controller Administration...
Page 38: ...Media Flow Controller Administrator s Guide 38 Copyright 2010 Juniper Networks Inc...
Page 285: ...Copyright 2010 Juniper Networks Inc 285 PART 2 Media Flow Controller Command and MIB Reference...
Page 286: ...Media Flow Controller Administrator s Guide 286 Copyright 2010 Juniper Networks Inc...


