JANOME Embroidery Software Instruction Book
Chapter 22 Editing Embroidery Lettering
172
3
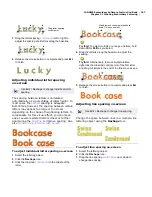
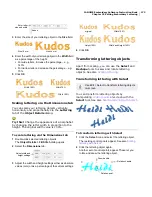
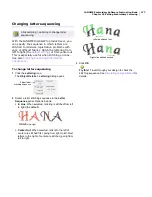
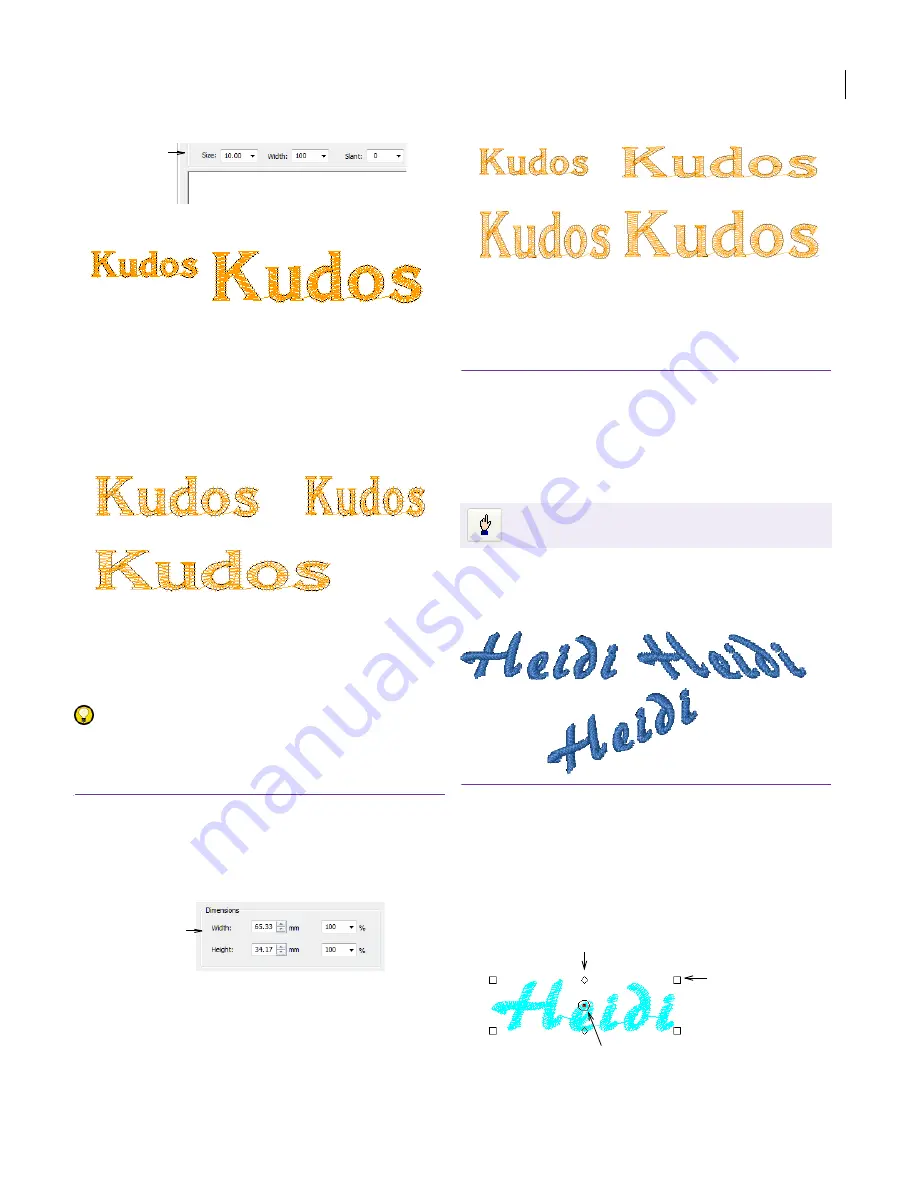
Enter the size of your lettering object in the
Size
field.
4
Enter the width of your lettering object in the
Width
field
as a percentage of the height.
For wide letters, increase the percentage – e.g.
140%.
For narrow letters, decrease the percentage – e.g.
70%.
5
Click
OK
.
Scaling lettering via the Dimensions tab
You can scale your lettering objects vertically,
horizontally and proportionally via the Lettering
tab of the Object Details
dialog.
Try this! Change the appearance of an alphabet
by changing the letter width in proportion to the
height. The original width value is 100%.
To scale lettering via the Dimensions tab
1
Double-click selected lettering object/s.
The
Object Details > Fill Stitch
dialog opens.
2
Select the
Dimensions
tab.
3
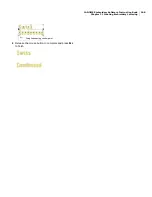
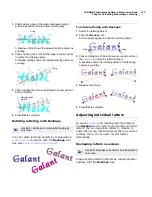
Adjust the width and height settings either as absolute
values (mm) or as a percentage of the current settings.
4
Click
OK
.
Transforming lettering objects
Apart from scaling, you can use the Select
and
Reshape
tools to skew and rotate lettering
objects. See also
Scaling lettering
.
Transforming lettering with Select
You can transform lettering objects by
manipulating
control points
on-screen with the
Select
tool. See also
Scaling lettering with Select
.
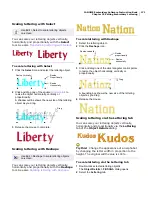
To transform lettering with Select
1
Click the
Select
icon and select the lettering object.
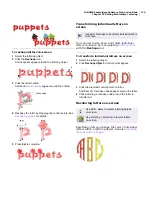
The resizing control points appear. See also
Scaling
lettering with Select
.
2
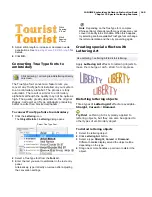
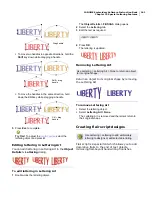
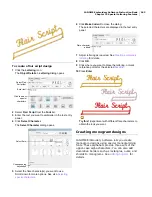
Click the lettering object again.
Another set of control points appear. These let you
rotate and skew the lettering object.
Kudos
Enter letter
size and width
Size 20 mm
Size 10 mm
Width 100%
Width 150%
Width 70%
Adjust width and
height settings
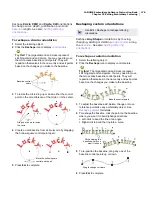
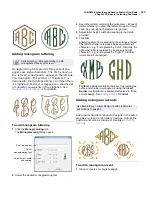
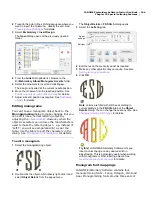
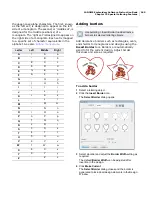
Use Edit > Select to transform lettering objects
on-screen.
original
Width 150%
Height 150%
Width and Height 150%
Skew handle
Rotation point
Rotation handle
Summary of Contents for DigitizerPro
Page 236: ...234 Part IX Software Feature Table ...


