background image


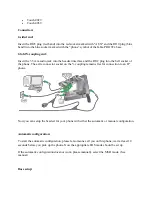
Manual configuration:


Now the appropriate EHS mode must be set up, to do so please select the Siemens OptiPoint 
mode as described. See User Manual for instructions.  


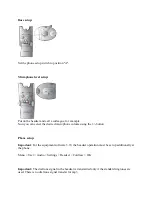
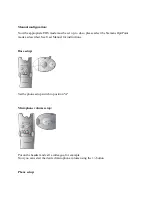
Base setup:


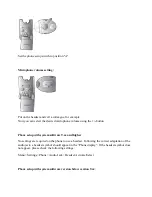
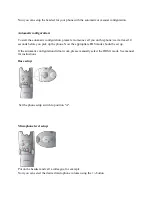
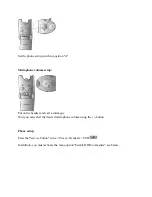
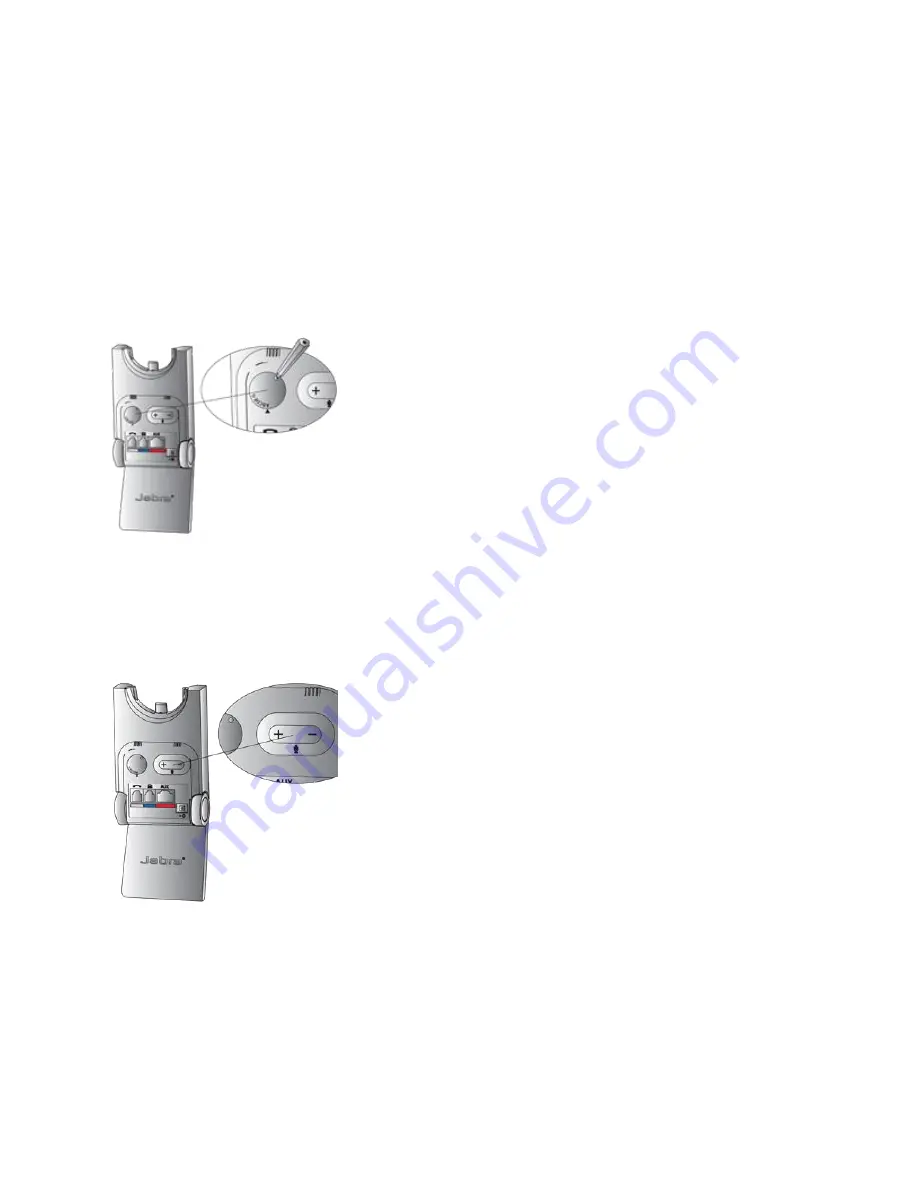
Set the phone setup switch to position "A". 


Microphone volume setup:


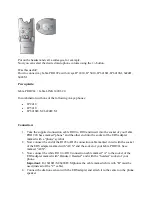
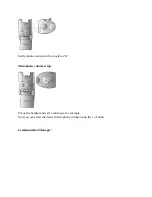
Put on the headset and call a colleague, for example.  
Now you can select the desired microphone volume using the 

+

/

-

 button.  


Phone setup:


Summary of Contents for Pro 92 Series

Page 1: ...01 43 marked B instead of the Jabra Link 14201 16 EHS cable This will ensure the stable use of the Cisco desk phone System Cisco Unified Call Manager CUCM Cisco Call Manager Express CME from version 4...

Page 2: ...the base Now you can set up the headset for your phone using the automatic configuration or manually Automatic configuration To start the automatic configuration have someone call you on the phone and...

Page 3: ...he headset and make a test call Now you can select the microphone volume using the button Communication Manager setup Under Phones Wireless Headset Hookswitch Control enable answer end for each termin...

Page 4: ...ect the other end to an electrical outlet 2 Disconnect the phone handset from the phone base and then connect it to the socket that is marked with a handset icon on the headset base 3 Connect the modu...

Page 5: ...crophone volume until you achieve the optimum level Was this useful How do I connect my Jabra wireless headset with the Jabra Link 14201 10 to my Aastra desk phone so I have remote call control using...

Page 6: ...w band to the socket for the Aastra phone expansion module Configuration 7 Ensure the Audio Mode is set to Headset Speaker and the DHSG mode is enabled on your desk phone Refer to your phone or IT sup...

Page 7: ...dset base socket that is marked with a phone icon 3 Connect the Jabra Link 14201 10 EHS cable single end to the headset interface on the desk phone Configuration 1 Ensure the headset function is enabl...

Page 8: ...Configuration 1 Ensure the Headset Hook Switch function on the desk phone is set to Jabra EHS Refer to your phone or IT support for assistance 2 Follow the setup instructions for your Jabra wireless h...

Page 9: ...tch setting to DHSG and set the dial tone switch to position A 3 Make a call to the headset If the volume of your voice is too loud or quiet to the person you are calling adjust the headset microphone...

Page 10: ...the latest version of the Jabra Link 14201 43 marked B instead of the Jabra Link 14201 43 EHS cable marked A to ensure the stable use of the Cisco desk phone Configuration 1 Ensure the Headset Hook Sw...

Page 11: ...bra Link 14201 17 Jabra 8800 00 75 for Polycom IP 320 IP 321 IP 330 or IP 331 Used in combination with one of the following Polycom desk phones SoundPoint IP phones running SIP software v 3 0 or later...

Page 12: ...one icon and connect the other end to the back of the phone marked with a headset icon use Jabra 8800 00 75 cable for SoundPoint IP phone models 320 321 330 or 331 To configure your headset and desk p...

Page 13: ...2 Ask someone to call the phone and wait at least 10 seconds before answering The appropriate EHS mode will be set automatically...

Page 14: ...gate to Settings Basic Preferences Headset Analog Headset or Hook switch Mode 2 Change the default setting Regular Mode to the correct Jabra mode by selecting Jabra DHSG or Jabra EHS depending on the...

Page 15: ...e firmware for the Cisco desk phone meets the following requirements SCCP Signalling Connection Control Part 9 4 1 or later SIP Session Initiation Protocol 9 4 1 or later 3 Make sure the EHS feature i...

Page 16: ...red with the socket of the EHS adapter marked with AUX and the socket of your Jabra PRO 92x base marked with AUX 3 Now connect the white RJ10 to the 3 5 mm jack connection cable marked D to the socket...

Page 17: ...one call you on this phone wait at least 10 seconds before you pick up the phone Now the appropriate EHS mode should be set up If the automatic configuration did not work please manually select the DH...

Page 18: ...r please check the following settings Menu Settings Phone Audio Jack Headset Activate Select Phone setup with system software lower than 9 xx Important The Force Headset function must not be activated...

Page 19: ...620 9620C 9620L 9621G 909630 9630G 9640C 9640G 9641G 9650 9650C 9670 Connection 1 Take the supplied connection cable and insert it into the socket marked phone on your Jabra PRO 920 base and the other...

Page 20: ...dset for your phone with the automatic or manual configuration Automatic configuration To start the automatic configuration please let someone call you on this phone wait at least 10 seconds before yo...

Page 21: ...volume using the button Was this useful How to connect my Jabra PRO 92x with Aastra 6753i 6755i 6757i Prerequisite Jabra PRO 92x Jabra LINK 14201 10 Aastra DHSG Cable Kit only available from Aastra I...

Page 22: ...the headset socket and the RJ45 plug marked yellow into the socket for the expansion module expansion modules 2 Plug the 1 sided end of the Aastra DHSG cable marked in blue into the RJ45 adapter GN N...

Page 23: ...p the headset for your phone with the automatic or manual configuration Automatic configuration To start the automatic configuration please let someone call you on this phone wait at least 10 seconds...

Page 24: ...eads Speaker Remote call control in combination with an expansion keypad is not supported Was this useful How to connect my Jabra PRO 92x with Aastra Office 70 and 80 or Aastra 5370 and 5380 Prerequis...

Page 25: ...onfiguration please let someone call you on this phone wait at least 10 seconds before you pick up the phone Now the appropriate EHS mode should be set up If the automatic configuration does not work...

Page 26: ...mple Now you can select the desired microphone volume using the button Phone setup Menu Settings Phone Settings Headset Headset ON from Release 7 9 Menu Settings Audio Headset Headset ON Was this usef...

Page 27: ...p the headset for your phone with the automatic or manual configuration Automatic configuration To start the automatic configuration please let someone call you on this phone wait at least 10 seconds...

Page 28: ...h 4068 Connection 2 sided end Insert the RJ45 plug red band into the red socket marked with AUX and the RJ10 plug blue band into the blue base socket of the Jabra PRO 92x marked with a phone symbol 2...

Page 29: ...ate EHS mode should be set up If the automatic configuration did not work please select the MSH mode manually See manual Base setup Set the phone setup switch to position A Microphone volume setting P...

Page 30: ...n the headset is only transmitted if one of the following ringtones is used e g Standard Classic Cold River Dooing Dooing Menu Settings Dial Tone Internal External Should the dial tone signal transfer...

Page 31: ...the bell socket of the phone The extra connector socket on the Y coupling remains free for connection to an IP phone Now you can setup the headset for your phone with either the automatic or manual co...

Page 32: ...setup with system software 9 xx and higher No settings are required on the phone to use a headset Following the correct adaptation of the audio jack a headset symbol should appear in the Phone displa...

Page 33: ...settings Menu Settings Phone Internal External more options No sound Progressive Beeps all points must be set to OFF Calls being made via the headset can be connected forwarded as follows Dial the pho...

Page 34: ...reconnect the network cable to your phone Now you can setup the headset for your phone with the automatic or manual configuration Automatic configuration To start the automatic configuration please le...

Page 35: ...bra PRO 920 base marked phone and the other end into the socket of the EHS adapter marked with a phone symbol 2 Now connect the end of the RJ45 to RJ45 connection cable marked in red with the socket o...

Page 36: ...at least 10 seconds before you pick up the phone Now the appropriate EHS mode should be set up If the automatic configuration did not work please manually select the DHSG mode See manual for instructi...

Page 37: ...IOC version will be marked Connection 1 Connect the 1 sided end USB plug of the EHS adapter to the USB socket of your phone 2 Plug the RJ10 plug into the socket marked with a phone symbol and the RJ45...

Page 38: ...t the phone setup switch to position A Microphone volume setup Put on the headset and call a colleague for example Now you can select the desired microphone volume using the button Communication Manag...

Page 39: ...t be selected for each terminal phone Under the tab Enable Disable USB Classes you must select the option Audio Class for the Jabra GN93x0 series In combination with the Jabra PRO 94x0 and Jabra GO 64...

Page 40: ...of your phone 2 Plug the RJ10 plug into the socket marked with the phone symbol and the RJ45 plug into the base socket marked with AUX Now you can setup the headset for your phone with the automatic...

Page 41: ...ume setup Put on the headset and call a colleague Now you can select the desired microphone volume using the button Phone setup Press the Service button twice Preset Headsets USB In addition you must...

Page 42: ...the phone marked with the headset symbol 2 Plug the RJ10 plug into the socket marked with the phone symbol and the RJ45 plug into the base socket marked with AUX Now you can setup the headset for your...

Page 43: ...esired microphone volume using the button Phone setup Important For the equipment software 3 18 the headset operation must be set up additionally at the phone Menu User Audio Settings Headset Cordless...

Page 44: ...r for S30817 K7110 N508 1 HiPath phone system HiPath 500 from V 5 HiPath 1220 from V2 1 Build 032 HiPath 2000 from V1 0 HiPath 3000 from V3 SMR 14 HiPath 3000 from V4 SMR 7 HiPath 4000 from V1 Importa...

Page 45: ...lect the Siemens OptiPoint mode as described See User Manual for instructions Base setup Set the phone setup switch to position A Microphone volume setup Put on the headset and call a colleague for ex...

Page 46: ...rsion of Cisco Jabber that is earlier than 9 6 and want to use call control you need to install Jabra Direct and select Cisco as the default softphone Install the Cisco Jabber client and then use the...

Page 47: ...8 Click Audio 9 Set the Jabra headset as the default audio device for the speaker microphone and ringer alerts Click Apply and then OK...

Page 48: ......

Reviews: