21
Getting Started
Interwrite DualBoard
TM
1 When you are ready to begin an Interwrite Workspace session,
turn on your Interwrite DualBoard. The DualBoard must be
active and connected. You can verify this in Device Manager.
2 You can start Workspace in one of the following ways:
• Use your Interwrite Interactive Pen to click on the
Interactive Mode icon on either of the Interwrite
DualBoard’s Features Menus.
• Use your Interwrite Pen on the Interwrite DualBoard’s
surface to guide the mouse cursor on the projected image
to the Interwrite Workspace icon
on the Windows Task
Bar or on the Mac’s Menubar. Click the icon to display the
Device Manager Menu. Select
Interwrite Workspace
from
the menu.
• Select Start>All Programs>eInstruction>Interwrite
Workspace in Windows to start Workspace.
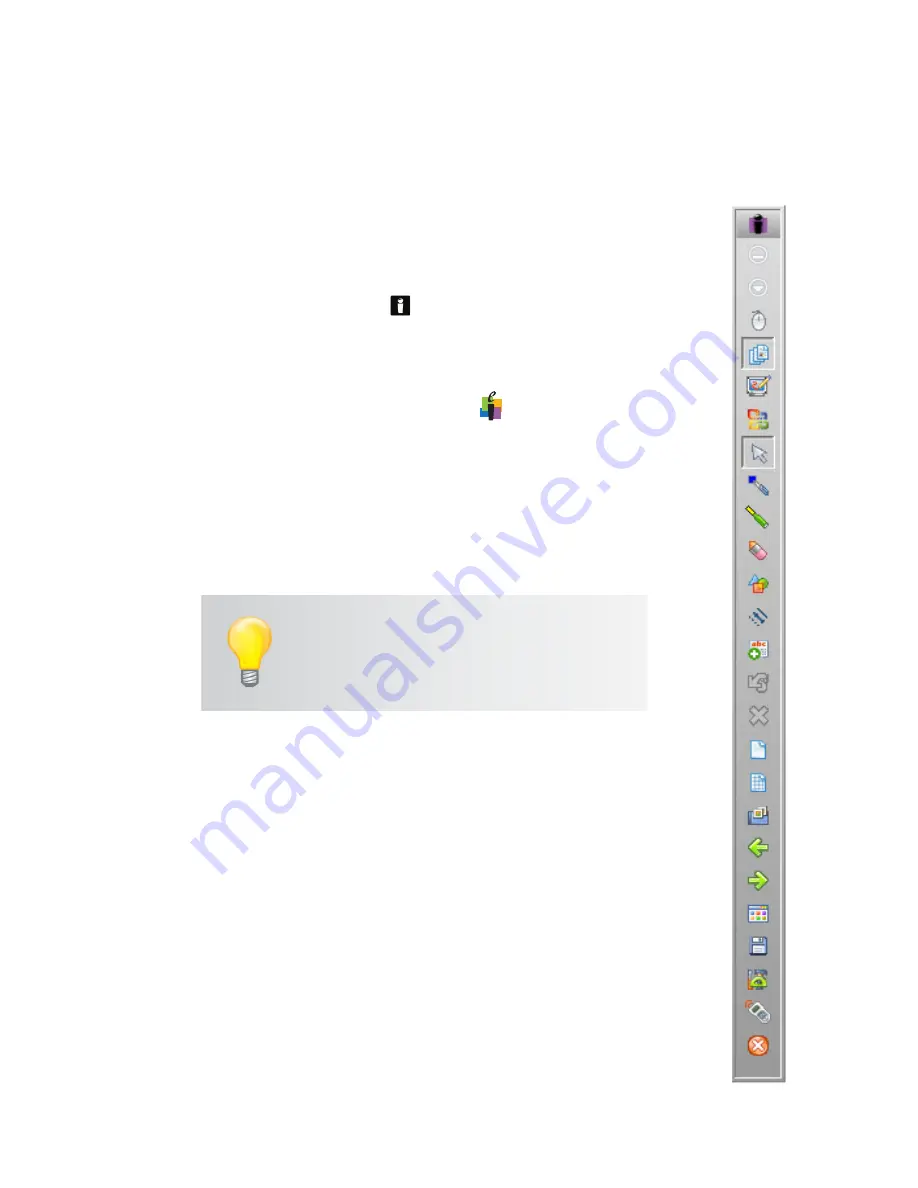
The Workspace Toolbar displays on the screen.
When you start up Interwrite Workspace in Lesson Mode, the
Toolbar displays, along the right side of the projected desktop im-
age, At that time, Workspace is in
Mouse Mode
.
Use your Interwrite Pen to select the Pen tool from the Toolbar.
Select a capture option from the
Capture
dialog, click on the win-
dow, or click and drag to capture a portion of the screen.
Your capture is displayed in the
Lesson Window
. Or, you can start
up Annotation Mode by selecting one of the Page Creation Tools.
The page type you select is displayed in the Annotation Window
and the Pen tool is automatically selected.
Once the Lesson Window is open, you can begin writing or draw-
ing on the page.
By default, the Intermediate Toolbar is
shown here. A more advanced toobar can
be selected in the
Customize Toolbar
Pref-
erences option.
Begin an Interwrite Workspace Session