


Note:
You may have used different directory names when you created directories in
Directories and Confirm Disk Space
on page 23. If you used different names, replace
the directory names in the following steps with the names of the directories that you
created.
1. Copy the Installer file that you downloaded in
page 25, step 10 into the
$HOME/Installer
directory.
2. Change to the
Installer
directory and unzip the installer file. Use the following
commands:
cd $HOME/Installer
unzip DVD*.zip
3. Start the Wind River Host Tools Installer with the following command:
./setup_linux
The Wind River Installer screen opens.
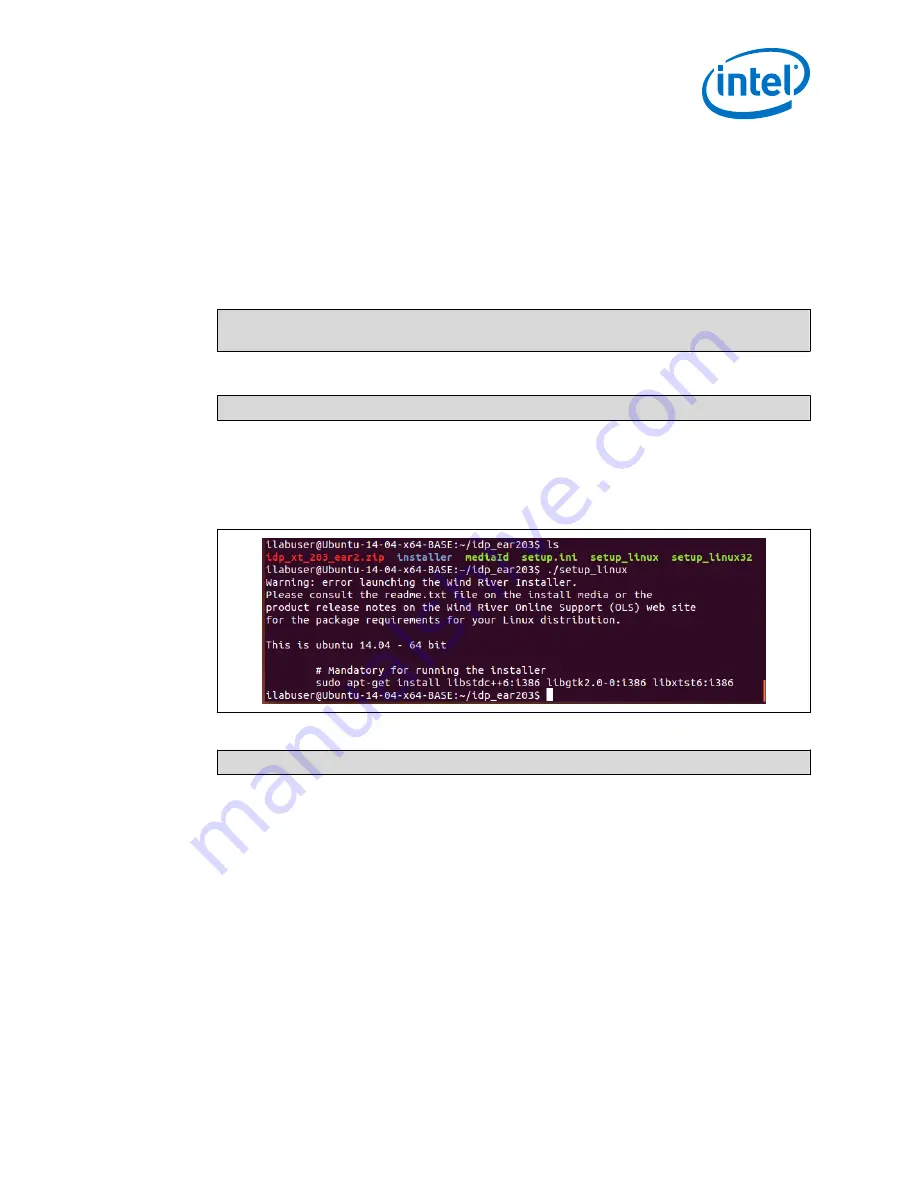
If instead you see the following screen indicating new Linux packages are
required, complete the steps below the figure.
Figure 12.
Wind River Installer Package Updates
a. To perform the updates, using the following command:
sudo apt-get install +6:i386 libgtk2.0-0:i386 libxtst6:i386
b. After the update command completes, repeat the
./setup_linux
command.
4. In the Installer window, select the Wind River Host Tools installation location.
The
WindRiver
directory displays by default. If not, use the Browse button to
select the
$HOME/WindRiver
directory. Then click OK.
5. On the page Online Update Settings, perform the following actions:
•
If you are not using a proxy server to connect to the internet, go to step 7.
•
If your network requires a proxy server, check the box Connect to the
internet using a proxy server and provide your proxy information.
If you receive error messages, double-check your proxy settings and work with
your IT department for the appropriate settings.
Install Linux Packages and Wind River Linux Host Tools on the Host System—Intel IoT Gateway
Development Kit DK200 Series
Intel
®
IoT Gateway Development Kit DK200 Series
April 2015
Getting Started Guide
Order No.: 330295-004
31


