1 - 6 Operating System Setup
Quick Start Guide
1
Operating System Setup
If you are installing new system software, or are re-configuring your computer for a different system, make sure you
configure the appropriate OS setting in the BIOS before installing a new operating system (
Note
: If you have installed
the
Windows Vista/Win 7
operating system with
AHCI
mode enabled,
DO NOT
disable AHCI mode
or you will
need to reinstall the
Windows
OS).
1. Start-up the computer and press <
F2
> to enter the
BIOS
.
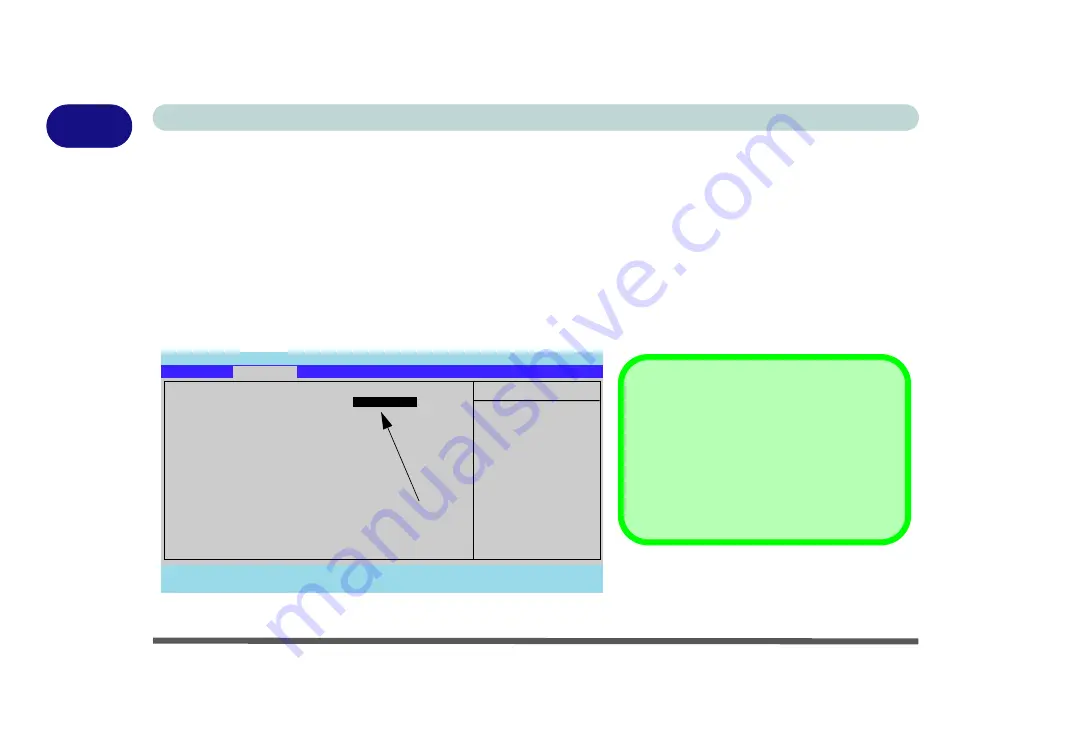
2. Go to the
Advanced
menu, select “
Installed O/S
” and make sure the appropriate operating system is selected.
3. Go to the
Exit
menu and select “
Exit Saving Changes”
(or press
F10
and select “
Yes
” then press Enter) and
press Enter to exit the BIOS and reboot the computer.
Figure 1 - 2 - Advanced BIOS Menu
Main
A
Advanced
Security
Boot
Exit
F1
Help
Select Item
-/+
Change Values
F9
Setup Defaults
Esc
Exit
Select Menu
Enter
Select
Sub-Menu
F10
Save and Exit
Item Specific Help
Advanced
Select the operating
system installed
on your system which
you will use most
commonly.
PhoenixBIOS Setup Utility
Installed O/S:
[
Vista / Win 7
]
SATA Mode Selection:
[AHCI]
Legacy USB Support:
[Enabled]
Boot-time Diagnostic Screen:
[Disabled]
Power on Boot Beep
[Disabled]
Battery Low Alarm Beep:
[Disabled]
Embedded Share Memory
[128MB]
Only available if Windows Vista/ Win 7
is selected as the O/S.
SATA Mode Selection
Make sure that you have selected the appro-
priate
SATA Mode Selection
for your hard
disk. If you have installed the
Vista
O/S with
AHCI
or
IDE
mode selected, do not change
the setting (otherwise you will need to rein-
stall your O/S).
Summary of Contents for StyleNote M74*S series
Page 1: ...V09 5 20...
Page 2: ......
Page 16: ...XIV Preface...
Page 50: ...Quick Start Guide 1 28 1...
Page 98: ...BIOS Utilities 5 14 5...
Page 114: ...Upgrading The Computer 6 16 6...
Page 123: ...Modules Options PC Camera Module 7 9 7 Figure 7 5 Audio Setup for PC Camera Right click...
Page 156: ...Modules Options 7 42 7...
Page 172: ...Troubleshooting 8 16 8...
Page 176: ...Interface Ports Jacks A 4 A...
Page 184: ...SIS Video Driver Controls B 8 B...
Page 194: ...NVIDIA Video Driver Controls C 10 C...
Page 262: ...Windows XP Information E 62 E...


