10
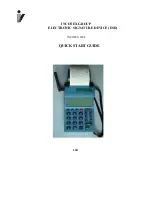
QUICK START GUIDE
INCOTEX 500F
Press
at the end. The VRN is printed and press
for confirmation.
'SEt'
is displayed. If an error is occurs, the operation must be canceled with
.
For confirmation press
and
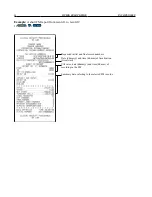
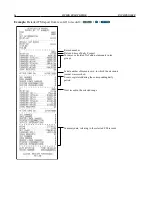
. A receipt about the event is printed after recording all the necessary data on the FM.
2.2.5. Changing user’s data
To start this operation press the key
. The message 'SP' is displayed. Enter the service password and
press
. The ESD prints a message about the service intervention and records the event in the fiscal
memory.
The digit
'1'
is displayed, that corresponds to the first text line of the header message. To enter the field
press
. Number 01 (1st character) and its code are displayed, /ex. 01.214 0/.
To clear the previous contents of the text line press
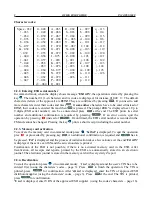
. Up to 32 characters can be entered using their
3-digit codes shown in the table above . Press
to confirm the text line. The message 'rdY' is
displayed for a while.
By using keys
or
different text lines can be reached in ascending or descending order. Each text
line can be changed as described, as first press
to enter the field.
Note
: The texts are automatically centered when printed.
Note
: If an empty line is left, neither it, nor the following header lines will be printed, except the last
one (containing the TAX OFFICE ADDRESS).
When all the necessary data is entered in the header, press
. The newly entered data is printed and
with a corresponding message additional confirmation is required to be executed by pressing
When confirmed, the new data is recorded in the fiscal memory (if the EFD is fiscalized) and a
message about the event is printed, including the number of header changes left.
2.2.6. Date and time setting
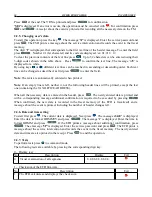
To start first press . The current date is displayed. Next press
. The message
dAtE'
is displayed.
Enter the date in format DDMMYY and press
. The message
't'
is displayed. Enter the time in
format HHMM and press
. If the EFD prints a message about additional confirmation, press
. Thee message '
5P'
is displayed. Enter the service password and press
. The EFD prints a
message about the service intervention and records the event in the fiscal memory. The newly entered
date and time are also printed in the receipt. Press
to end the operation.
2.2.7. Tests
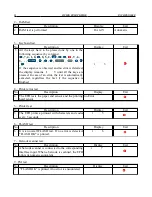
To perform tests press
in command mode.
The following tests are available by pressing the corresponding digit key:
0 – Display test
No
Description
Display
Exit
0
Visual examination of all segments
8.8.8.8.8.8.8.8.8.8.
1 – Check sum of the EFD firmware.
No
Description
Exit
1
The EFD calculates and displays the check sum.
Summary of Contents for 500F
Page 1: ...INCOTEX GROUP ELECTRONIC SIGNATURE DEVICE ESD INCOTEX 500F QUICK START GUIDE 2011 ...
Page 2: ...2 QUICK START GUIDE INCOTEX 500F ...
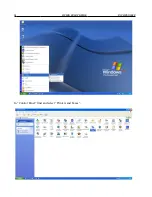
Page 18: ...18 QUICK START GUIDE INCOTEX 500F In Control Panel find and select Printers and Faxes ...
Page 56: ...56 QUICK START GUIDE INCOTEX 500F This is a view of Archive folder and its content ...

