5-8
2. Image Memory Input
Usin
g
the Ut
ility Mo
d
e
Chapter 5
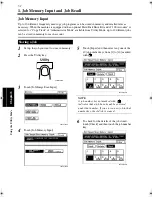
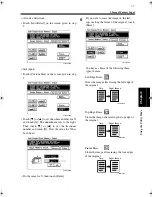
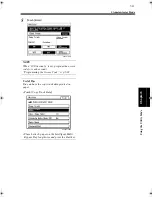
Select the desired erase position.
Using [
▼
] or [
▲
], set the desired erase
width.
Useful Tip
The erase width can range between 1/4 to 3/4
variable in 1/16 increments.
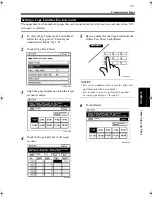
Touch [Enter].
Touch [Enter].
As illustrated on the Touch Panel, place the
original directly on the Original Glass.
Select an image orientation the same as that
of the original.
Press the Start key.
7
4003P459EB
8
4003P460EB
9
10
4003P461EB
11
4002O152AC
12
4003P162CB
13
Chapter5.recover.fm Page 8 Thursday, May 22, 2003 3:37 PM
Summary of Contents for im4720
Page 1: ......
Page 2: ......
Page 19: ...Safety Notes Chapter 1 1 1 Chapter 1 Safety Notes...
Page 23: ...Getting to Know Your Machine Chapter 2 2 1 Chapter 2 Getting to Know Your Machine...
Page 44: ...2 22 7 Auxiliary Functions Getting to Know Your Machine Chapter 2...
Page 45: ...3 1 Making Copies Chapter 3 Chapter 3 Making Copies...
Page 117: ...4 1 Typical Function Combinations Chapter 4 Chapter 4 Typical Function Combinations...
Page 142: ...4 26 6 Stapled Position Typical Function Combinations Chapter 4...
Page 143: ...5 1 Using the Utility Mode Chapter 5 Chapter 5 Using the Utility Mode...
Page 170: ...5 28 5 Administrator Mode Using the Utility Mode Chapter 5...
Page 171: ...6 1 When a Message Appears Chapter 6 Chapter 6 When a Message Appears...
Page 207: ...6 37 4 When the Message Misfeed detected Appears When a Message Appears Chapter 6...
Page 219: ...7 1 Chapter 7 Miscellaneous Chapter 7 Miscellaneous...
Page 237: ......


