5-7
2. Image Memory Input
Usin
g
the Ut
ility Mo
d
e
Chapter 5
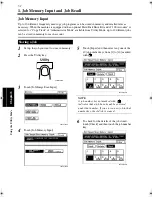
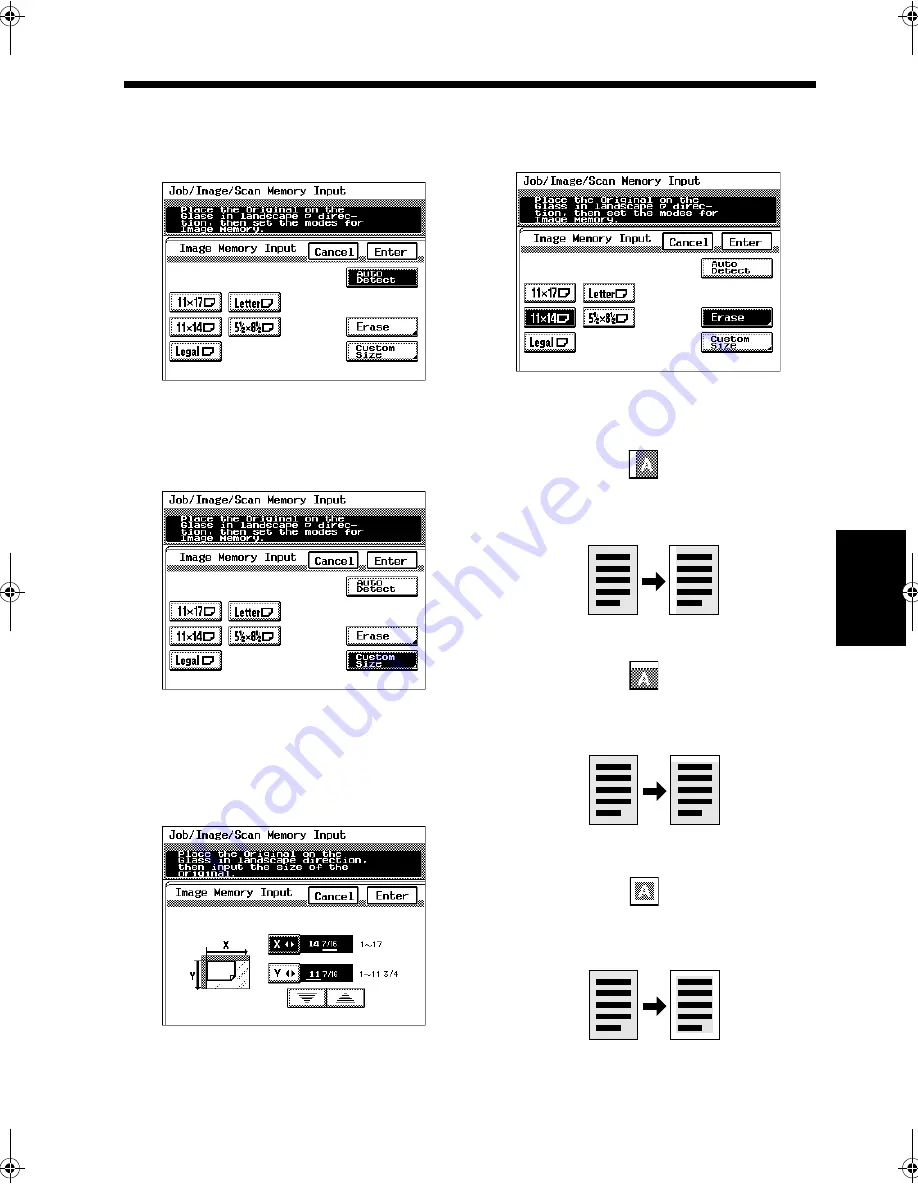
<Auto size detection>
• Touch [AutoDetect] on the screen given in step
5.
<Size input>
• Touch [Custom Size] on the screen given in step
5.
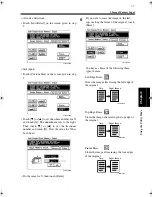
• Touch [
▼
] or [
▲
] to set the whole number for X
and touch [X]. The underline moves to the right.
Then touch [
▼
] or [
▲
] to set the fractional
number and touch [X]. Now the value for X has
been fixed.
• Do the same for Y, then touch [Enter].
If you want to erase the image on the left,
top, or along the frame of the original, touch
[Erase].
You have a choice of the following three
types of erase:
4003P455EB
4003P456EB
4003P457EB
6
4003P458EB
1149O053AA
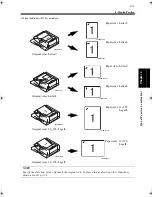
Left Edge Erase
Stores the image after erasing the left edge of
the original.
Orig.
Input Image
1149O056AA
Top Edge Erase
Stores the image after erasing the top edge of
the original.
Orig.
1149O055AA
Frame Erase
Stores the image after erasing the four edges
of the original.
Orig.
Input Image
Input Image
Chapter5.recover.fm Page 7 Thursday, May 22, 2003 3:37 PM
Summary of Contents for im4720
Page 1: ......
Page 2: ......
Page 19: ...Safety Notes Chapter 1 1 1 Chapter 1 Safety Notes...
Page 23: ...Getting to Know Your Machine Chapter 2 2 1 Chapter 2 Getting to Know Your Machine...
Page 44: ...2 22 7 Auxiliary Functions Getting to Know Your Machine Chapter 2...
Page 45: ...3 1 Making Copies Chapter 3 Chapter 3 Making Copies...
Page 117: ...4 1 Typical Function Combinations Chapter 4 Chapter 4 Typical Function Combinations...
Page 142: ...4 26 6 Stapled Position Typical Function Combinations Chapter 4...
Page 143: ...5 1 Using the Utility Mode Chapter 5 Chapter 5 Using the Utility Mode...
Page 170: ...5 28 5 Administrator Mode Using the Utility Mode Chapter 5...
Page 171: ...6 1 When a Message Appears Chapter 6 Chapter 6 When a Message Appears...
Page 207: ...6 37 4 When the Message Misfeed detected Appears When a Message Appears Chapter 6...
Page 219: ...7 1 Chapter 7 Miscellaneous Chapter 7 Miscellaneous...
Page 237: ......

