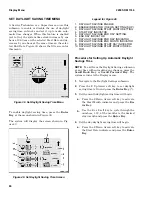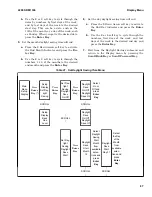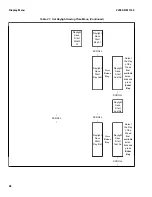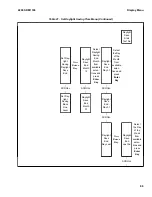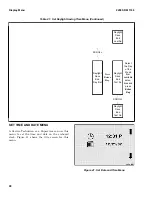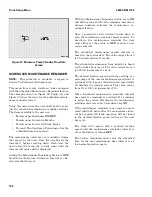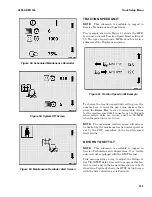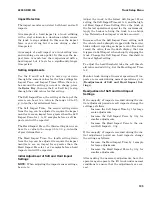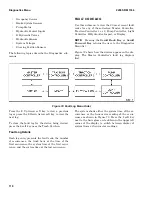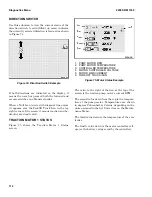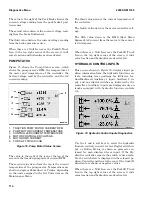
Figure 52. BDI Adjustment Setting
The BDI Adjustment Setting menu provides a way
to adjust the Parasitic Current so it is well suited
to current truck conditions. If extra hardware or
equipment that draws significant power, such as
heater vests, have been installed on the truck since
it went into service, a BDI adjustment should be
made to compensate for the additional power draw.
The factory setting accounts for the DC-DC con-
verter and other normal loads. Increase this setting
as required if additional items have been added to
the truck. When items are added that have an in-
termittent duty cycle average the current based on
the duty cycle.
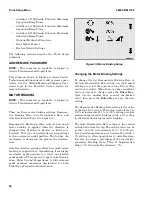
To adjust the Parasitic Current, use the number
keys to enter the new value and press the Enter
Key to save it.
Acceptable values for Parasitic Current range from
0 to 200 Amp, in 1 Ampere increments.
ACCELERATION RATES
NOTE:
This submenu is available to logged in
Service Technicians only.
Use this menu to set Acceleration Rate 1 or Accel-
eration Rate 2 or to select either Standard or Ex-
tended Shift mode.
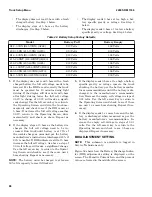
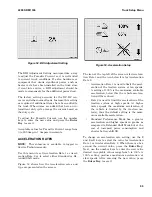
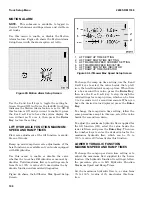
Figure 53 shows how the Acceleration rates and
type are presented on the screen.
Figure 53. Acceleration Setup
The icon at the top left of the screen is for Accelera-
tion Rate 1 and the icon below it is for Acceleration
Rate 2.
• Acceleration Rate 1 is used to limit the accel-
eration of the traction system at low speeds.
A setting of 100% is the maximum available
acceleration, below this the vehicle accelera-
tion will be reduced.
• Rate 2 is used to limit the acceleration of the
traction system at high speeds. At higher
motor speeds the maximum acceleration of
the vehicle is limited by the traction mo-
tor(s), thus the default setting is the maxi-
mum available acceleration.
• Standard Performance Mode has a greater
acceleration and higher speeds on grades as
compared to Extended Shift Mode but at the
cost of increased power consumption and
shorter battery shift lift.
To change an acceleration rate setting, use the 2
and 3 soft keys to select the value for Acceleration
Rate 1 or Acceleration Rate 2. When there is a box
around the current value, press the Enter Key.
Next, use the number keys to enter the new value
desired. Acceptable values range from 5 to 100%. A
100% setting produces maximum acceleration at
slow speeds. After entering the new value, press
the Enter Key to save it.
2200 SRM 1336
Truck Setup Menu
99
Summary of Contents for A1.3-1.5XNT
Page 6: ... THE QUALITY KEEPERS HYSTER APPROVED PARTS ...
Page 9: ...Figure 3 Technician Flowchart Sheet 1 of 4 2200 SRM 1336 Menu Flowchart 3 ...
Page 10: ...Figure 3 Technician Flowchart Sheet 2 of 4 Menu Flowchart 2200 SRM 1336 4 ...
Page 11: ...Figure 3 Technician Flowchart Sheet 3 of 4 2200 SRM 1336 Menu Flowchart 5 ...
Page 12: ...Figure 3 Technician Flowchart Sheet 4 of 4 Menu Flowchart 2200 SRM 1336 6 ...
Page 123: ......
Page 124: ...TECHNICAL PUBLICATIONS 2200 SRM 1336 2 14 8 13 4 13 12 12 3 12 12 11 ...


