32
33
104 72 57-26
104 72 57-26
Service program
- Freesia 425/415 -Lisa -Angelica -Victoria
In order to facilitate the checking and setting of the different functions of
the machine there is a service program
Handling
Get into the service program of the machine by pressing
the reverse feed button
and
the minus (-) stitch lenght button
as the main switch is switched on.
The display will now show the service menu.
To select the differernt service functions in the service menu
the stitch selector buttons (-) and (+)
should be used.
With the left buttons
- it will go between the tens.
With the right buttons
- it will go between 1-9.
The number of the selected stitch is displayed to the right of the Infodisplay
Note! Every time the (+) key is pressed it will step up one step to the next figure or if the (-) key
is pressed it will step down one step to the next figure.
To enter the service program of
the Freesia 415 use the foil keyboard 412 60 55-01
the Freesia 425 use the foil keyboard 412 60 58-01
the Lisa use the foil keyboard 412 65 60-01
the Angelica use the foil keyboard 412 6974-01
the Victoria use the foil keyboard 412 7362-01.
Functions of the service program
Key 0
The two symbols to the right show the code letter of the program
memory, of the circuit board.
Key 1
Display test where all symbols light up on the display.
Key 2
Is used for the centre position of the needle in straight stitching.
The step motor of the needle is now in its centre position.
Setting nr. 7.
Key 3
Is used when pre-setting the step motor of the needle.
The step motor now takes its calibration position.
Setting nr. 8 .
Key 4
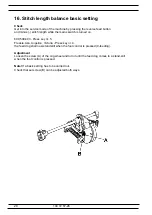
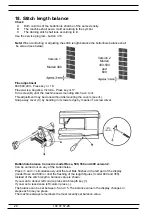
Is used when coarse-adjusting the stitch length balance.
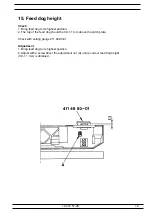
The feed dog should now stand still (0-feeding).
Setting nr. 16.
Key 5
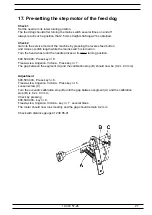
Is used when pre-setting the feeding step motor.
The step motor now takes its calibration position.
Setting nr. 17.
Key 6
Is used for checking the centre position of the needle in
straight stitching. Setting nr 7

