SOLAR300 - SOLAR300N
EN - 11
5. GENERAL MENU
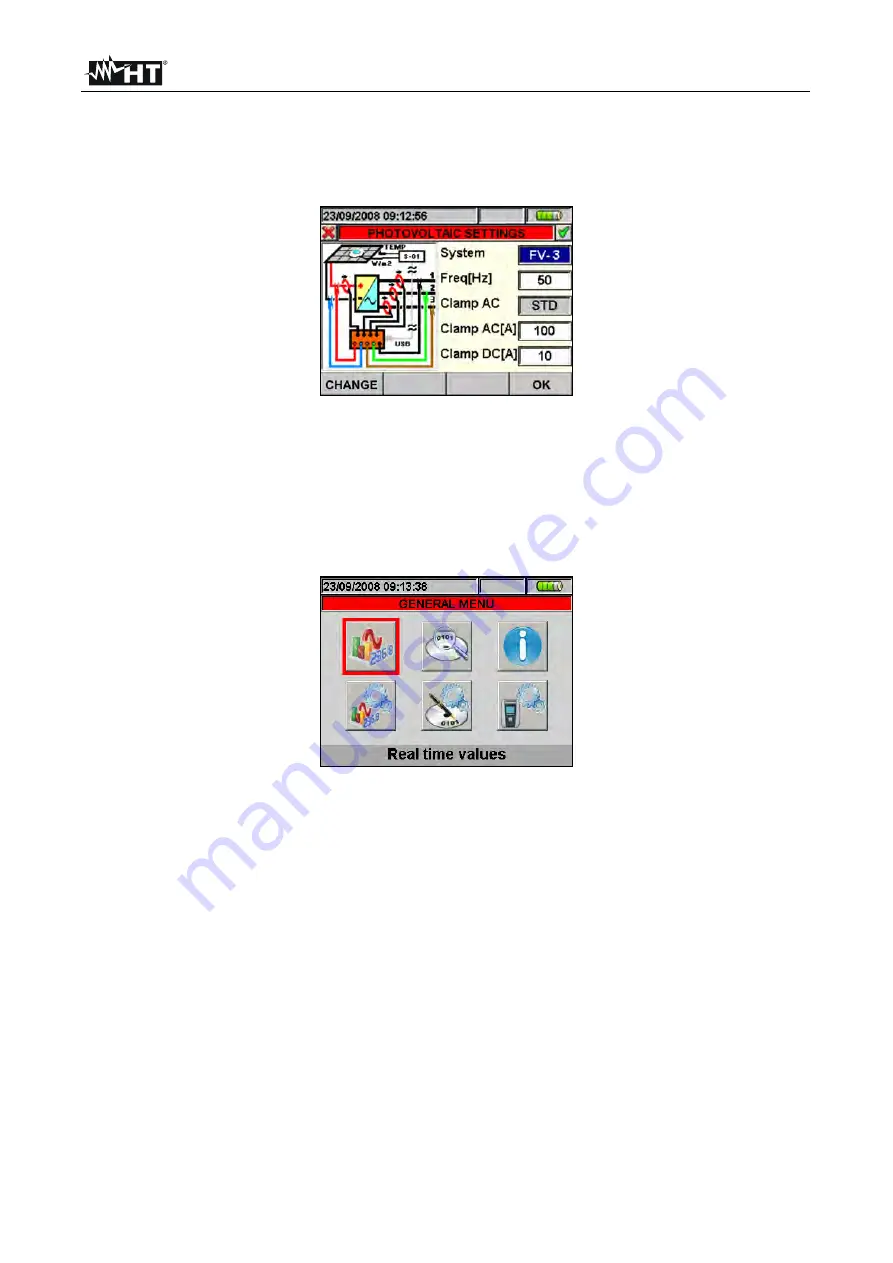
Whenever you turn on the meter, the below “Analyzer Configuration” screen is shown,
relative to the last configuration used (see Fig. 6):
Fig. 6: Example of analyzer configuration
In this situation the user can decide whether modify the actual configuration by pressing
F1
key (or “
CHANGE
” at display – see § 5.3.1) or directly access to General Menu by
pressing
F4
key (or the “
OK
” at display). If no action is performed within 10s the meter
automatically goes to GENERAL MENU screen.
The GENERAL MENU of meter is correspondent to the screen shown in (see Fig. 7):
Fig. 7: GENERAL MENU screen
The actual selected section is shown with red background at display and it’s title is shown
in the bottom of display. The below sections are available on meter:
General settings
section which permits to set the system parameters of meter as
date/hour, language, display brightness, protection password, keys sound on pressure
auto power off and memory type (see § 5.1).
Real time values
section which permits to see the real time measured values at
display under various formats (see § 5.2).
Analyzer settings
section which permits to define the simple and advanced
configurations relative to connection of meter to the installation (see § 5.3).
Recorder settings
section which permits to select the parameters for each recording
and see the information about the autonomy of meter during operation (see § 5.4).
Recording results
section which permits to see the list of all recordings saved on
internal memory, for memory cancel operations and the transfer of date in external Pen
Driver USB (see § 5.7).
Meter information
section which permits to access to general information about meter
(serial number, internal Firmware and Software release, etc...) (see § 5.8).
Summary of Contents for SOLAR300
Page 1: ...Copyright HT ITALIA 2017 Release EN 2 10 02 05 2017 SOLAR300 SOLAR300N User manual...
Page 2: ......
Page 159: ......


