2.
Reboot the server to either the USB flash device or USB DVD drive.
The system BIOS attempts to boot to the USB device by default. Watch the monitor output
during the boot as you may need to press a key to boot to the USB media.
NOTE:
If directly connected, you may have to change the BIOS settings to ensure proper
boot sequence. If connected remotely, you may have to change some iLO settings to ensure
proper boot sequence.
3.
In
Windows Boot Manager
, select
Windows Recovery Environment
.
The recovery environment is loaded and the System Recovery Options wizard opens.
4.
Select
Troubleshoot
to access the repair tools that allow you to recover or troubleshoot Windows
and click
Next
.
5.
Select
Advanced options
to access the advanced repair options and click
Next
.
6.
Select
System Image Recovery
to restore the system using a previously created system recovery
image and click
Next
.
7.
Select
Windows Server 2012
or
Windows Server 2012 R2
.
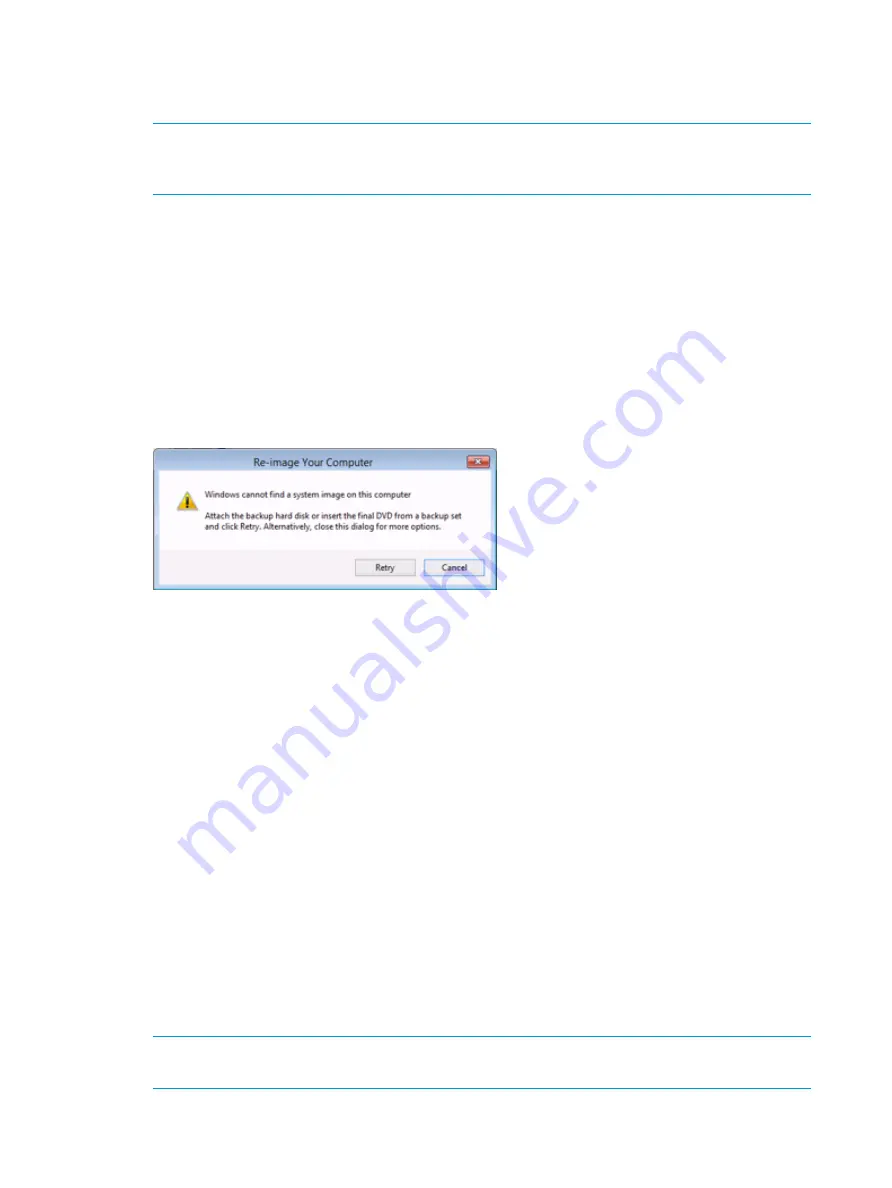
The System Recovery Options wizard scans the computer for a system image. If it is unable
to locate a system image, the following message is displayed:
8.
Attach an external drive or insert a DVD that contains the backup files and click
Retry
. If you
want to recover from the network, click
Cancel
.
9.
Select one of the following options and click
Next
:
•
Use the latest available image
—Select this option to use the backup image that was
recently created. If you are restoring from the network, this option is unavailable.
•
Select a system image
—Select this option to choose a different image to restore from or
to restore from the network.
10. If you are restoring from the network, click
Advanced
, and then select
Search for a system
image on the network
:
a.
The utility automatically connects to an existing network (DHCP enabled).
b.
Once connected to the network, enter the directory where the system image is located
on the network and click
Next
.
11. Select the disks to which you want to restore data and click
Next
.
12. Enter the share path where the backup image is stored and click
OK
.
13. Enter the login credentials for authentication and click
OK
.
14. Select the date and time of the system image that you want to restore and click
Next
.
15. Select
Format and repartition disks
to delete existing partitions and reformat all disks during
the restore process and click
Next
. If you do not want to restore certain disks, click
Exclude
Disks
.
NOTE:
If the
Format and repartition disks
option is unavailable, click
Install Drivers
to install
the drivers for the disks that you want to restore.
16. Verify the system image details and click
Finish
to start the recovery process.
90
Storage system recovery


