4.
To set the parameters, click
OK
.
5.
If running an emulator, launch it now.
6.
This ends the
“Accessing the iLO 2 MP with No Network Connection”
procedure.
7.
Continue with
“Configuring the iLO 2 MP” (page 44)
.
Configuring the iLO 2 MP
Use this procedure to configure iLO 2 MP settings after establishing a connection to iLO 2 MP
using one of the two methods discussed in
Section : “Accessing the Integrated Lights Out 2
Management Processor”
. This section includes important security considerations when configuring
your server blade for remote access.
Accessing iLO 2 MP After Establishing a Connection to the Server Blade
Depending on how you connect to the server blade, choose one of the following ways to access
the iLO 2 MP:
•
Network connection (through OA iLO port)
1.
From a network-accessible computer, open a telnet session.
2.
Enter the iLO 2 MP address obtained in
“Accessing the Integrated Lights Out 2 Management
Processor” (page 40)
in the appropriate screen.
You now have access to the iLO 2 MP functionality through the telnet session.
•
Serial port connection
•
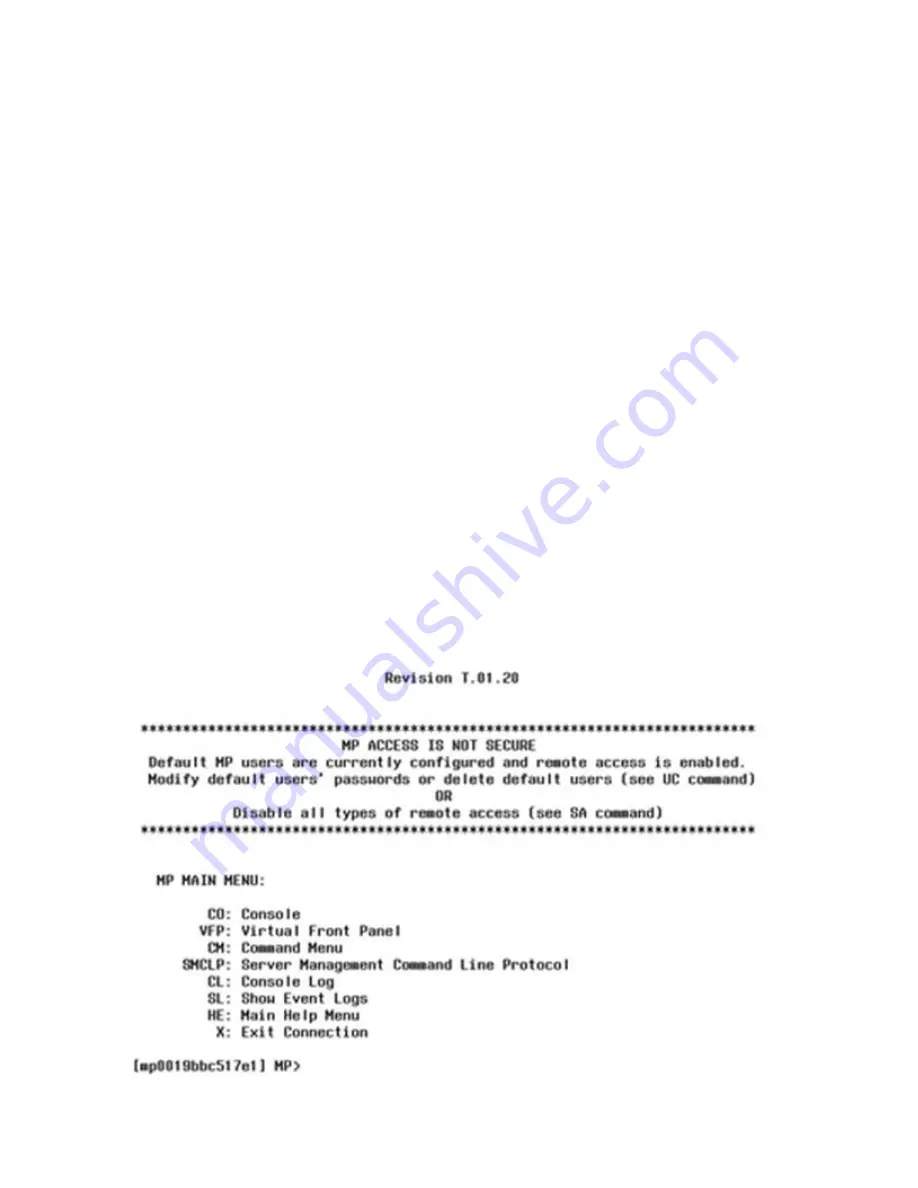
Ensure you have an MP prompt.
•
Log in to the iLO 2 MP by using the following default values for the login ID and password
(case sensitive):
Login:
Admin
Password:
Admin
You are now at the MP Main Menu screen.
44
Installing the Server Blade Into the Enclosure


