DeltaMyc Operation Manual J810018 (7 Oct 2014)
Operation
3-25
3
When the decay locations are defined, click Run
to start the scan.
Decay measurements
During the scan, a progress window helps to visualize the status of the data-acquisition.
If you measured a prompt before the decays, it means that the data-analysis has started
and the 3D map is also displayed.
Stop the measurement at any time by pressing the
Stop
button on the toolbar. The cur-
rent decay data will be lost, but all the decay and prompt data acquired previously will
still be saved in the DAS file.
When the scan is complete, a dialog box appears.
1
Click OK to continue.
The data are now ready for review.
If a prompt is measured after the decays, the data-analysis will occur after this last ac-
quisition. Therefore, it may take a few minutes before this dialog box appears. The sta-
tus of the analysis is shown in the status bar.
Save the scan data.
During the scan, the data are automatically saved in the DAS file specified previously
in the Microscope scan wizard.
Review the data.
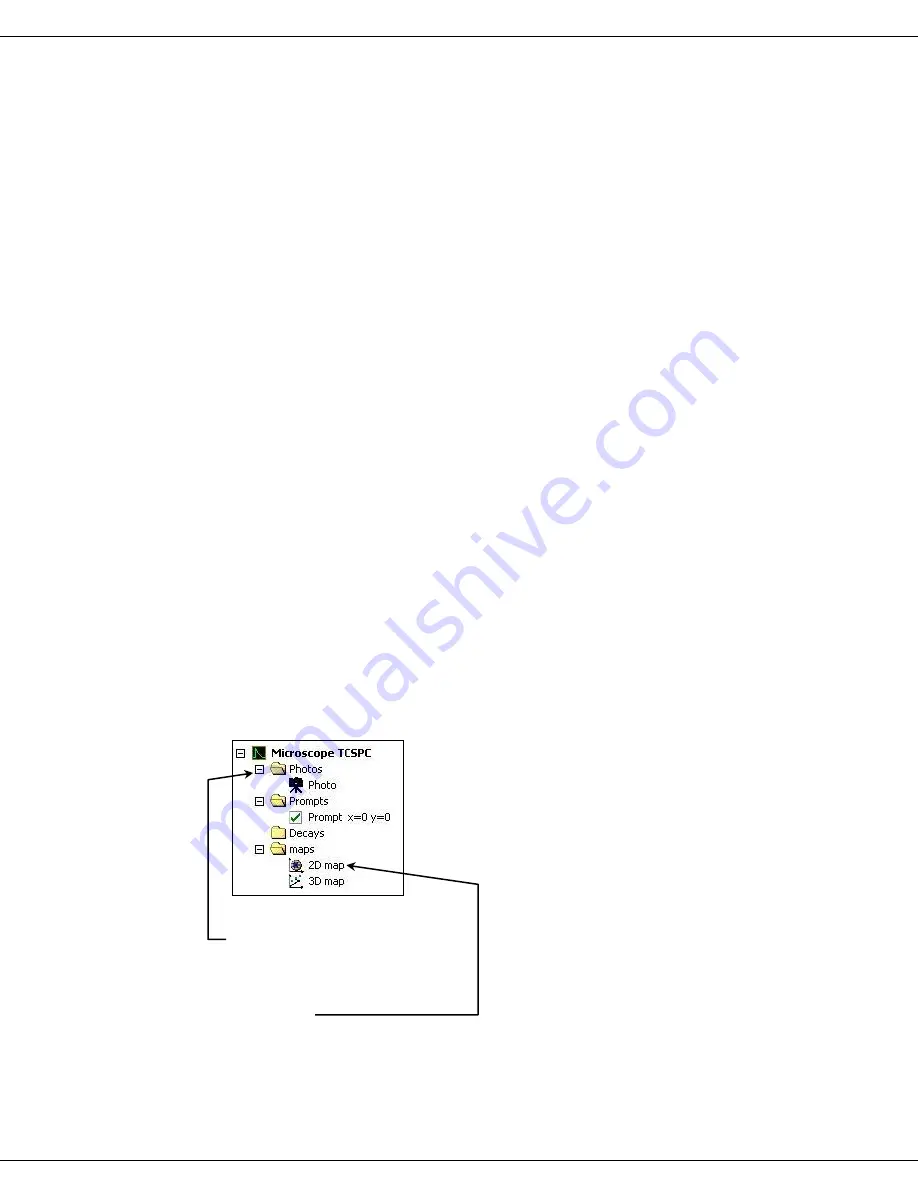
At the end of the scan, the measurement tree contains the various items available for
review (Fig. 25).
Figure 25: The measurement tree for data-review
Photos
folder
The
Photos
folder contains the picture of the anchor area. Display this picture by click-
ing on the
Photo
item.
2D map
The
2D map
is a two-dimensional representation of the scan results. Click on the
2D
map
item to open the
2D Microscope Map
window (Fig. 26).


