


89
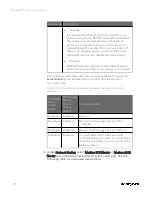
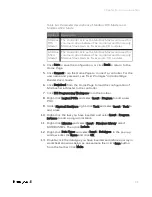
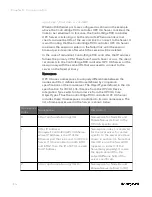
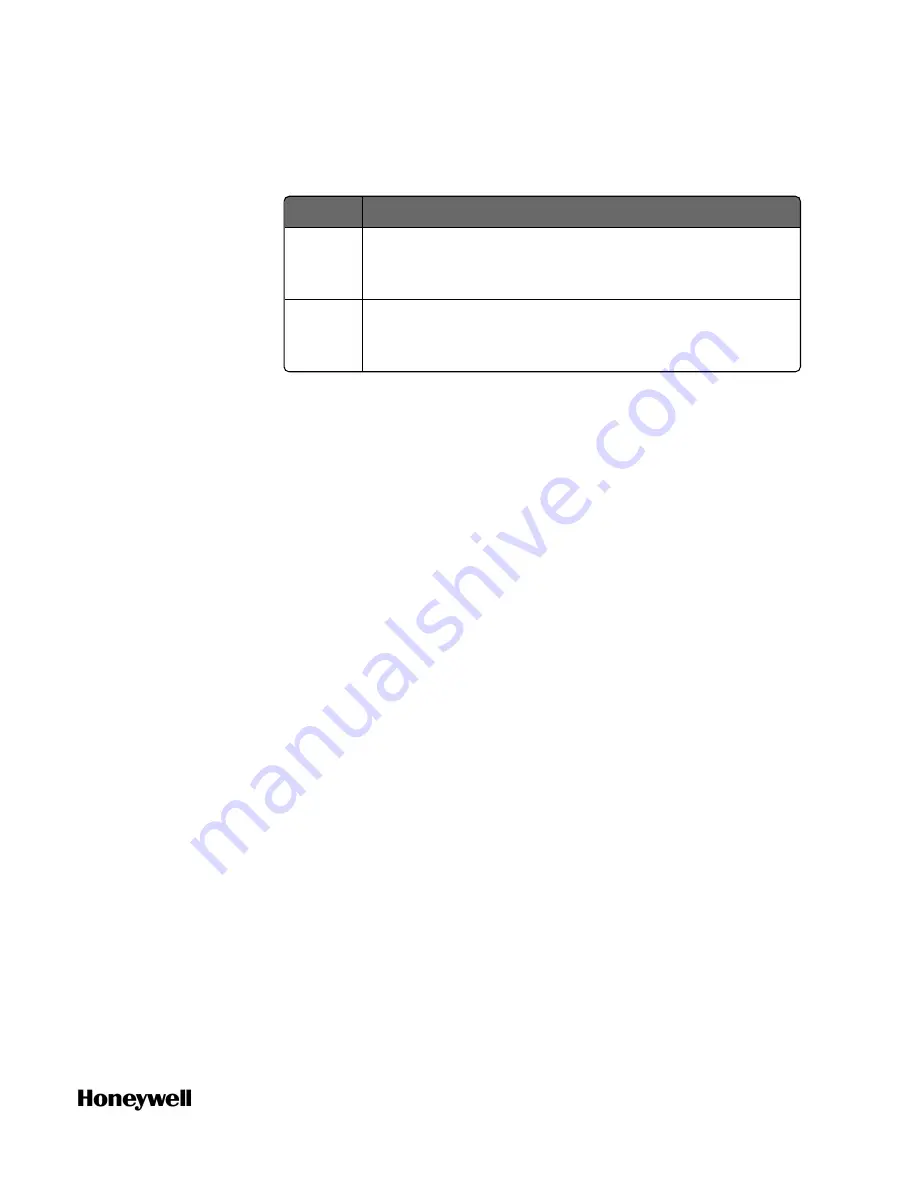
Protocol Description
Modbus
RTU
Master
The controller acts as the Modbus Master and used for
communication between The controller and third-party
Modbus Slave devices, for example I/O modules.
Modbus
ASCII
Master
The controller acts as the Modbus Master and used for
communication between The controller and third-party
Modbus Slave devices, for example: I/O modules.
Table 6-4: Parameter descriptions of Modbus RTU Master and
Modbus ASCII Maste
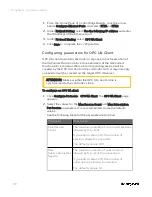
4.
Click
Save
to save the configuration, or click
Back
to return to the
Home Page.
5.
Click
Connect
from the Home Page to connect a controller. For the
user name and password, see "User Privileges" in
ControlEdge
Builder User's Guide
.
6.
Click
Download
from the Home Page to load the configuration of
Modbus Serial Master to the controller.
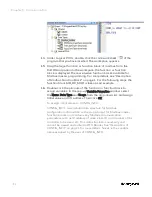
7.
Click
IEC Programming Workspace
from the toolbar.
8.
Right-click
Logical POUs
and select
Insert
>
Program
to add a new
POU.
9.
Under
Physical Hardware
, right-click
Task
and select
Insert
>
Task
to
add a task.
10.
Right-click the task you have inserted, and select
Insert
>
Program
instance
to add a program instance.
11.
Right-click
Libraries
and select
Insert
>
Firmware Library
, select
MODBUS.FWL. Then click
Include
.
12.
Right-click
Data Types
and select
Insert
>
Datatypes
. In the pop-up
window, enter the
Name
and click
OK
.
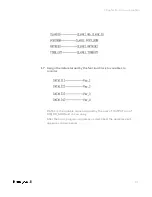
13.
Double-click the data type you have inserted and define an array in
worksheet shown as below as an example, then click
Save
button
from the toolbar. Click
Make
.
Chapter 6 - Communication
Summary of Contents for ControlEdge 2020 SC-TEPL01
Page 28: ...Figure 3 8 Single star topology 28 Chapter 3 Hardware ...
Page 40: ...40 Chapter 3 Hardware ...
Page 66: ...66 Chapter 4 Software ...
Page 114: ...114 Chapter 6 Communication ...
Page 126: ...126 Notices ...