68
Component Repair
Step 5
Loosen Jam Nut and Set the Bearing Preload
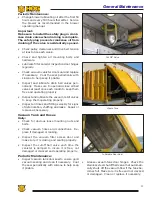
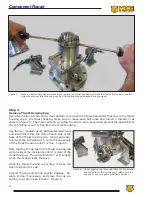
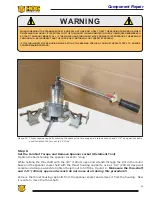
Insert the Spanner Tool and center on the Thrust
Housing Cap Bolt holes.
Make sure the spanner Tool rests down into the tiny
slots in the spanner nut and is down evenly all around
the thrust housing. Figure 10.
Install two cap bolts and turn them until finger tight.
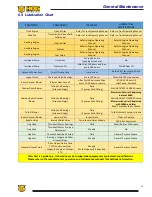
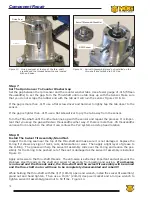
While Holding the Thru-Shaft with the 3/4” wrench
through the slot in the motor base, use a 1 1/8” deep
well socket to loosen the jam nut two full turns. Fig-
ure 11.
While holding the Thru Shaft Remove the Cap Bolts
and tighten the Spanner tool as far as possible.
Continue to hold the Thru-Shaft and loosen the Span-
ner Nut 1/4 turn.
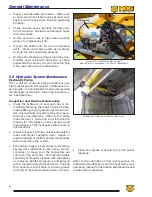
Install two Cap Bolts finger tight to hold the Spanner
Tool in place. Figure 11.
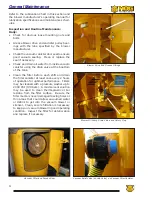
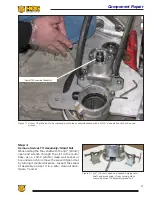
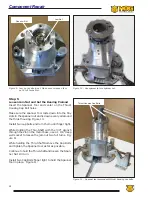
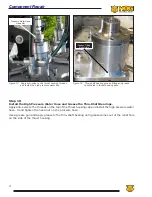
Spanner Nut
Jam Nut
Thrust Housing Cap Bolts
Figure 9: Jam nut and seal nut. Make sure to loosen Jam
nut 4 full turns first.
Figure 10: Use spanner to turn spanner nut.
Figure 11: Spanner tool secured with thrust housing cap bolts.
Summary of Contents for Stripe Hog SK3000
Page 1: ...3 K Operations Manual...
Page 2: ...2...
Page 14: ...14 THIS PAGE WAS LEFT BLANK INTENTIONALLY...
Page 62: ...62 THIS PAGE WAS LEFT BLANK INTENTIONALLY...
Page 77: ...77 Component Repair HOG TECHNOLOGIES...
Page 79: ...79 Component Repair HOG TECHNOLOGIES...
Page 81: ...81 Component Repair HOG TECHNOLOGIES...
Page 82: ...82 NOTES...
Page 83: ...83 JETSTREAM UHP PUMP FLUID END Drawings and Schematics Appendix A HOG TECHNOLOGIES...
Page 86: ...86 THIS PAGE WAS LEFT BLANK INTENTIONALLY...
Page 90: ...90 THIS PAGE WAS LEFT BLANK INTENTIONALLY...
Page 92: ...92 THIS PAGE WAS LEFT BLANK INTENTIONALLY...
Page 104: ...104 THIS PAGE WAS LEFT BLANK INTENTIONALLY...
Page 107: ...107...

