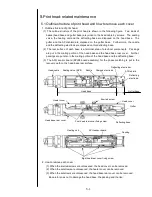
5-10
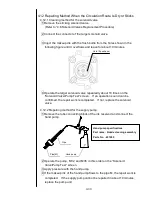
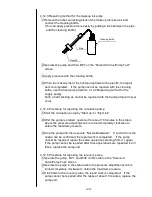
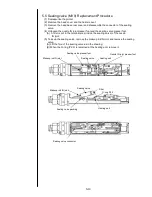
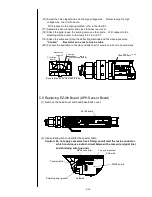
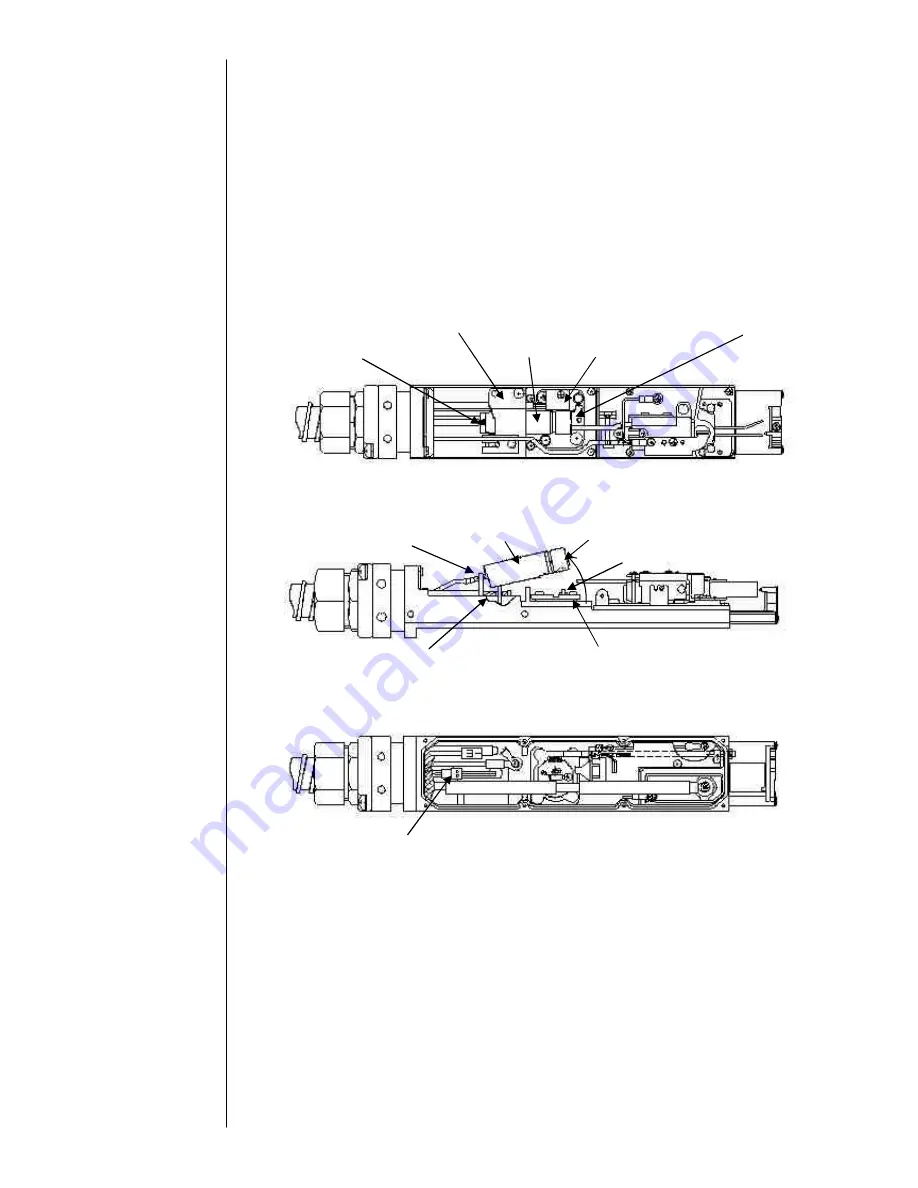
Makeup ink IN joint
Sealing valve presser foot
Sealing valve
Nozzle IN joint presser foot
Heating unit
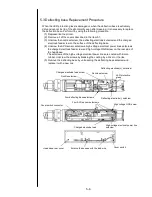
5.5 Sealing valve (MV9) Replacement Procedure
(1) Depressurize the printer.
(2) Remove the head cover and the heater cover.
(3) Remove the head base rear cover and disassemble the connector of the sealing
valve.
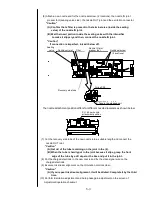
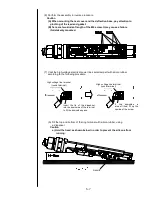
(4) Unloosen the nozzle IN joint presser foot and the sealing valve presser foot.
(A) A filter is put in the terminal area (inside the sealing valve) of the nozzle
IN joint.
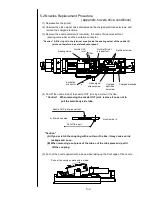
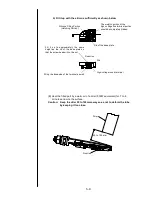
(5) Take up the sealing valve, remove the makeup ink IN joint and remove the sealing
valve.
(A) Lift the fore of the sealing valve as in the drawing.
(B) When the O-ring (P2.2) is remained at the heating unit, remove it.
Sealing valve connector
Makeup ink IN joint
Sealing valve
O-ring P2.2
Heating unit
Filter
Sealing valve packing
Summary of Contents for IJ PH
Page 1: ...Service Manual HITACHI Printer Model PH Revision Aug 2011 Version First edition ...
Page 2: ... Revision of PH service manual Revision Chapter Revised Page ...
Page 13: ...1 2 2 Main body internal PH D 1 8 ...
Page 80: ...3 25 3 25 Circuit diagram of EZJ95 ...
Page 201: ...7 1 7 Attached Drawing 7 1 Circulation System Diagram ...
Page 202: ...7 2 7 2 Electrical Connection Diagram ...
Page 205: ...7 5 7 4 Dimensions around charge electrode and deflection electrode Nozzle diameter 65 um ...

