59
Du
bbi
ng
on
B
D
/D
V
D
/C
ar
d
6
Select a recording medium and
press the confirmation button.
When “DVD” is selected, image
quality is converted to SD
quality before dubbing.
7
Choose a disc or card for
dubbing and insert it into the
camcorder.
• If a DVD is loaded, specify the
Video Mode (“SX” or “SF”).
• If more than one disc is
needed, go to step 8.
• If one disc is sufficient, then
go to step 9.
• If one card is sufficient, then
go to step 10.
8
Select “With auto divide” or
“No auto divide”, then press
the confirmation button.
9
(For BD or DVD only)
When prompted for finalization,
select “Yes” to finalize the disc
or “No” to leave the disc
unfinalized.
10
(When you select “Date” in
step 4)
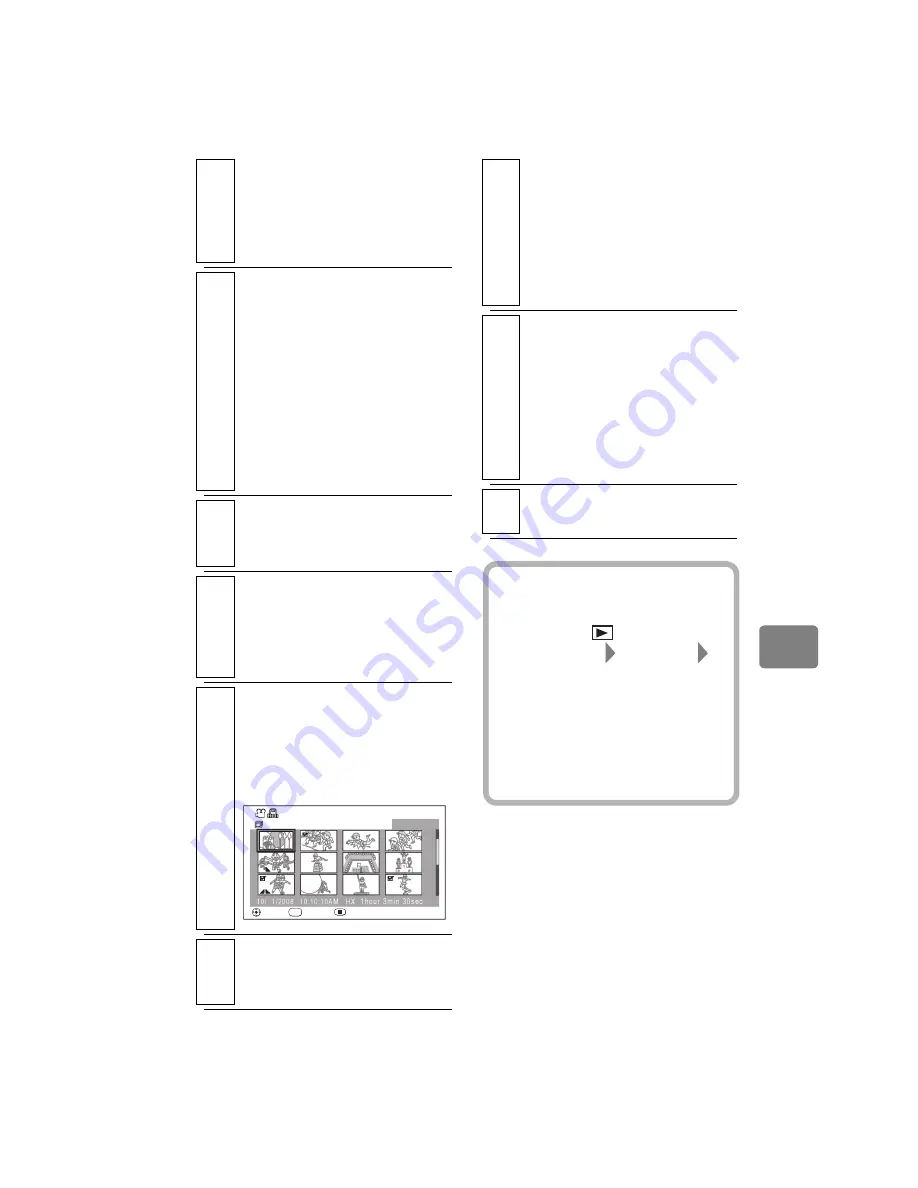
Select a scene for dubbing by
pressing
SELECT
, then press
the confirmation button.
11
Select “Execute“, then press
the confirmation button.
Dubbing starts.
SELECT
Dubbing(Select)
All Scenes
ENTER RETURN
10/ 1/2008
0010/0027
10:10:10AM HX
1hour 3min 30sec
SEL
12
When another disc or card is
needed to continue dubbing, a
message screen requesting
another blank disc or card
appears.
Replace the disc or card with a
new one.
13
After the dubbing is complete,
the confirmation screen
whether or not you delete the
dubbed scenes appears.
• If you wish to erase the dubbed
scenes, select “Yes”.
• If you wish to leave them on
the HDD or card, select “No”.
14
Remove the disc or card.
• Or press
C
to end.
Hints
• You can also display the Dubbing
Menu from the Disc Navigation
screen. Press
, press
MENU
,
select “Scene”
“Dubbing”
“Dubbing Menu”, and then press the
confirmation button.
• If you wish to quit dubbing while
dubbing, press
C
.
The confirmation message appears.
Select “Yes” and press the
confirmation button to quit dubbing.


