4 Planning and installation – Pellet bunker
71
I
NSTALLING
THE
PELLET
ANTI
-
SHATTER
PROTECTIVE
MAT
1.
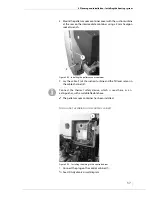
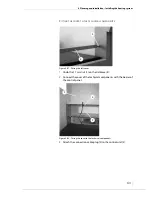
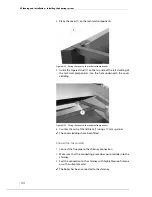
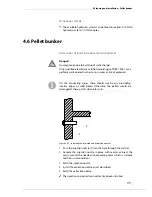
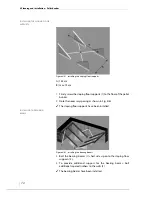
Bolt the protective mat onto the ceiling, opposite the injection
nozzle and at a distance of at least 30 cm from the wall.
✓
The pellet anit-shatter protective mat has been installed.
I
NSTALLING
DOOR
CONTACT
SWITCHES
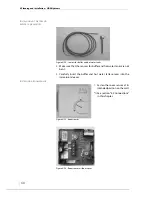
The pellet delivery system must be shut down if the inspection
opening of the pellet bunker is opened. This is necessary for
preventing injuries due to rotating components.
✎
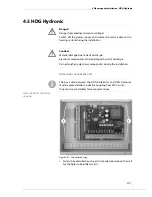
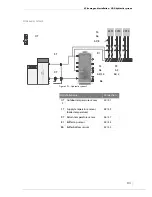
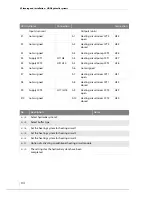
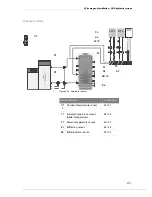
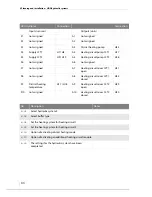
See HDG Hydronic circuit diagram.
I
NSTALLING
THE
SLOPING
FLOOR
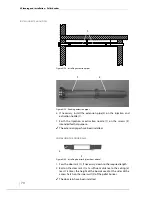
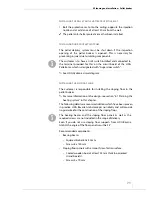
The customer is responsible for installing the sloping floor in the
pellet bunker.
✎
For more information on the design, see section “4.1 Planning the
heating system” in this chapter.
The following details are recommendations which have been proven
in practice. HDG Bavaria GmbH accepts no liability and will provide
no guarantee for the construction of the sloping floor.
Recommended components:
•
Bearing beams
– Squared timber 80 x 50 mm
– Screws 8 x 140 mm
•
Sloping floor panels with a smooth, low-friction surface
– Coated wooden boards at least 25 mm thick (no oriented
strand boards).
– Screws 4 x 70 mm
The customer is to have a limit switch installed and connected to
the terminal provided for this on the circuit board of the HDG
Pelletronic, which is designated with “Auger door switch”.
The bearing beams and the sloping floor panels as well as the
required screws are not included in the scope of delivery.
Even if you do not use sloping floor supports from HDG Bavaria
GmbH, the angle of the floor panels must be 35°.
Summary of Contents for Pelletmaster 15
Page 1: ...hdg bavaria com HDG Pelletmaster 15 25 Operation Manual V 03 08 2008 ...
Page 2: ......
Page 170: ...170 HDG Pelletmaster 15 25 V 03 en HDG Bavaria GmbH 08 2008 ...
Page 171: ......

