


Bedienungsanleitung H1280
HASCO hot runner 37
The language of the user interface can be specified by selecting the corresponding flag. When the line containing the
flag is pressed, this will be highlighted in colour. To adopt the selected language, the selection must be confirmed with
the “Accept changes” button. All the texts will then be displayed in the new language during the runtime, and the selected
language marked with a tick.
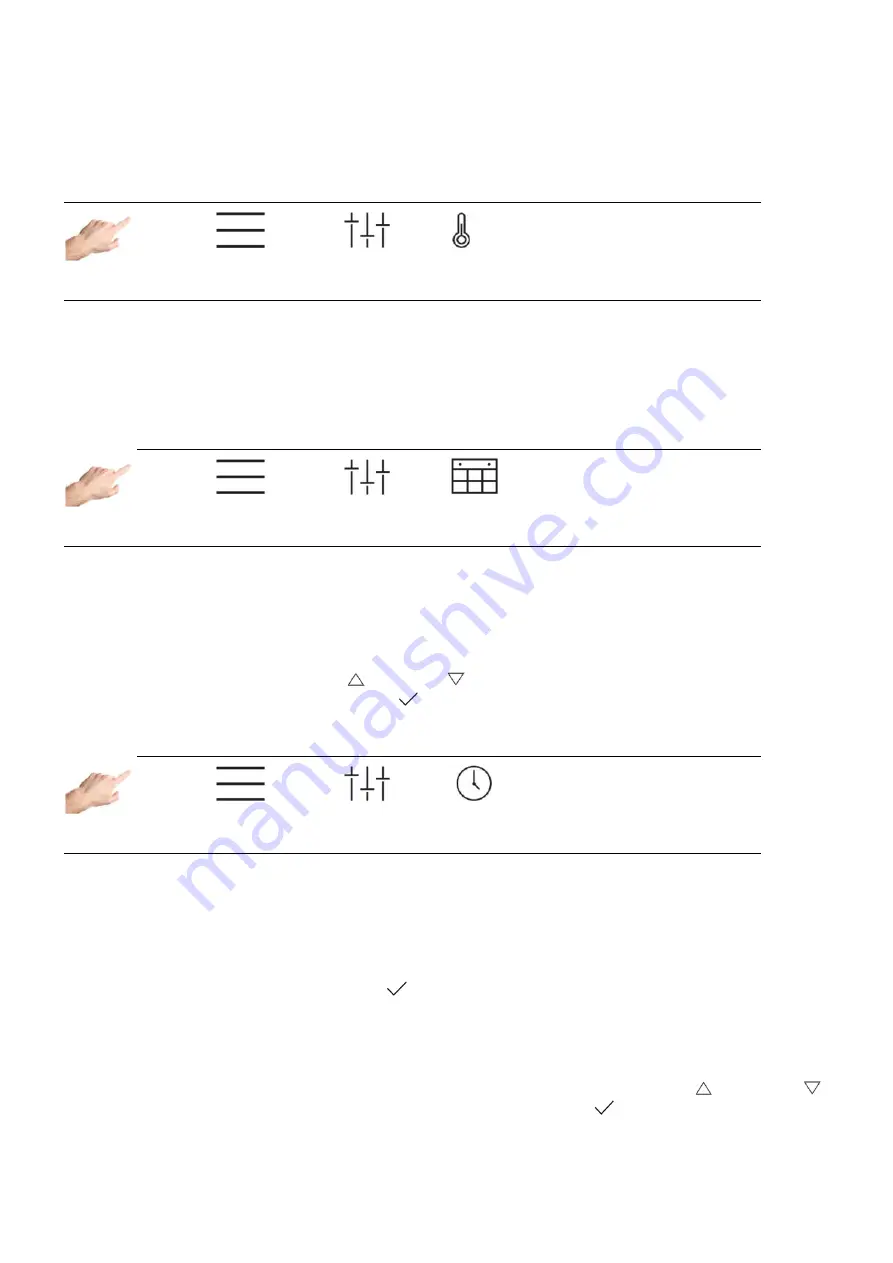
5.3.3.1.2 Temperature unit
1.
2.
3.
Settings > Device > Temperature unit
Here the temperature display can be set to either °C (Celsius) or °F (Fahrenheit). When the corresponding line in the
left window of the display is pressed, this will be highlighted in colour. To accept the changes, the selection must be
confirmed with the “Accept changes” button. All displays during the runtime will then be shown in the selected
temperature unit. The selected temperature unit will be marked with a tick.
5.3.3.1.3 Date / Time
1.
2.
3.
Settings > Device > Date / Time
On this page, the time for the controller can be precisely set with the year, month, day, hour and minute. A precise time
is of particular importance for process values and events that are recorded with a time stamp.
To change the date or the time, it is necessary to use the
1. arrow keys to set the corresponding value for the year, month, day, hour or minute.
2. Pressing the arrow key increases (
) / reduces (
) the value in the box highlighted in colour.
3. The changes are adopted by pressing the
button.
5.3.3.1.4 Timer
1.
2.
3.
Settings > Device > Timer
Using the timer, it is possible to have the outputs switched on and off automatically at certain times and on certain days.
The necessary settings may be found in the guided dialogue (1. 2. 3. 4.) The procedure is as follows:
1. First of all, the days on which automated switching on/off is required are activated. To do this, click on the box
for
the
corresponding
day
of
the
week
(Mo=Monday,
Tu=Tuesday,
etc.).
The day of the week is marked with an
and, in the lower part of the window, the times for switching on/off
are proposed. The tick indicates that automatic switching on/off will be performed on this day. By pressing this
box once again, the tick will be hidden, deactivating automatic switching on/off.
2. To change the times for ON (switching on) and OFF (switching off), it is necessary to click in the relevant box.
A further dialogue will open on the right side where the selected time can be set with the arrow keys. Each time
the arrow key is pressed, the value in the box that is highlighted in colour will increase (
) / decrease (
).
3. The changes can be activated by pressing the “Accept changes” button
.
4. X closes the dialogue.
As soon as the timer is activated, an alarm clock symbol appears on the right of the menu bar next to the date and time.


