


Bedienungsanleitung H1280
HASCO hot runner 29
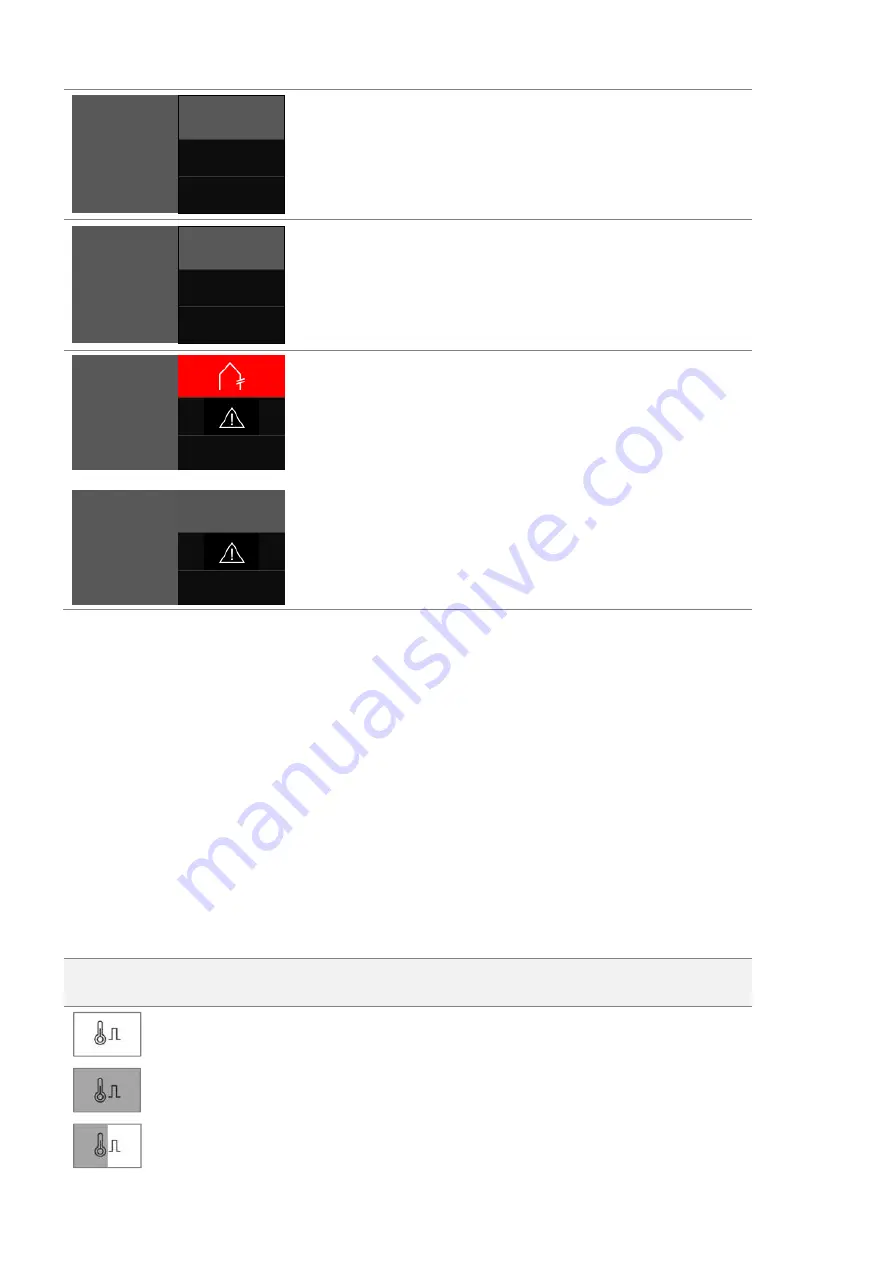
Zone 1
Boost
Actual [°C]
235
Setpoint [°C]
260
Zone 1 is in boost mode.
Display in this example:
- actual value
- setpoint value for boost (parameterised setpoint plus boost
increase)
Zone 1
Standby
Actual [°C]
120
Setpoint [°C]
120
Zone 1 is in standby mode.
Display in this example:
- actual value
- setpoint value for standby
Actual [°C]
Setpoint [°C]
237
Zone 1
BSF: 0%
Actual [°C]
Setpoint [°C]
237
Zone with “Sensor fracture” fault display.
The alarm signal with the red background flashes.
Pressing the alarm signal calls up the diagnosis.
The triangle with an exclamation mark indicates that no valid
actual value is available.
The behaviour in the event of sensor fracture (BSF) is shown in
the zone designation box.
In the present example, the setting is “BSF=0%”, which reduces
the output level to 0% in the event of sensor fracture.
5.3.2.1.2 Changing the setpoint value and output level
To change the setpoint value and output level in the home view, simply click on a zone.
Editor mode will then open, with selection buttons in the top right half of the screen and a numeric keyboard for entering
the values.
First of all, the zones for which a change is to be made are selected. This can be done by clicking on the individual
zones or by using the “All” selection button. If groups have also been defined in the quick start, these will similarly appear
in the selection. By clicking on a group, the corresponding zones will automatically be selected.
By clicking on a group and then pressing the OK button, it is now possible to change the setpoint value or the output
level for the selected zones, depending on which operating mode is active for the selected zones.
5.3.2.1.3 Activating the boost function
If the selected zones are to be boosted, the “Boost” selection button should be pressed. A window will then open for
activating the boost function. The boost process is started by pressing the boost button. The background of the boost
button will change colour to indicate that the boost is in progress. The background of the button acts like a progress bar,
just in the other direction. As the duration increases, the coloured background decreases in size until the boost has
finished. It is thus possible to see at a glance how long the boost process still has to run.
Example
Boost function not activated
Boost function just started.
The boost function has now run for half of the boost time.


