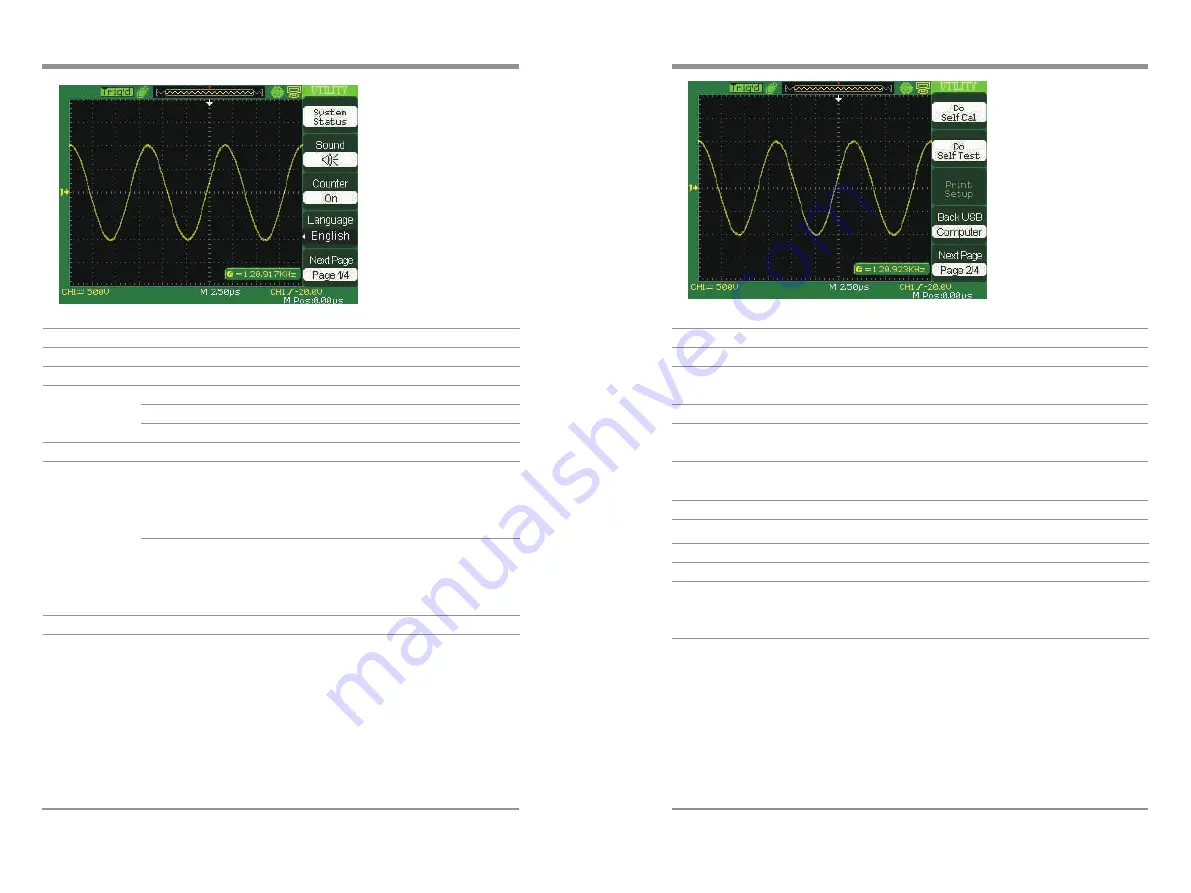
Table 2-52 Utility System function menu 2:
Option
Setting
Introduction
Do self cal
Auto self emendation.
Do Self Test
Screen Test
Keyboard Test
LED Test
Run the screen detect program
Run the keyboard detect program
Run the dot lighten detect program.
Print Setup
Enter the print setup menu to set print options.
Back USB
Printer
The oscilloscope connects to the printer using
USB cable. When you execute print function,
please select Printer. Now the print icon
displays on the top of the screen.
Computer
The oscilloscope connects to the computer
using USB cable. When you execute EasyScope
software, please select Computer. Now the
computer icon displays on the screen.
Next Page
Page 2/4
Press this button to enter third page.
Table 2-53 Functional Menu of the Utility System 3:
Option
Setting
Introduction
Update
firmware
You can update the oscilloscope use USB
flash Driver (About need two minutes).
Pass/Fail
Press this button to enter the Pass/Fail menu.
Record
Press this button to enter the waveform
record menu.
IO Setting
Press this button to enter the IO Setting
menu(See table 2-52).
Next Page
Page 3/4
Press this button to enter first page.
Table 2-54 IO Setting function menu:
Option
Setting
Introduction
Baud
300,2400,
4800,9600,
19200,38400
Set up band rate.
84
Digital
S
torage
O
scilloscope
Digital Storage Oscilloscope
85


