Note
1. The Printer may override your selection for best fit.
2. If your selection is not supported by the printer, the oscilloscope uses the Default
setting.
3. The oscilloscope was designed to print to any PictBridge compatible printer.
Refer to product documentation for your printer to determine if the printer is
compatible with PictBridge.
2.13.3 Print
The oscilloscopes support PictBridge compatible printers. You can connect the
back USB port of the oscilloscope to the USB port of the PictBridge compatible
printer using the USB cable.
Table 2-58 Print setup option function menu 2:
Option
Setting
Introduction
Image Size
Default, 2.5x3.25 in, L (3.5x5 in),
4x6 in, 2L (5x7 in), 8x10 in,
4L (7 x 10 in), E, Card, Hagaki
card, 6 x 8 cm, 7x10 cm, 9x13 cm,
10x15 cm, 13x18 cm, 15x21 cm,
18x24 cm, A4, Letter
Paper Type
Default, plain, Photo, Fast Photo
Print Quality
Default, Normal, Draft, Fine
ID Print
Default, On, Off
Next Page
Page 2/2
Press this button to enter first
page of print setup menu.
Displays Settings available
on your PictBridge
compatible printer.
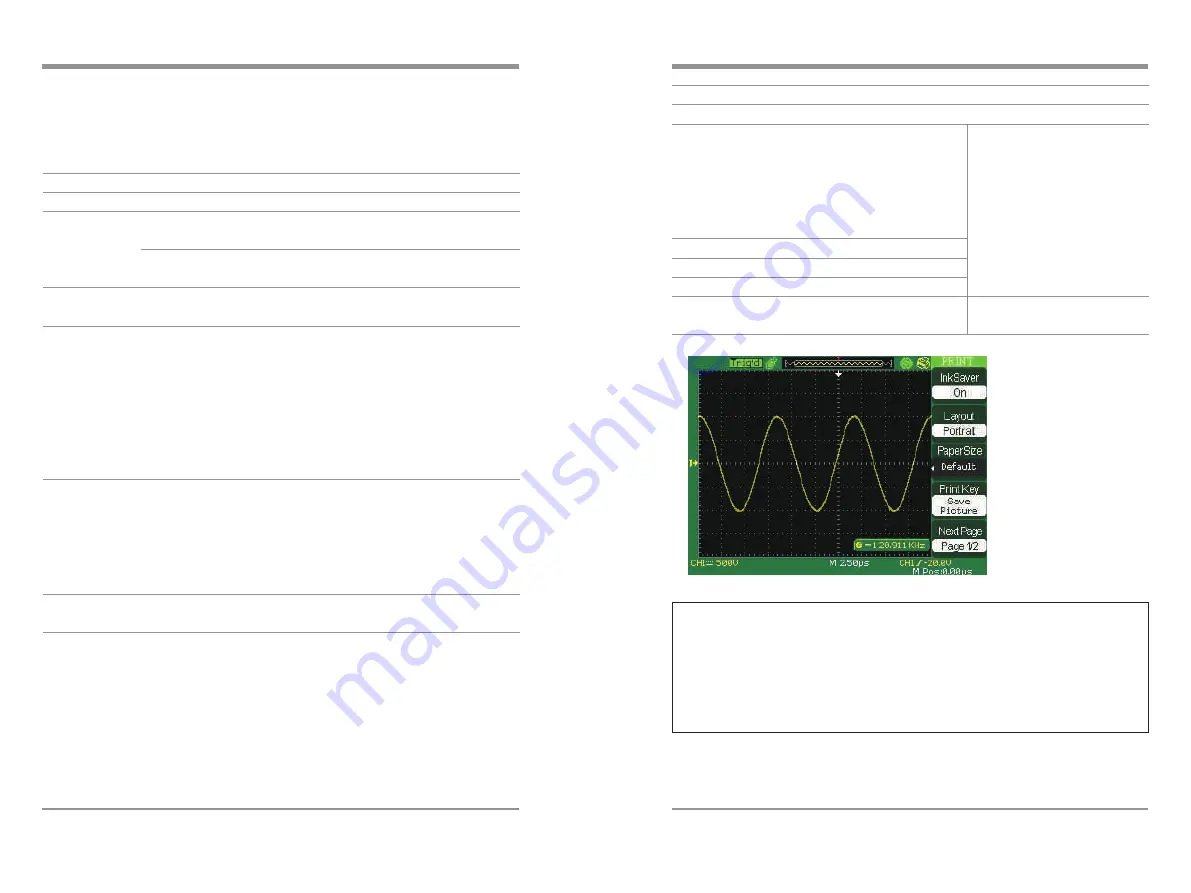
Table 2-57 Print setup option function menu 1:
Option
Setting
Introduction
Ink Saver
On
Off
Prints the screen image on a white
background when you select on.
Print the color screen image when
you select off.
Layout
Portrait
Landscape
Printer output orientation.
Paper Size
Default, L, 2L, Hagaki
Postcard, Card Size,
10 x 15 cm, 4" x 6",
8" x 10", Letter, 11" x 17",
A0~ A9, B0~ B9, 89 mm,
Roll (L), 127 mm Roll (2L),
100 mm Roll (4"),
210 mm Roll(A4)
Displays Settings available on your
PictBridge compatible printer.
Print Key
Print Key
Print Picture
Select Print Picture option when the
oscilloscope connects to the printer,
press the S/div knob to print the
picture.Select Save Picture option
when you insert the USB flash, press
the S/div knob to save the picture.
Next Page
Page 1/2
Press this option button to enter
next page menu.
88
Digital
S
torage
O
scilloscope
Digital Storage Oscilloscope
89


