


HQ Pro-Stitcher User Manual
07/23/12
3.32 Installation Instructions
Figure 3.62
Getting Started - Setting up the HQ Pro-Stitcher
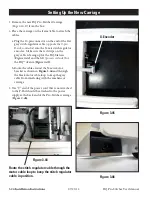
The HQ Pro-Stitcher should be installed as outlined
in the Installation Instructions that were included
with this system.
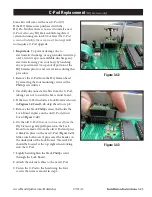
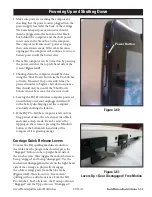
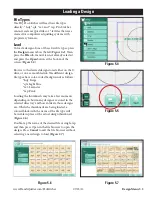
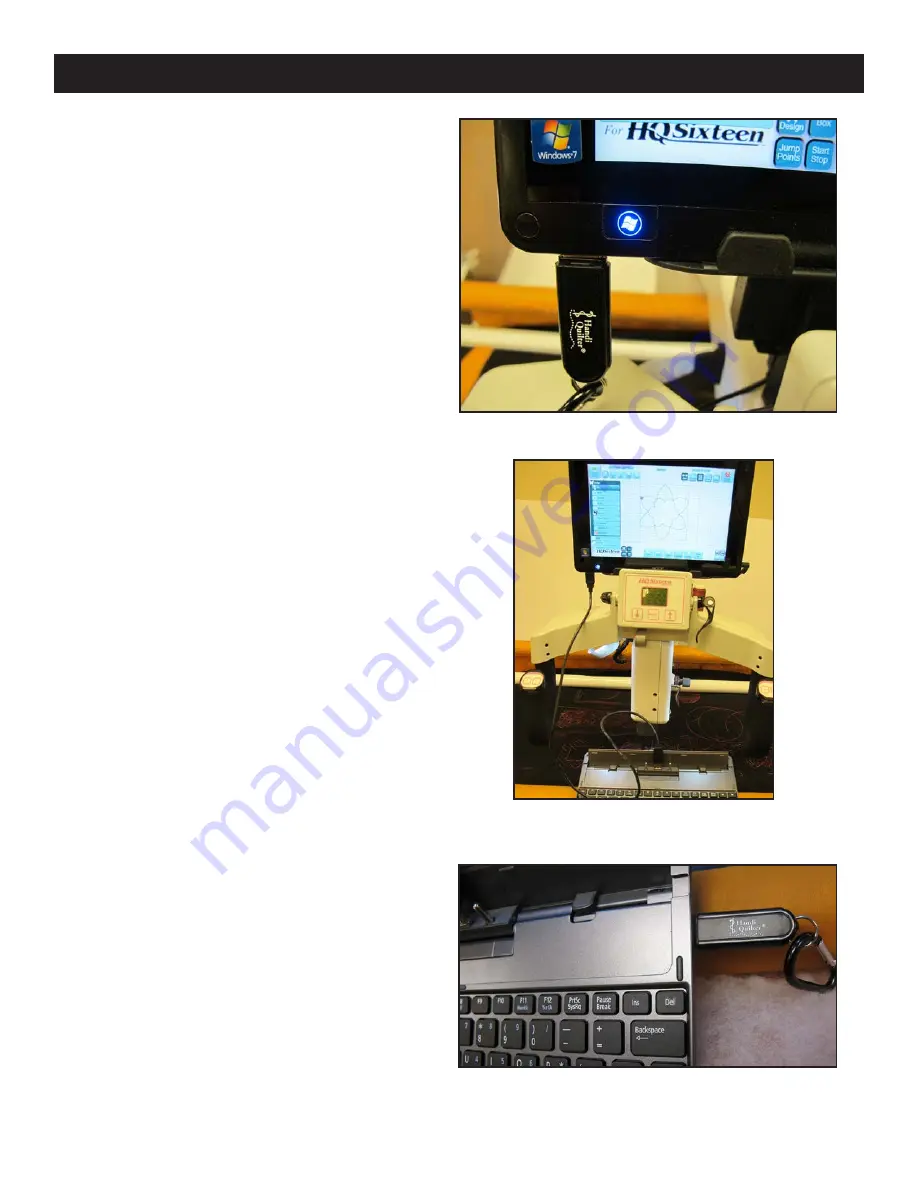
A USB flash memory stick is included with the
HQ Pro-Stitcher and is pre-loaded with more than
180 designs. Plug this flash drive into one of the
USB ports located on the left-hand side or the bot-
tom of the HQ Pro-Stitcher computer (
Figure 3.62
).
The computer may need to be tilted back to access
the lower USB port. It is not necessary to power
down the HQ Pro-Stitcher to install or remove the
USB flash drive, but care should be taken not to
remove the flash drive while the system is saving to
or loading from the drive.
USB Flash Drive
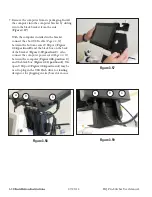
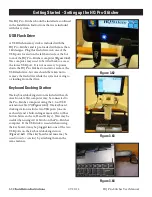
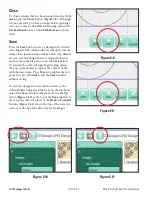
The keyboard docking station included with each
Acer Iconia tablet computer may be connected to
the Pro-Stitcher computer using the 3-foot USB
extension cable (
T
) (
Figure 3.63
). The keyboard
docking station includes two USB ports (one on
each side) and a built-in finger mouse (the rubber
button between the G, H and B keys). This may be
useful when using Art & Stitch on the Pro-Stitcher
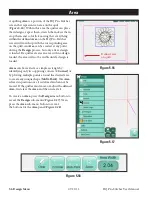
computer. If the USB stick is needed when using
the keyboard, it may be plugged into one of the two
USB ports on the keyboard docking station
(
Figure 3.64
). Other keyboards and mice may be
used
(wired or wireless)
by attaching them in the
same manner.
Keyboard Docking Station
Figure 3.64
Figure 3.63