HQ Pro-Stitcher User Manual
07/23/12
3.18 Installation Instructions
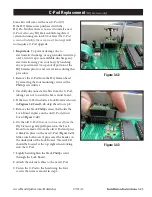
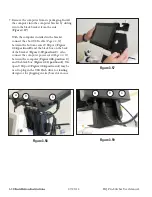
Figure 3.32
X-Rack Installation
1. Make sure the front white track is mounted to the
table with the 3M Command Strips
(Page 3.16, U)
that have been provided
(unless the front track is
already mounted to the table)
. Use the carriage as
a guide to make sure there is no binding once the
front track is mounted to the table.
2. Remove the blue 12-foot rack
(A)
and the
HQ Pro-Stitcher carriage
(E)
from the box.
Cut the cable ties from the front of the carriage
(
Figure 3.32
)
.
3. Starting at one end of the table, begin mounting
the blue rack to the table. Peel back just a few
inches of the protective layer of the tape. Position
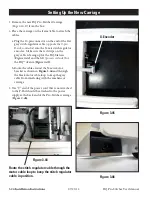
the blue rack using the wooden alignment block
(M)
as a guide. The wood block should be laid flat
on the table top, butted against the inside edge of
the front track
(Figure 3.33
)
. The blue rack then
butts against the opposite side of the block so
the blue rack is mounted 2” away from the front
track.
The block should be flat on the table and not on
top of the blue rack or the front track. Press down
on the blue rack to stick it firmly to the table. Pull
the pink protective layer from the back side of the
rack while shifting the block down the length of
the table until about two feet of the rack have been
mounted.
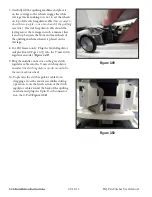
4. Place the HQ Pro-Stitcher carriage on the frame
and verify that the front white gear is aligned with
the blue rack mounted on the table top.
Figure 3.33
Front of Frame


