3-19
Connecting the RPS Cable
The WX3010 and WX3008 do not support RPS.
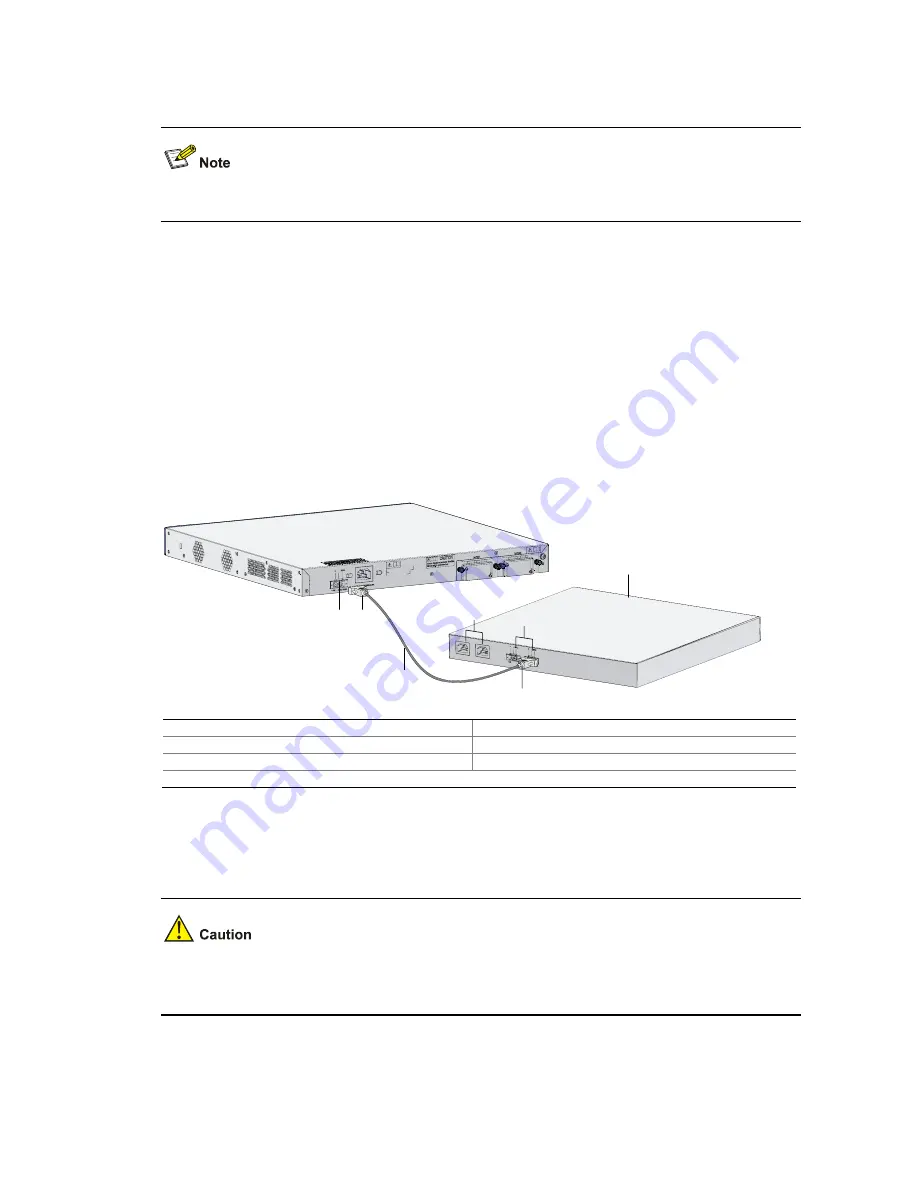
Follow these steps to connect the RPS cable:
Step1
Check that the device is powered off and the RPS unit is switched off.
Step2
Use a Philips screwdriver to remove the screws on the cover on the DC power receptacle and take off
the cover.
Step3
Connect the RPS cable to the DC power receptacle on the chassis.
Step4
Turn the strain release screws on the RPS cable clockwise so that the RPS cable plug is firmly seated in
the DC power receptacle, and then fasten the strain release screws.
Step5
Connect the other end of the RPS cable to an output interface of the RPS unit.
Figure 3-28
Connect the RPS cable
(1) (2)
(3)
(4)
(5)
(6)
(7)
(1) DC power receptacle
(2) RPS cable plug for the DC power receptacle
(3) RPS cable
(4) RPS cable plug for the RPS output
(5) RPS unit
(6) Output interfaces of the RPS unit
(7) AC power input interfaces of the RPS unit
Step6
Check the RPS LED on the front panel of the device. LED ON means the RPS unit is correctly
connected.
z
The RPS unit is an optional accessory. The WX3024 supports the RPS1000.
z
Check that the ground cable is properly connected before powering on the device.


