First contact
L-SOLUTION 100 Ex Fibre machine
. 69
Running the machine step by step
In this section we will cover how to use the LASER system to create a product from start to finish. From powering on
everything to removing the finished product from the system, we will cover the entire process step by step. As an example,
let’s engrave a keychain of aluminium.
Before continuing, please ensure that you have completely read and understood the entire
manual up to this point. It is essential that you know how to safely operate the LASER
system before you actually engrave any material.
Powering on
We recommend that you turn on your computer first and let it boot up completely before powering up the LASER system.
Creating the graphic
In your graphics program set your page size to the maximum size of the engraving area (L-SOLUTION 100 Ex FIBRE :
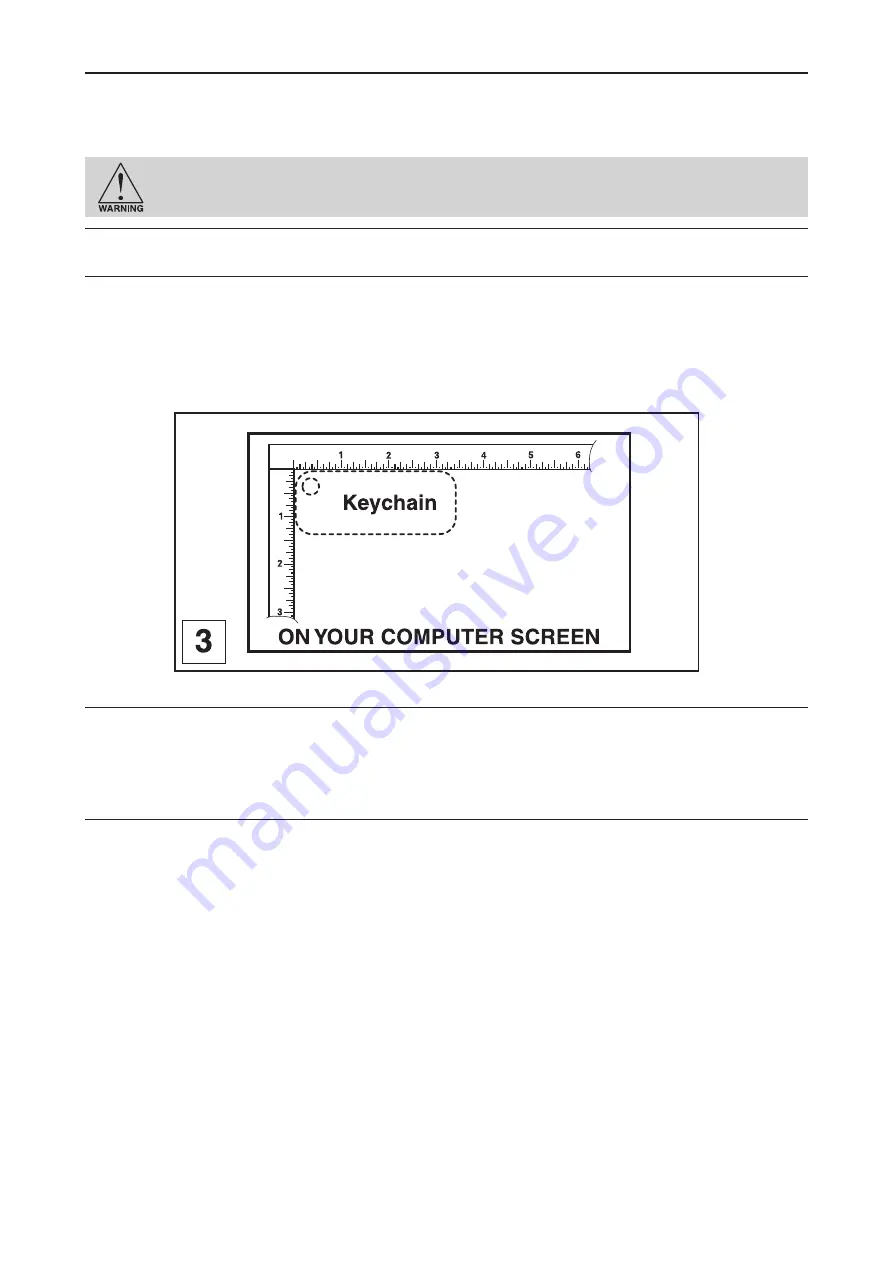
610 x 305 mm - 24 x 12 in). Create some text with a BLACK colored fill and NO outline. For example, type in the word
«Keychain». Place the graphic into the upper left corner of the page, on screen, depending on how the keychain is
positioned in the engraving area as the
diagram 3
illustrates.
Setting the drivers' properties
The next step consists of setting the driver properties. From within your graphics program, get to where you can see the
driver parameter screen. Usually, there is a menu item called «Print Setup» or «Print Options» that allows access to the
printer driver screen from your graphics software. For specific instructions on how to access the printer driver from your
graphics software, please refer to your graphics software instruction manual or online help screens.
Once the printer driver is visible, click the appropriate tabs and set the drivers parameters to the appropriate settings.
Downloading the file
You are now ready to print to the LASER system. Make sure the LASER system is powered on and the display reads
«READY TO RECEIVE».
Find the «PRINT» command within your graphics program and click it. Depending on which graphics program you are
using, the menu command «PRINT» may be in various locations within your program. Usually after clicking «PRINT»,
you will then need to click «OK».
A status screen may now appear showing a percentage of completion. Once this status screen disappears, it does not
mean that the file is totally in the LASER systems memory. If you have the Windows XP® print spooler turned on, it can
take several seconds to even minutes, depending on your file size and the speed of your computer, before the entire file
loads into the LASER systems memory. Once the entire file is completely loaded, the display on the LASER system will
automatically update and will display the file’s name and the power settings that you assigned to the first color. One this
appears, file download is now complete.
Running the machine


