5-26
Securing the print head carrier
14. Open the maintenance cover at the left-hand side of the printer.
15. Check that the print head carrier is at the maintenance station position (at the very
left of the printer). If it is not at the maintenance station position, manually move the
print head carrier slowly towards the left of the printer until the position where it
stops.
16. Secure the print head carrier with the shock-absorbing material that was originally
used to secure it.
Removing the anti-curling guides, the paper guide table, and the roll paper
stocker
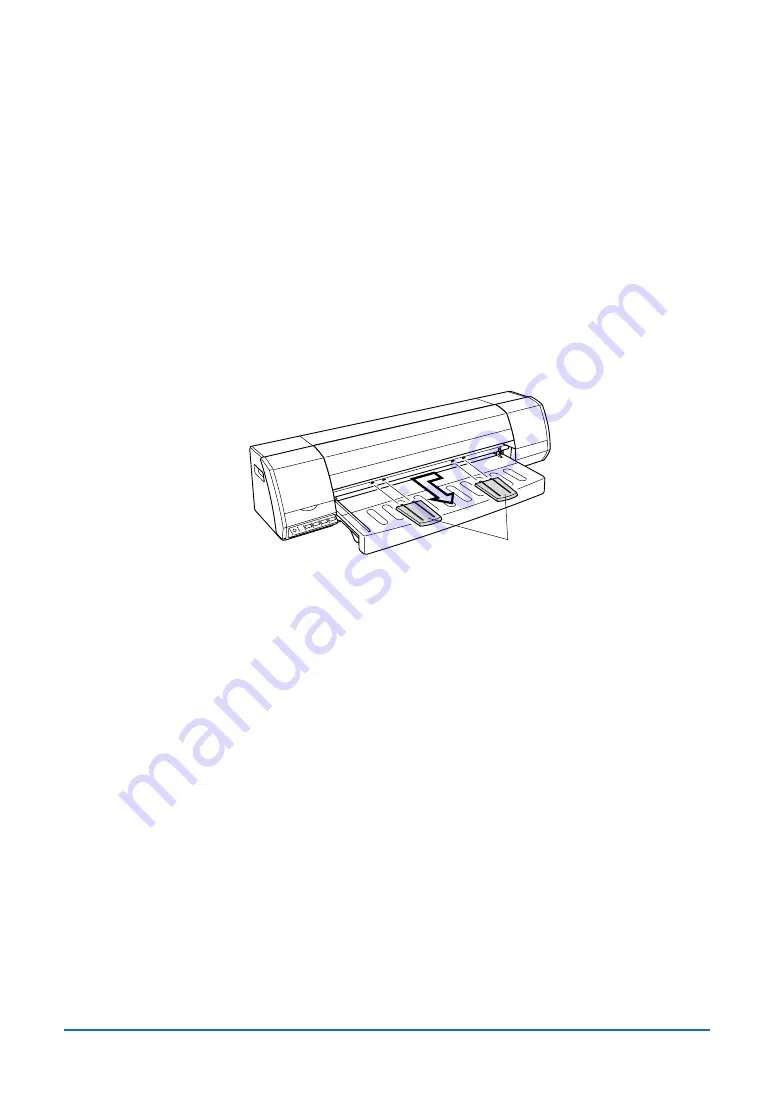
17. Remove the anti-curling guides, the paper guide table, and the roll paper stocker
from the printer.
Anti-curling guides
18. Remove the optional A2-size paper feed cassette and the optional stand if they are
attached to the printer.
Packing the printer in its box
19. Attach all the shock-absorbing materials to the printer, in the reverse order in which
they were removed. Next, use tape at four locations to fasten down the covers
(maintenance cover, center cover (two locations), ink cartridge cover).
20. Attach the shock-absorbing packing materials to the printer, the anti-curling guides,
the paper guide table and the roll stocker, and then repack all these items in the
original packing box.
This completes the preparations for transporting the printer.


