41
8.2 Trend Table
n
The latest 480-trend table data can be displayed at every 1 min, 5 min, 10 min, 30 min, or 60 min.
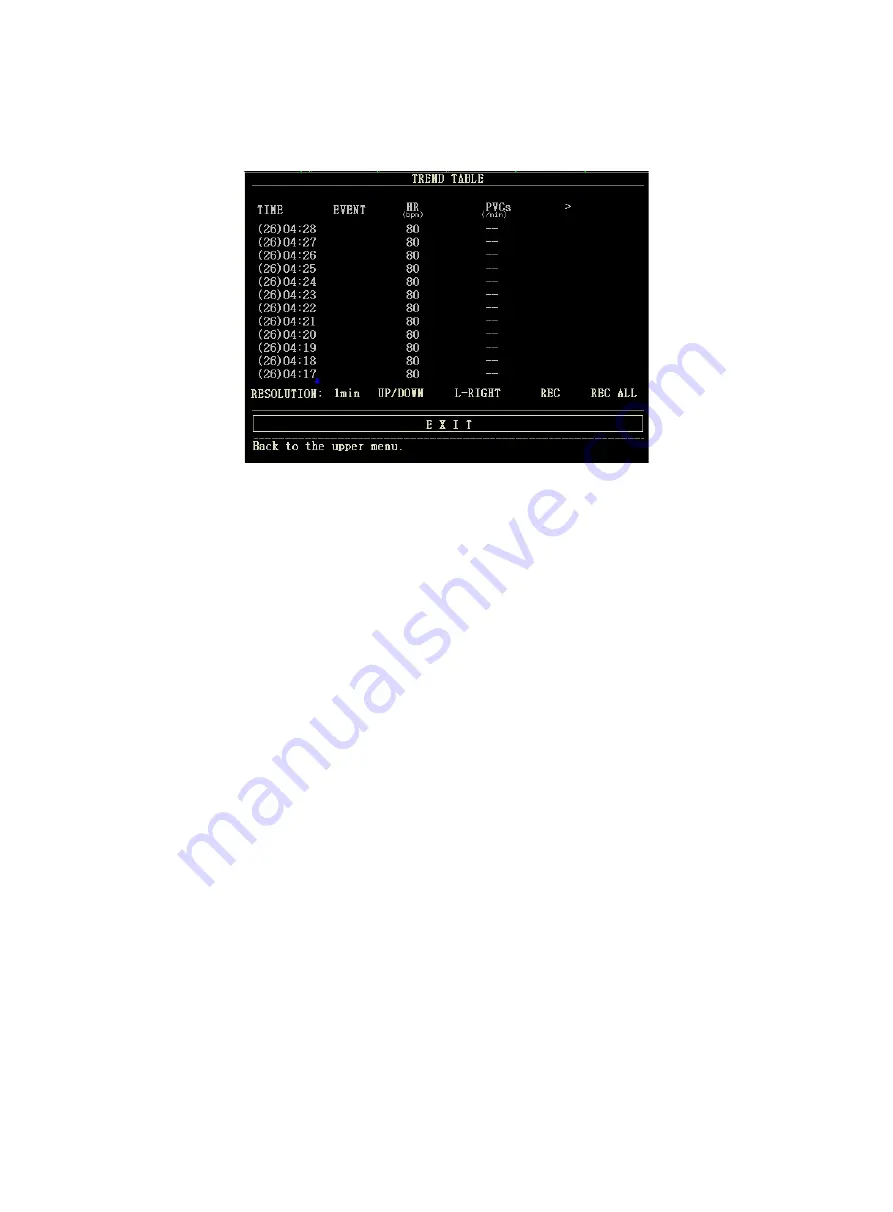
Pick TREND TABLE in the SYSTEM MENU to call up the following menu:
Time corresponding to each group of trend data is displayed at the leftmost list with date in brackets. Marked events are
listed under the "EVENT" corresponding to the time of marking. Trend data of all parameter is divided into 6 groups.
HR
,
PVCs
ST1
,
ST2
RR
T1
,
T2
,
TD
SpO
2
,
PR
NIBP
(
S/M/D
)
To select trend table of a specific resolution:
Select the "RESOLUTION" item by using the cursor, turn the knob to change the options under resolution, then the
time interval of trend data will be changed.
To view earlier or later trend data:
When a "up arrow" appears on the upper part of the screen, pick "UP/DOWN" button, turn the knob clockwise to view
later trend data. When a "down arrow" appears on the upper part of the screen, select the same item, turn the knob
counterclockwise to view earlier trend data.
To view trend data of different parameter
Pick L-RIGHT to select one from the 6 groups of parameters. A ">" by the rightmost item indicates following page
available. And "<" by the leftmost item indicates previous page available.
To print out the trend table
Press REC button to print out the trend data of all parameters currently displayed through the recorder.
Event marks on the trend data
If an event is marked A, B, C, or D, the event type (A, B, C, or D) will be displayed at corresponding time in the trend table.
Operation example
To view the NIBP trend table:
n
Select the "MENU" button on the front panel, the "SYSTEM MENU" will pop up.
n
Pick TREND TABLE item.
n
Select the "L-RIGHT" item, switch to "NIBP" by turning the knob.


